Tips & Tricks
Zimaboard and pfSense: Empowering Your Perfect Network Security Duo
![]() John Guan - Aug 18, 2023
John Guan - Aug 18, 2023
Part 1: What You Should Know about pfsense?
pfSense is an open-source version based on FreeBSD, customized for firewall and router functions. It is installed on computers as a firewall and router in the network and is known for its reliability.

Part 2: Tutorial of install pfsense on ZimaBoard SBC
Step 1: Download the PFsense image file.
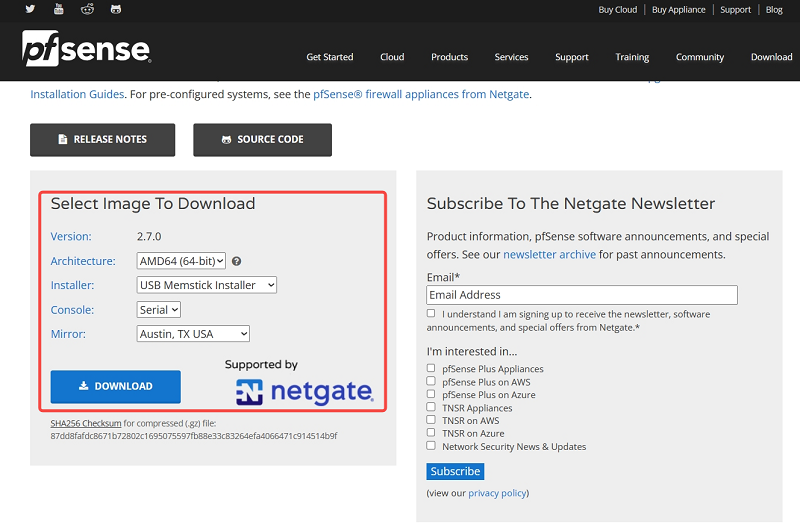
Step 2: Make an installation U disk
Step 3: Install PFsense
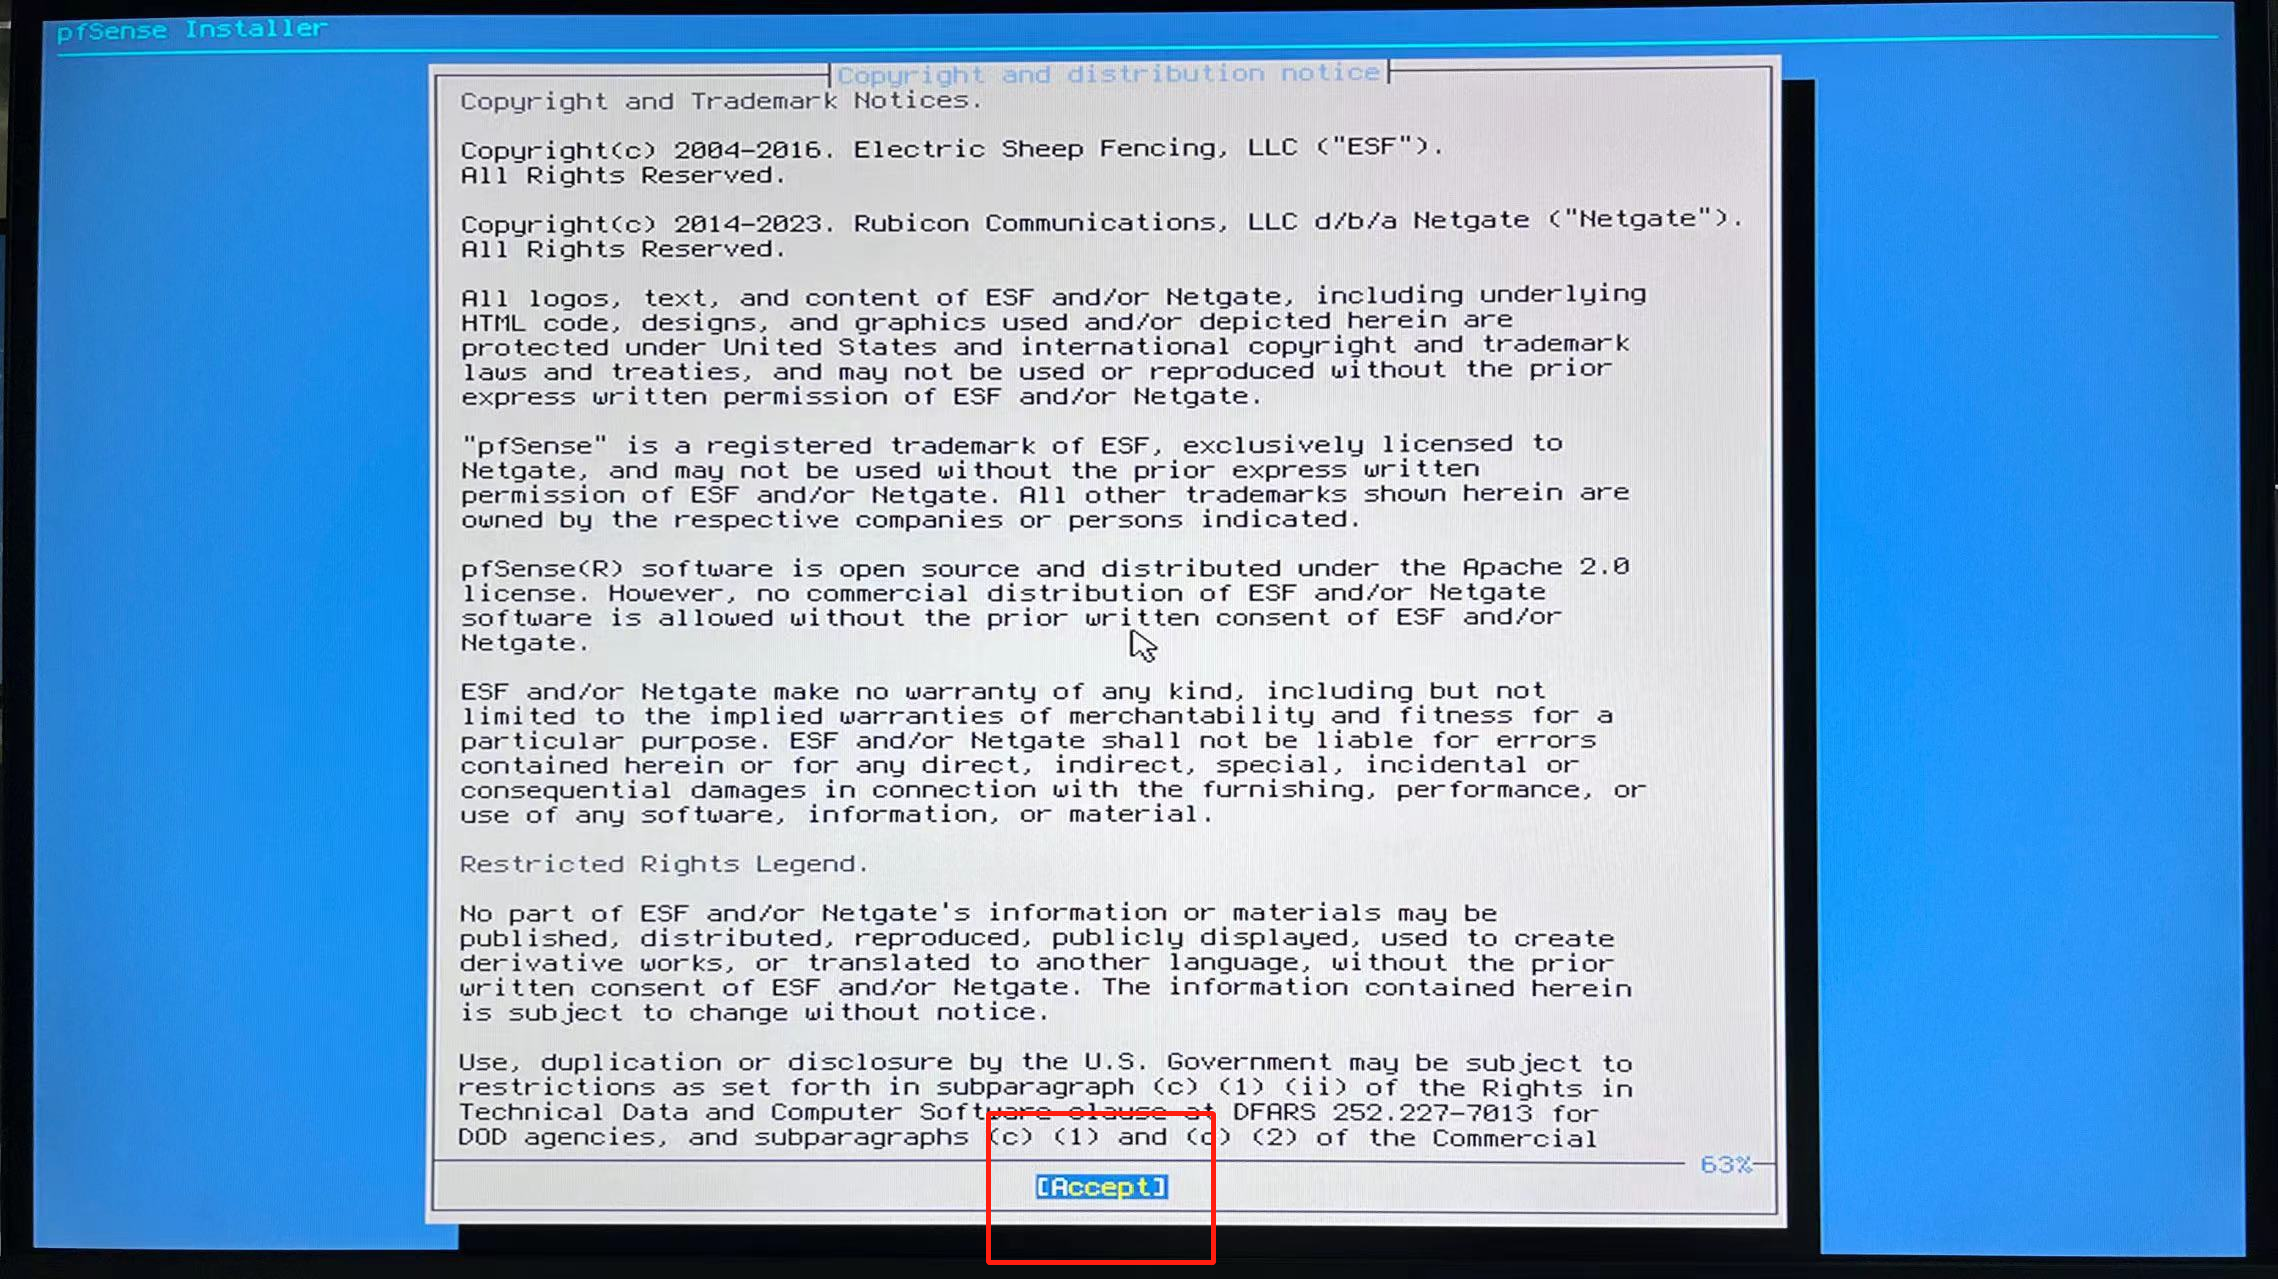
3.1 Click Accept
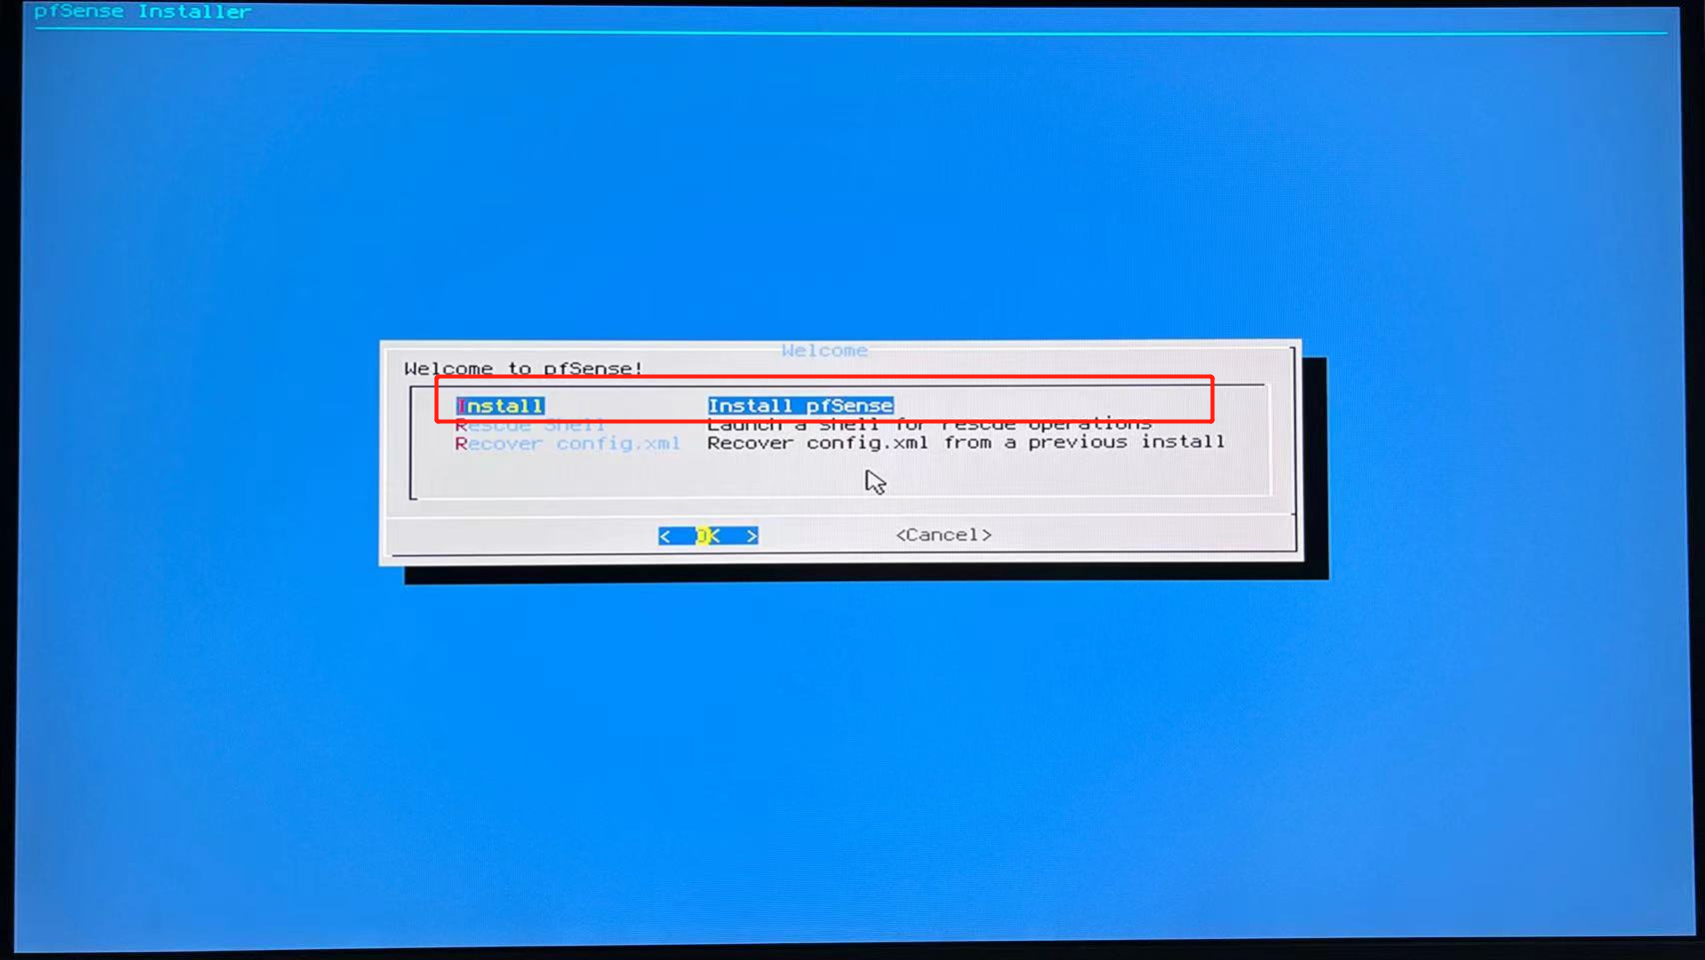
3.2 Click to install install
3.3 Select UFS as the disk type
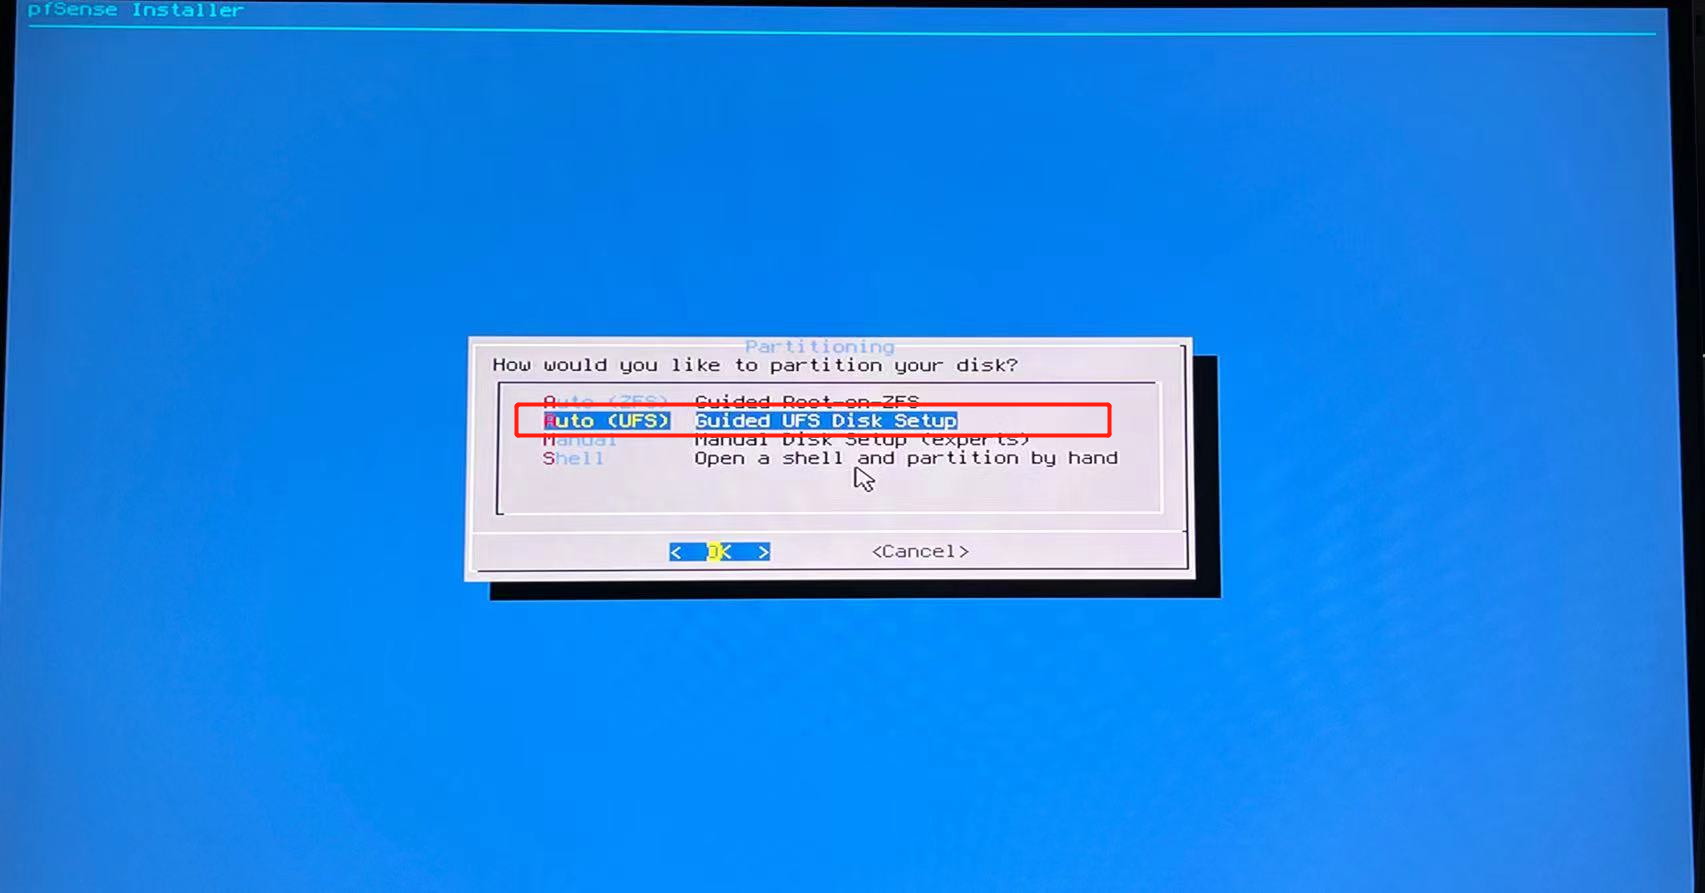
3.4 Select file system format
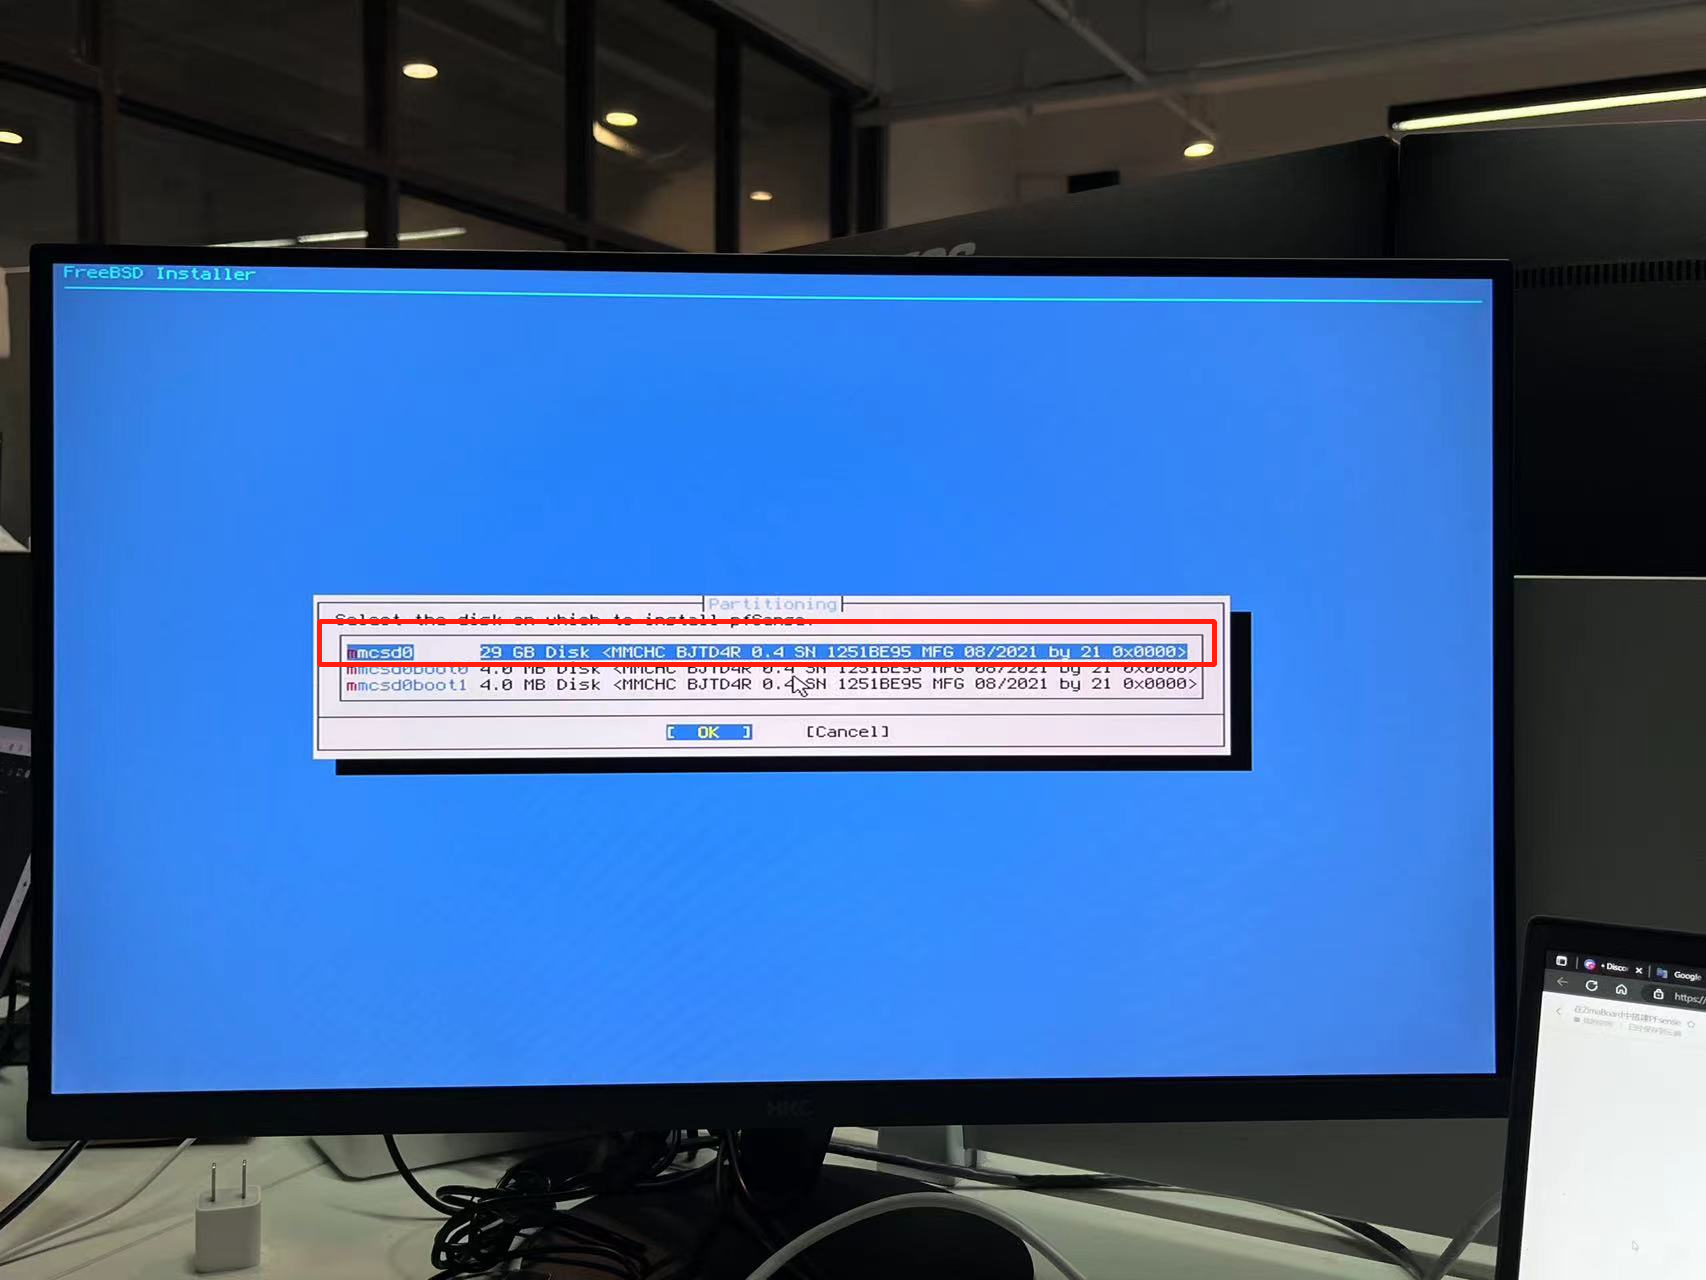
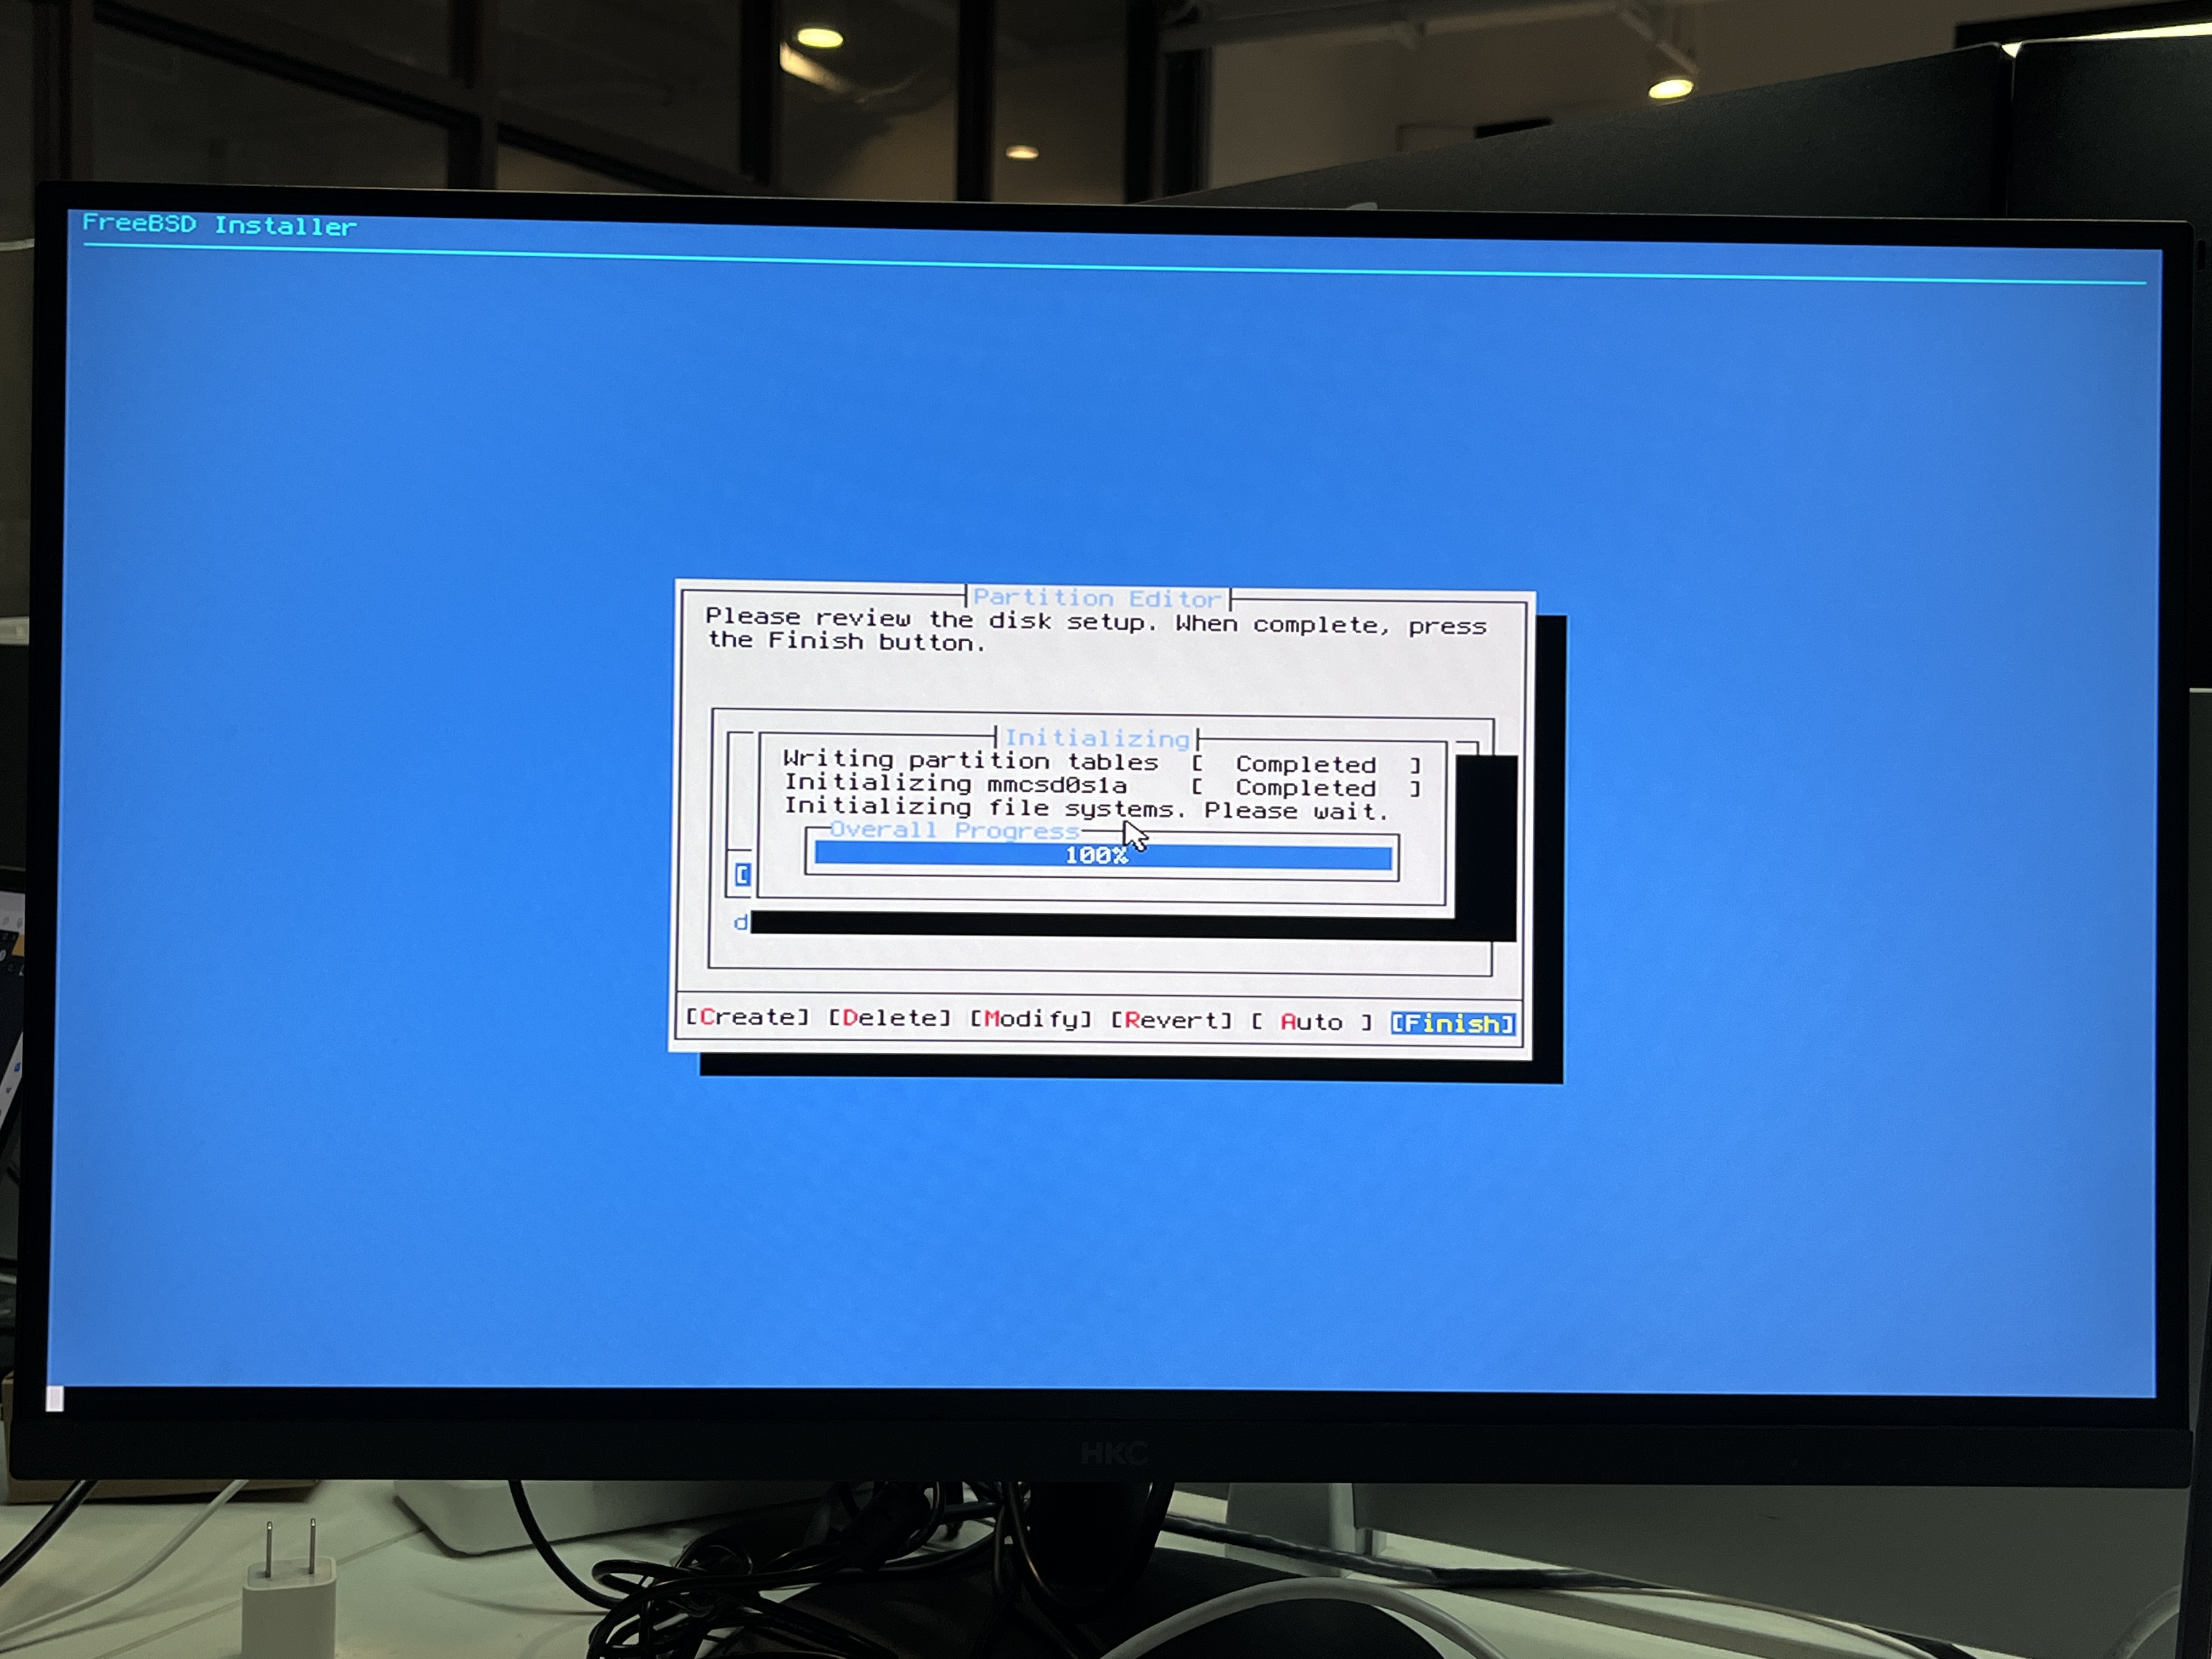
3.5 Wait for the installation to complete
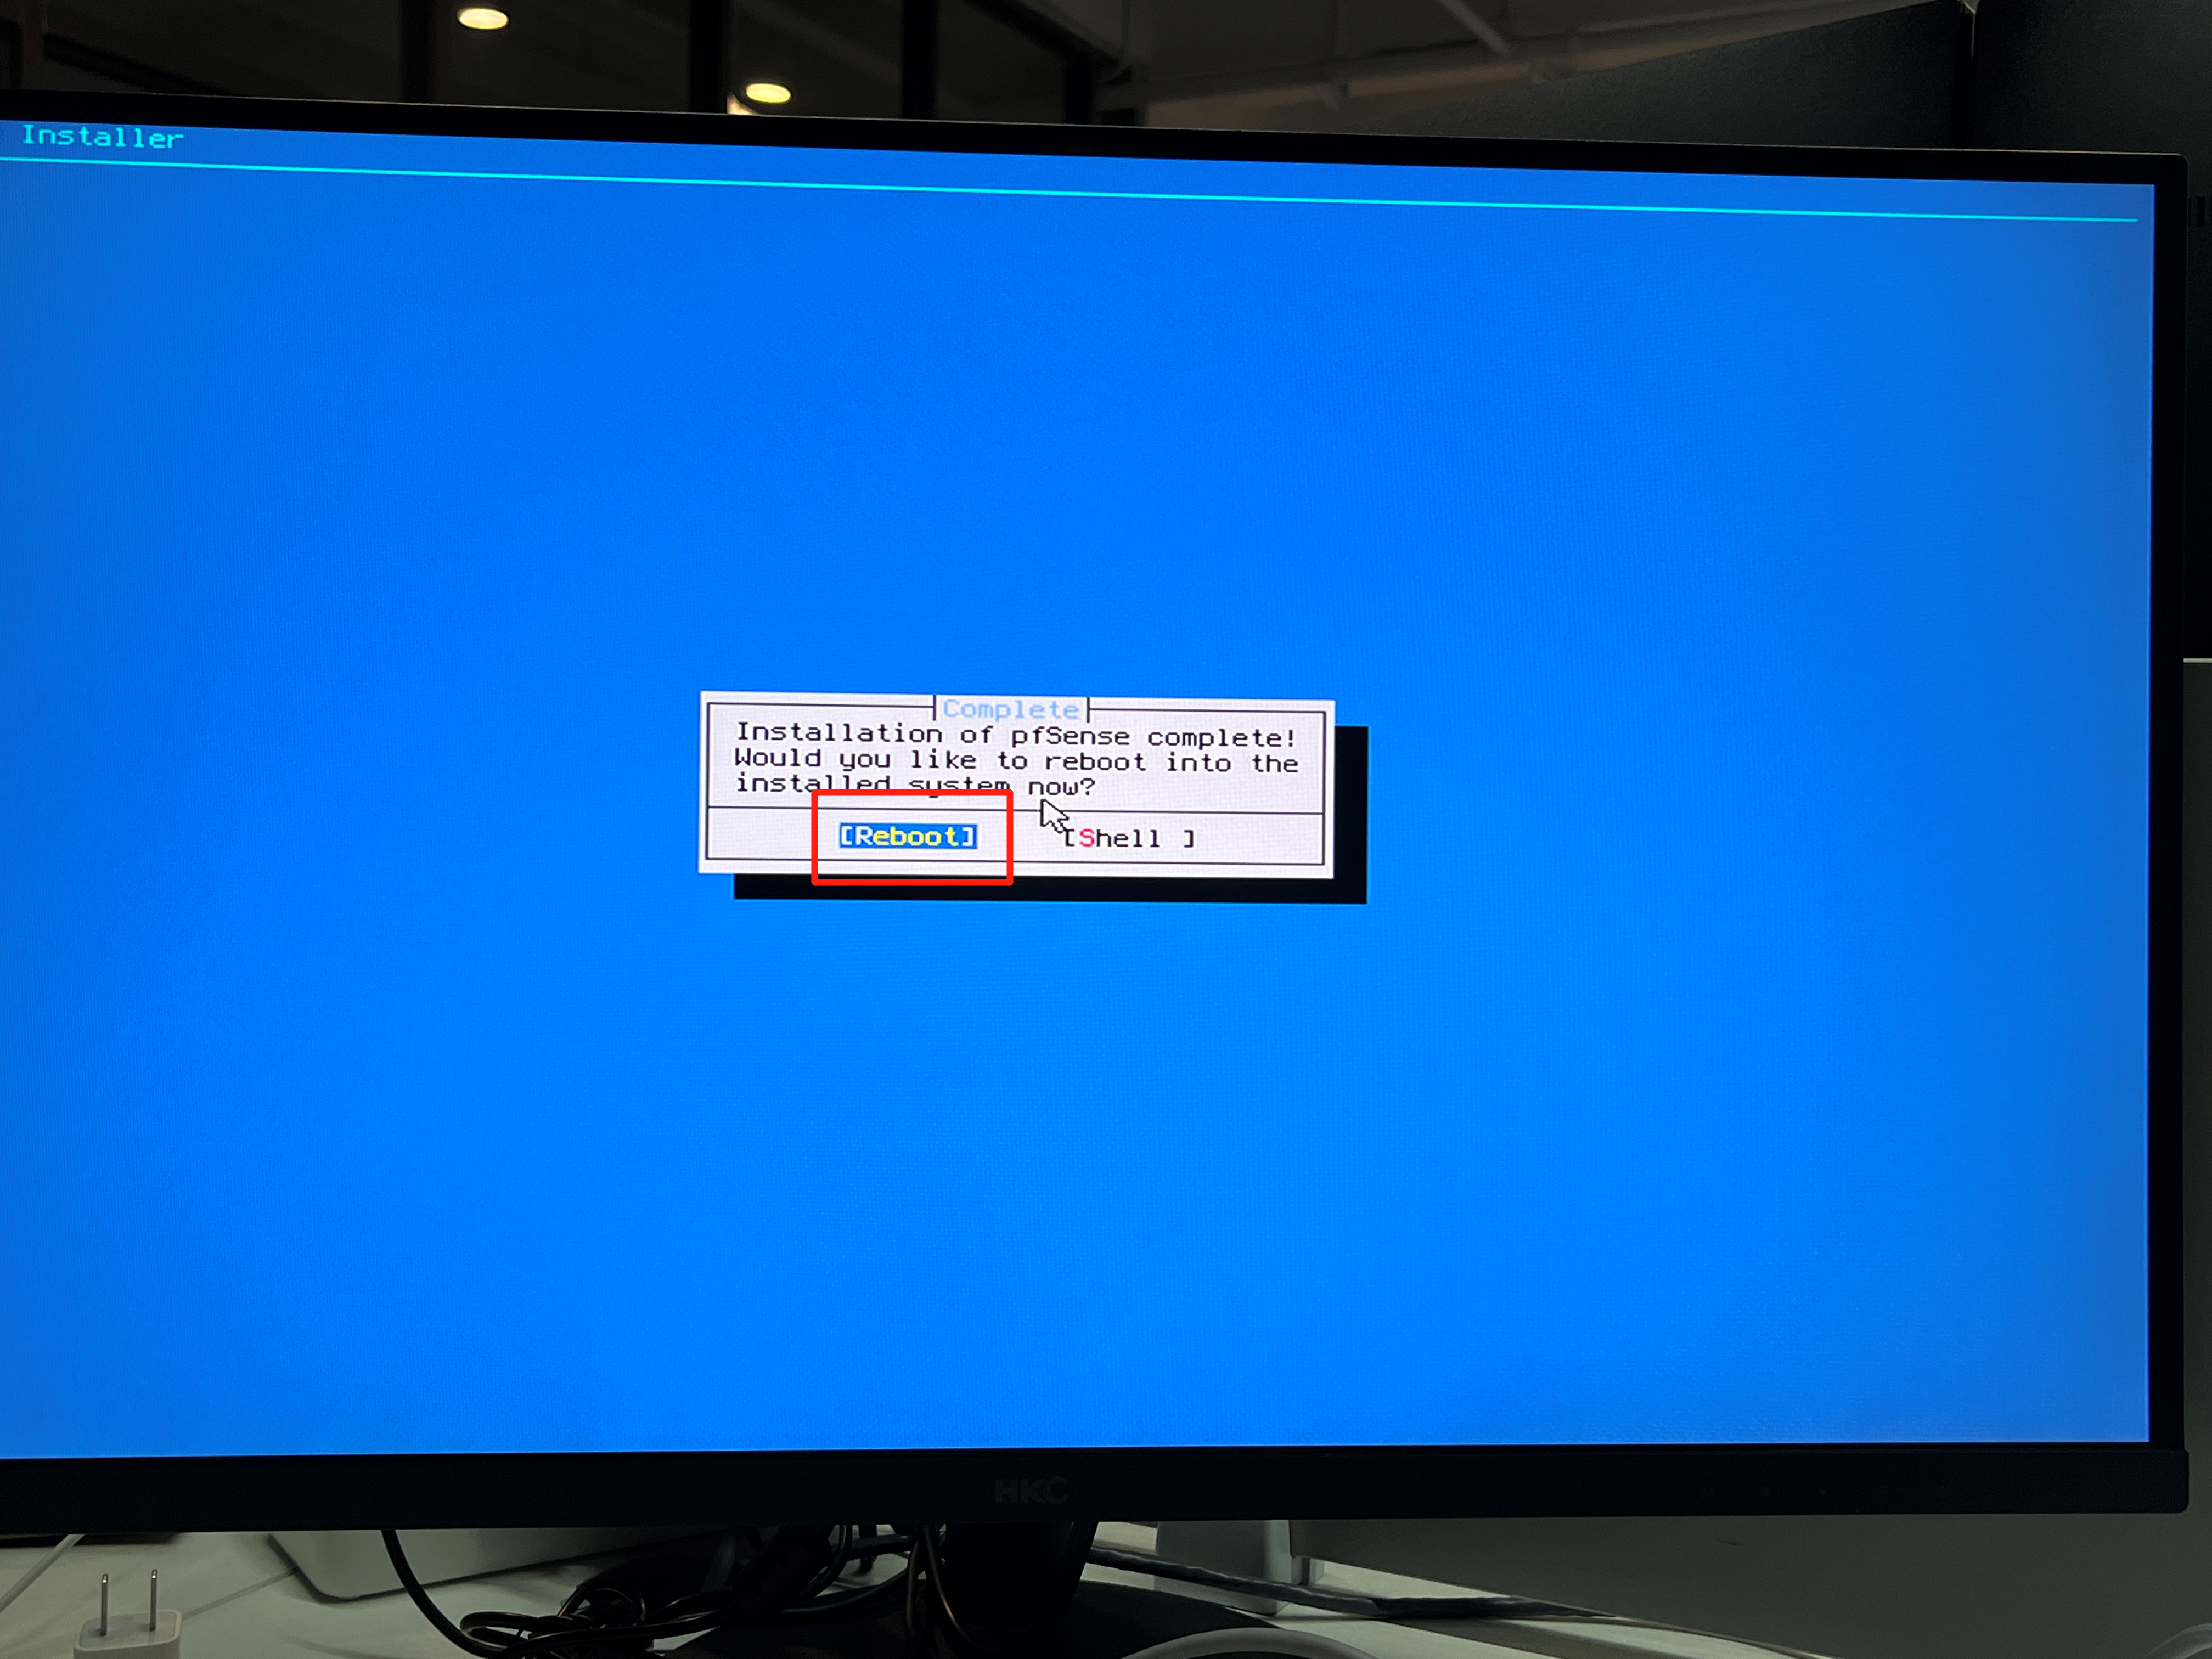
3.6 After the installation is complete, click Restart
Step 4: Configure PFsense on the command line
4.1 After restarting, map the WAN portThe virtual machine starts to configure two network cards, and we map the WAN port to the em0 network card
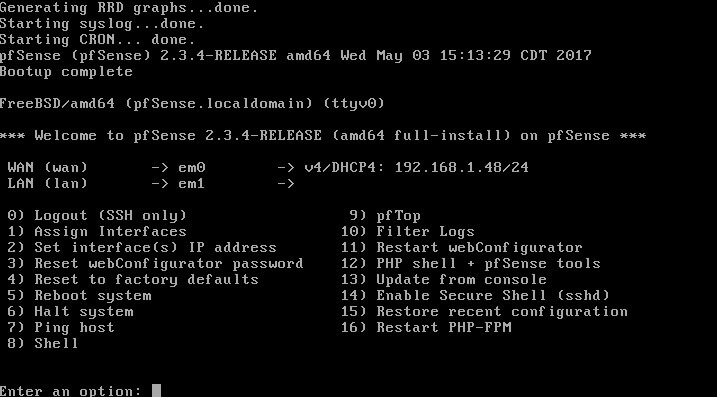
4.2 Configure IP address: after the WAN port automatic configuration task is completed, enter the following interface, we choose 2 to configure the IP address of the LAN port. During the configuration process, configure the IP address, mask, and gateway, and enable HTTP service according to the prompts.
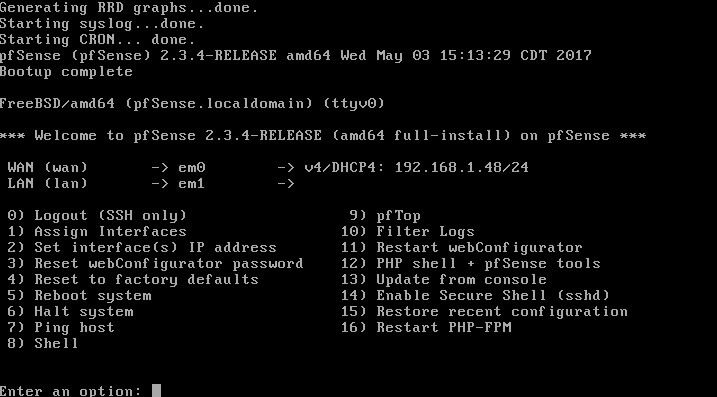
4.3 PFSense will save the interface changes and start the DHCP service on the LAN interface

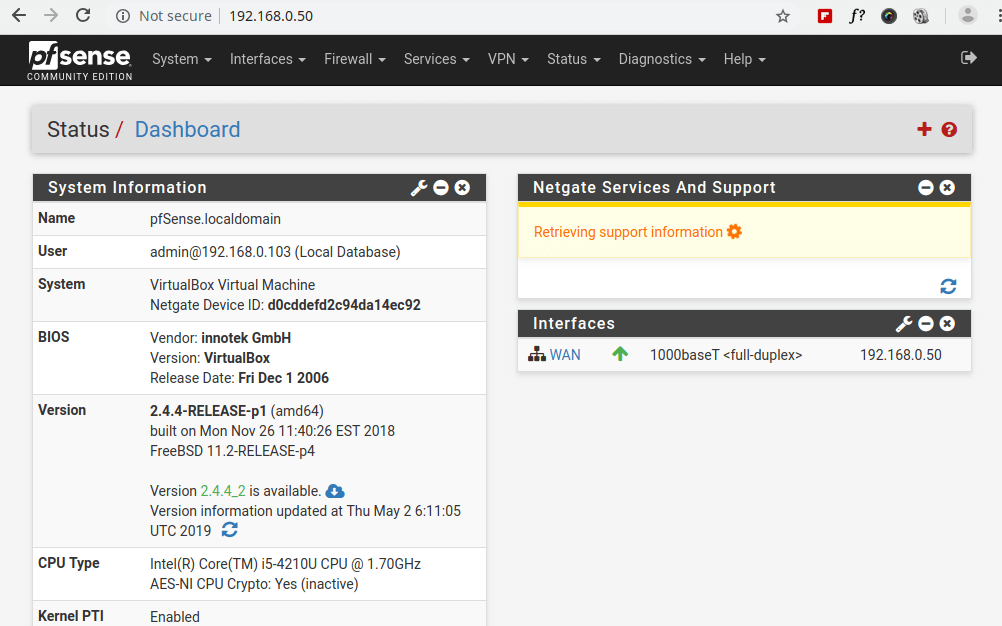
Step 5: Log in to use PFsense
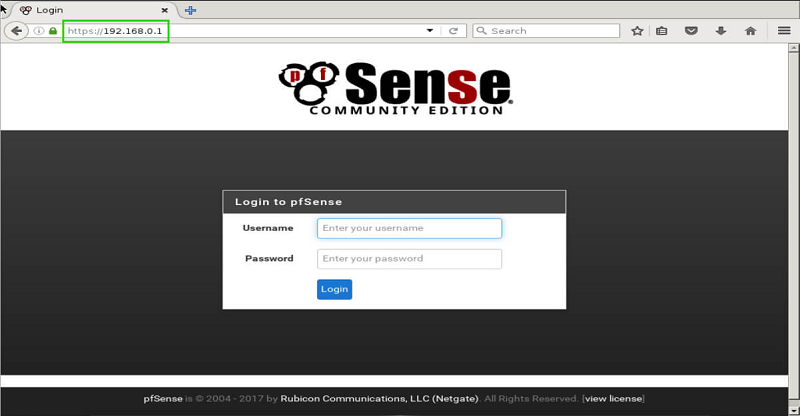
5.1 Enter the IP address to log inThe default login account and password of PFsense are:
Username:admin
Password: PFsense
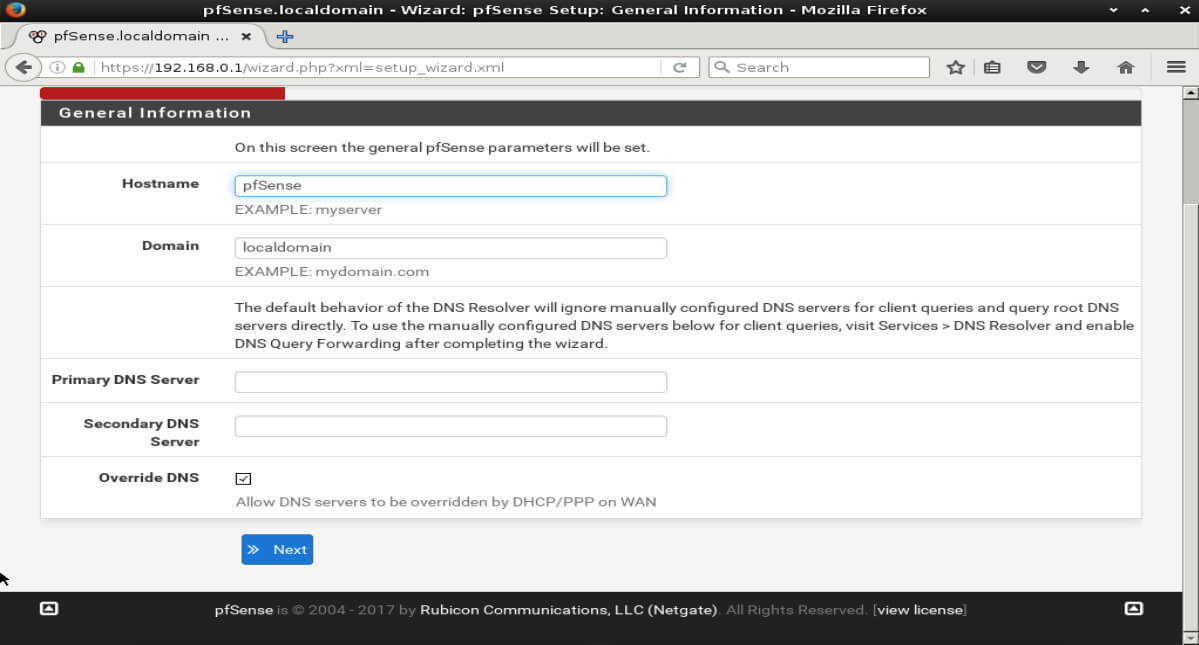
5.2 Prompt the user to enter more configuration information of the firewall, such as hostname, domain name and DNS server, Network Time Protocol, and NTP.
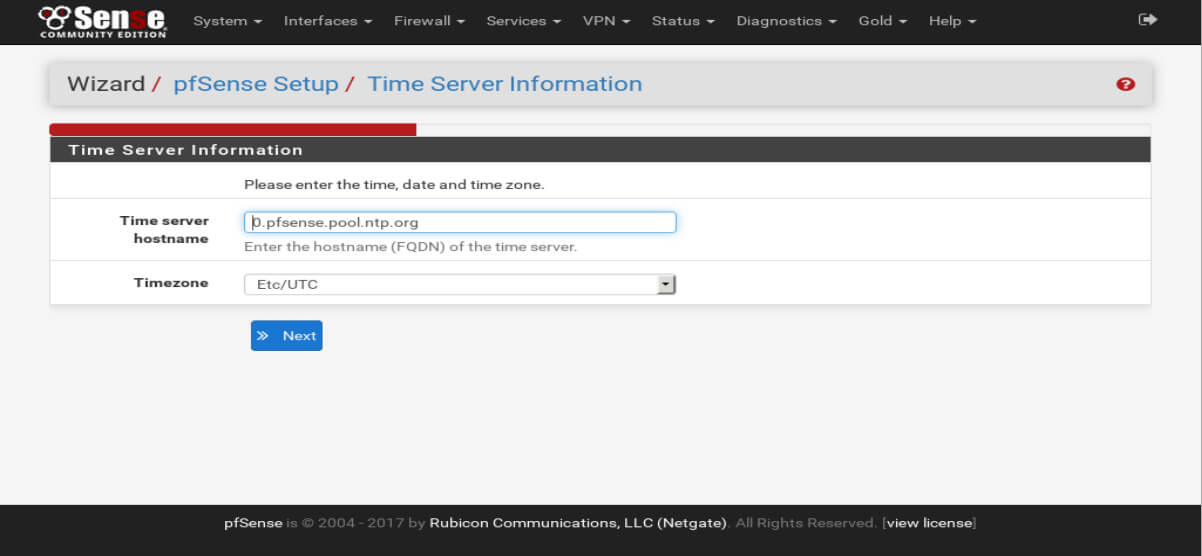
5.3 Configure the IP address of the LAN interface. You can skip it if you don’t need it. Make sure to remember the LAN IP address you set, this is how administrators will access the web interface.
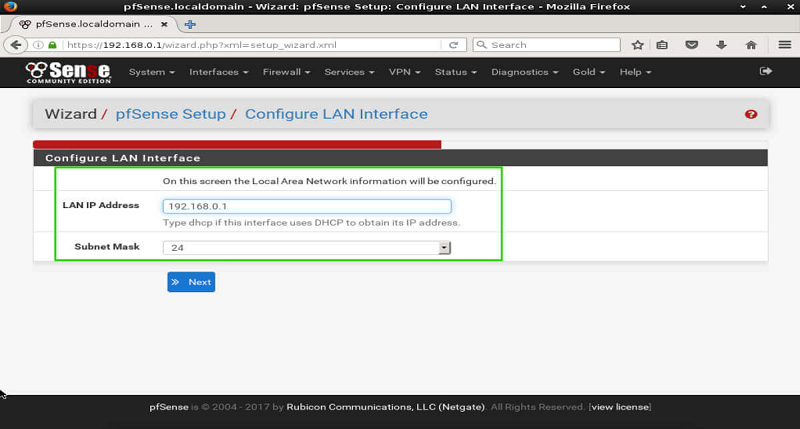
5.4 After the basic configuration of PFsense is completed, various settings can be made on the web interface.
