Unlock the device
Remove the the front panel
Begin by carefully detaching the front panel of the ZimaCube chassis to access the internal components.Tips
The front panel is attached with magnets. To remove it, simply press the corners to lift it up.
press the button to unlock the handle
Locate and press the yellow button situated on the hard drive bay. This will release the locking mechanism of the hard drive tray.pull out the tray
Once the hard drive tray handle pops out, gently pull it to slowly slide the hard drive tray out of the bay.
Install SATA Disk
Install 3.5 hard disk
- Prepare the Hard Drive Tray:
- Remove the hard drive tray and prepare.
- Insert the 3.5-inch Hard Drive:
- Place the 3.5-inch hard drive into the tray, aligning the screw holes on the sides of the hard drive with those on the tray.
- Secure the Hard Drive:
- Use the provided 6-32 screws to secure the hard drive in place. It is recommended to use the screws that come with your ZimaCube for a proper fit.
- Ensure the screws are tightened so that the surface is flush and even.
Install 2.5 Hard Disk
- Prepare the Hard Drive Tray:
- Remove the hard drive tray and prepare.
- Insert the 2.5-inch hard drive:
- Place the 2.5-inch hard drive into the tray, aligning the screw holes on the sides of the hard drive with those on the tray.
- Secure the Hard Drive:
- Use the provided M3 screws to secure the hard drive in place. It is recommended to use the screws that come with your ZimaCube for a proper fit.
- Ensure the screws are tightened so that the surface is flush and even.
Install M.2 NVMe Disk
How to install an M.2 NVMe/PCIe drive
- Prepare the 7th Bay:
Remove the 7th Bay and prepare. - Insert the PCIe SSD:
- Align the M.2 interface and gently slide the NVMe SSD into the slot at a 30 to 45 degree angle, then push it down flat.
(You’ll know it’s in correctly when it clicks into place. Don’t force it; if it doesn’t go in easily, ensure to recheck and adjust the alignment accordingly.)
- Secure the M.2 NVMe/PCIe SSD:
- Use the appropriate screw to secure the SSD in place.
Tips
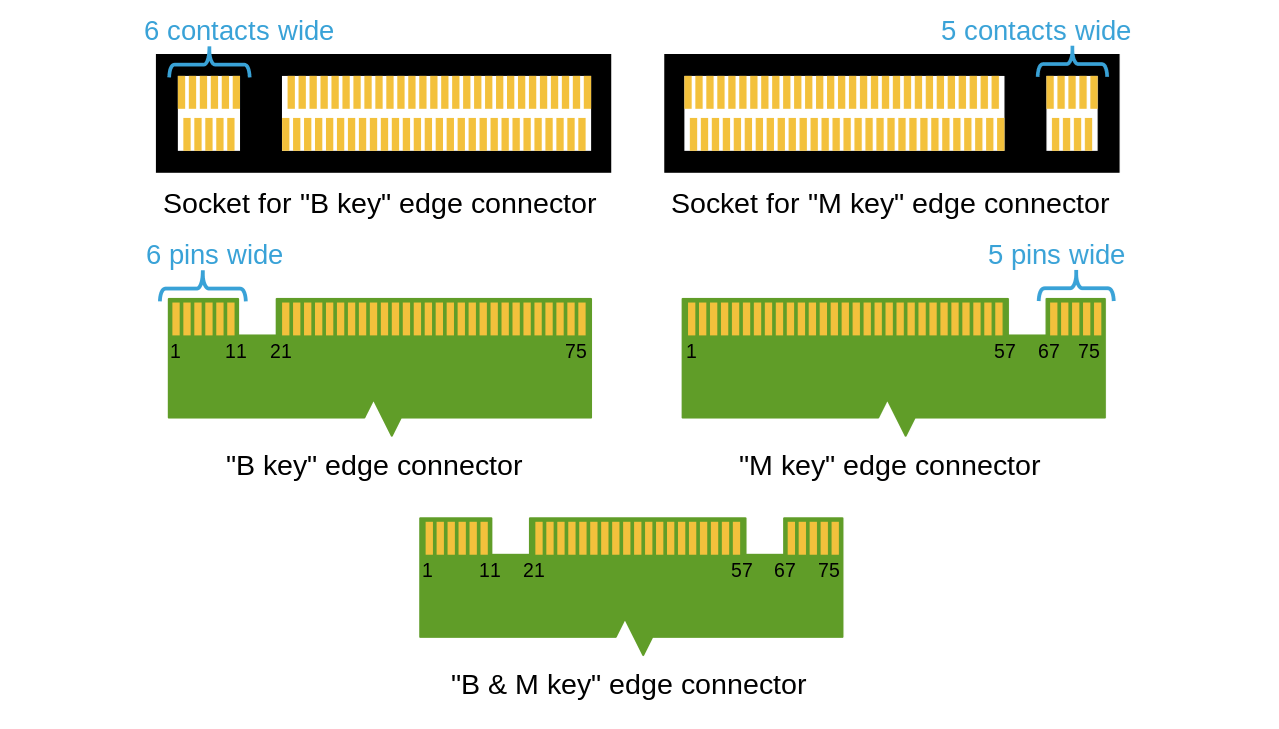
M key usually support PCIe x2/x4.

Compatibility List
More to come…