Preparations:
Ensure that the ZimaCube is powered off and unplugged.
Prepare the hard drive to be installed.
Specific Steps:
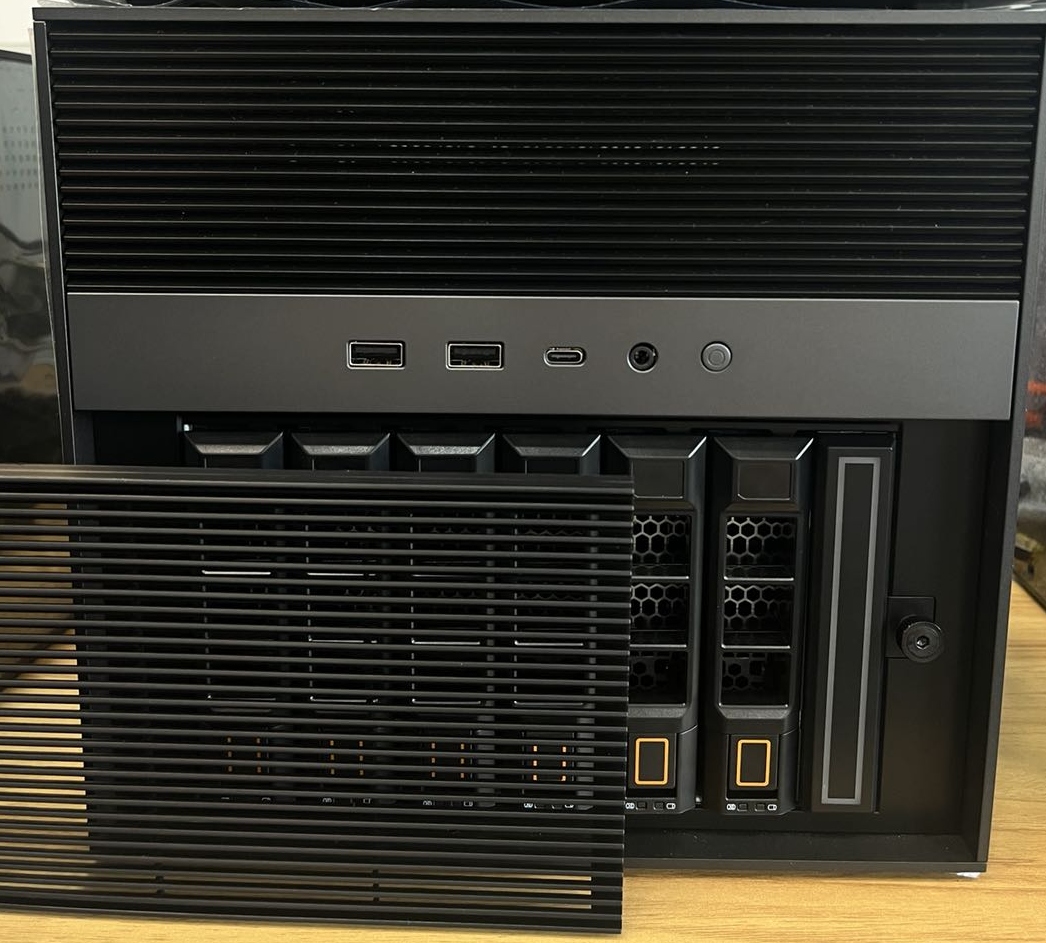
Step 1: Remove the front panel of the case.
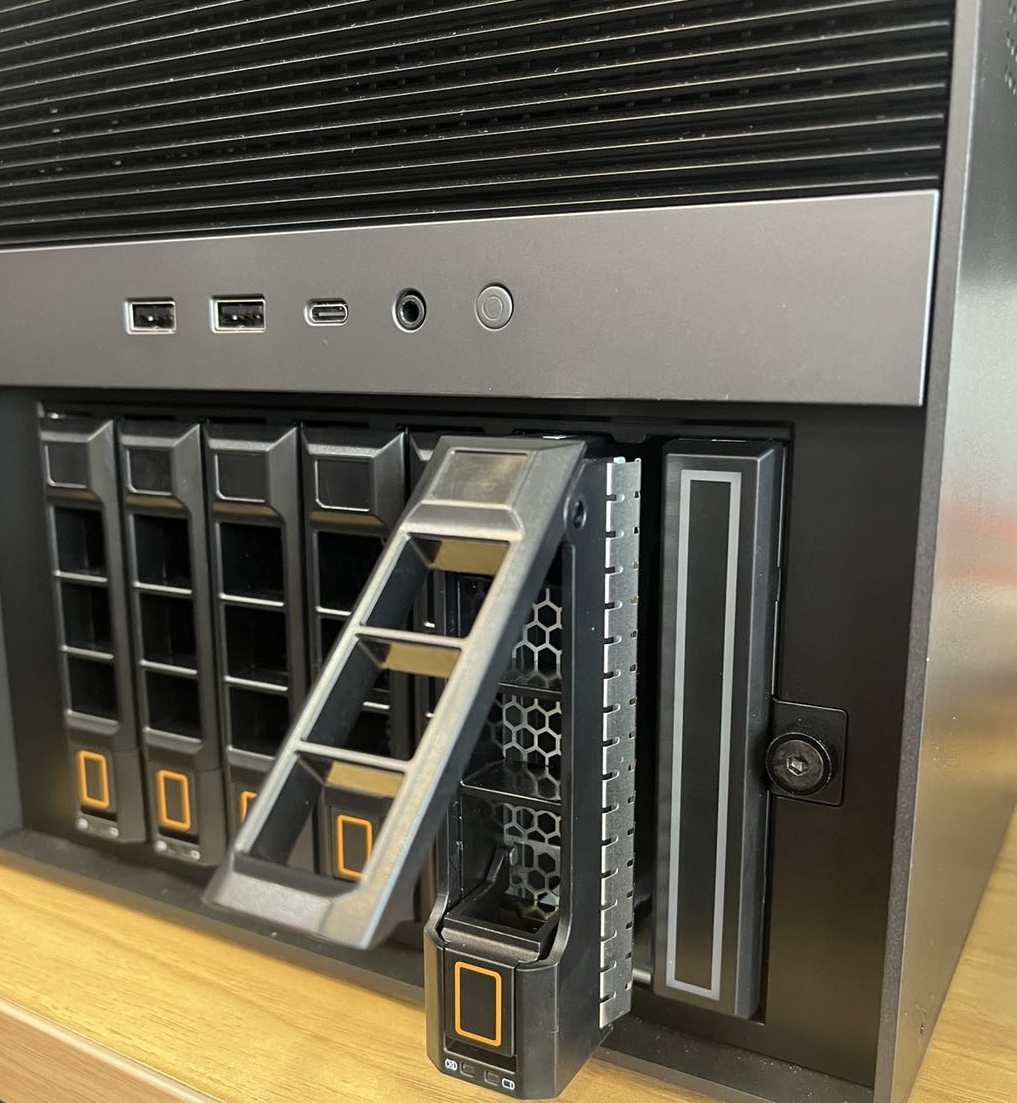
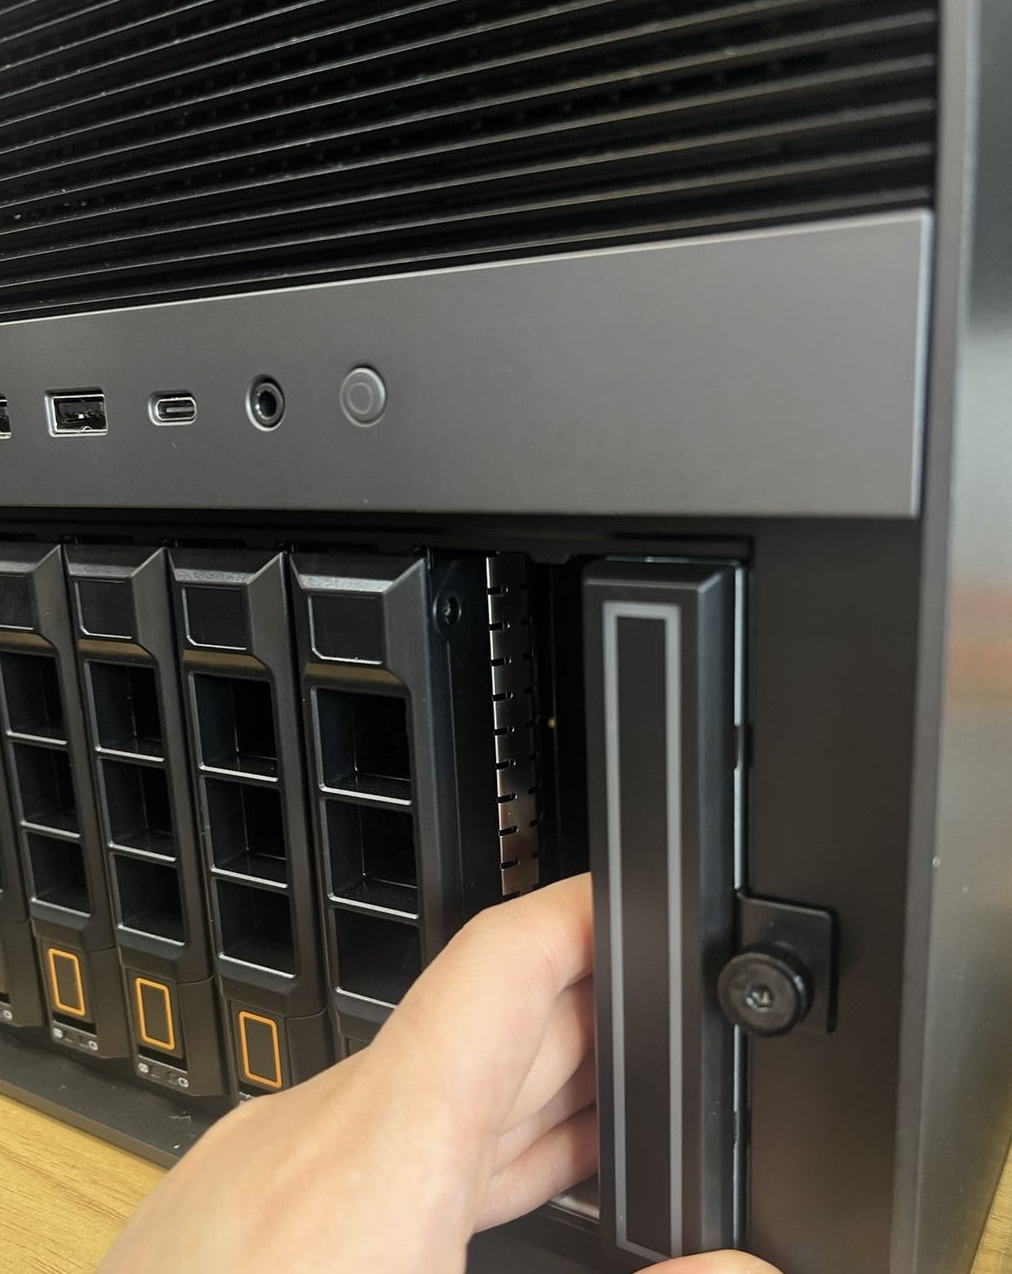
Step 2: Remove the 6th bay.
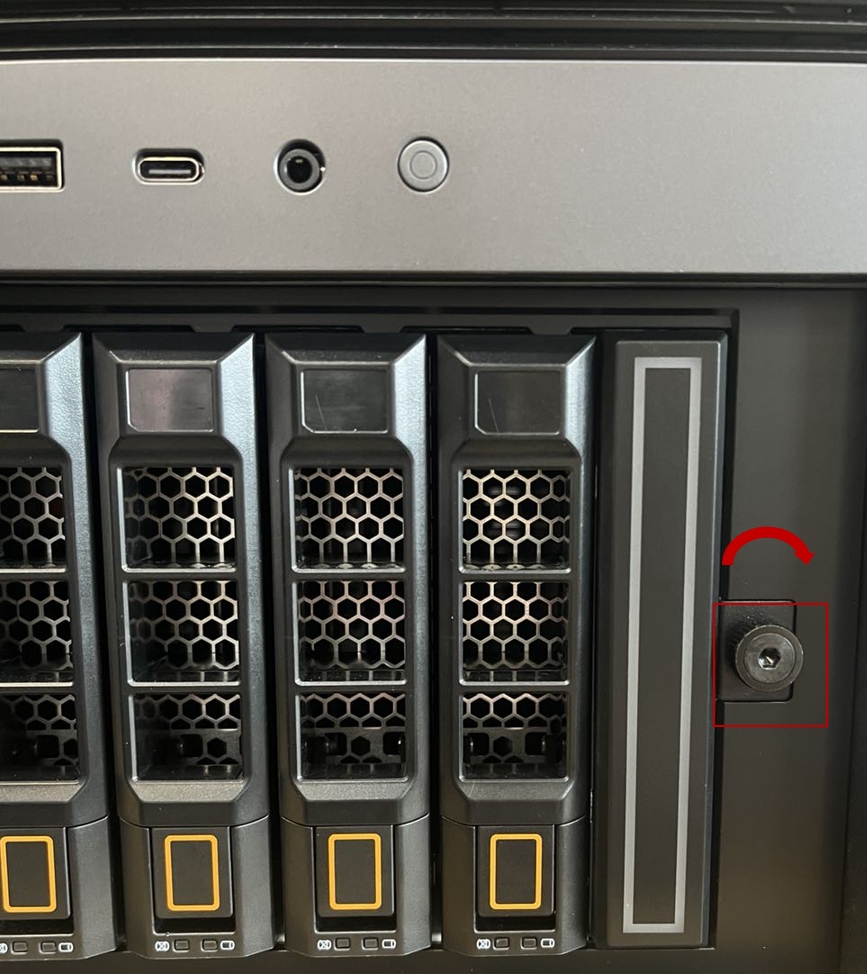
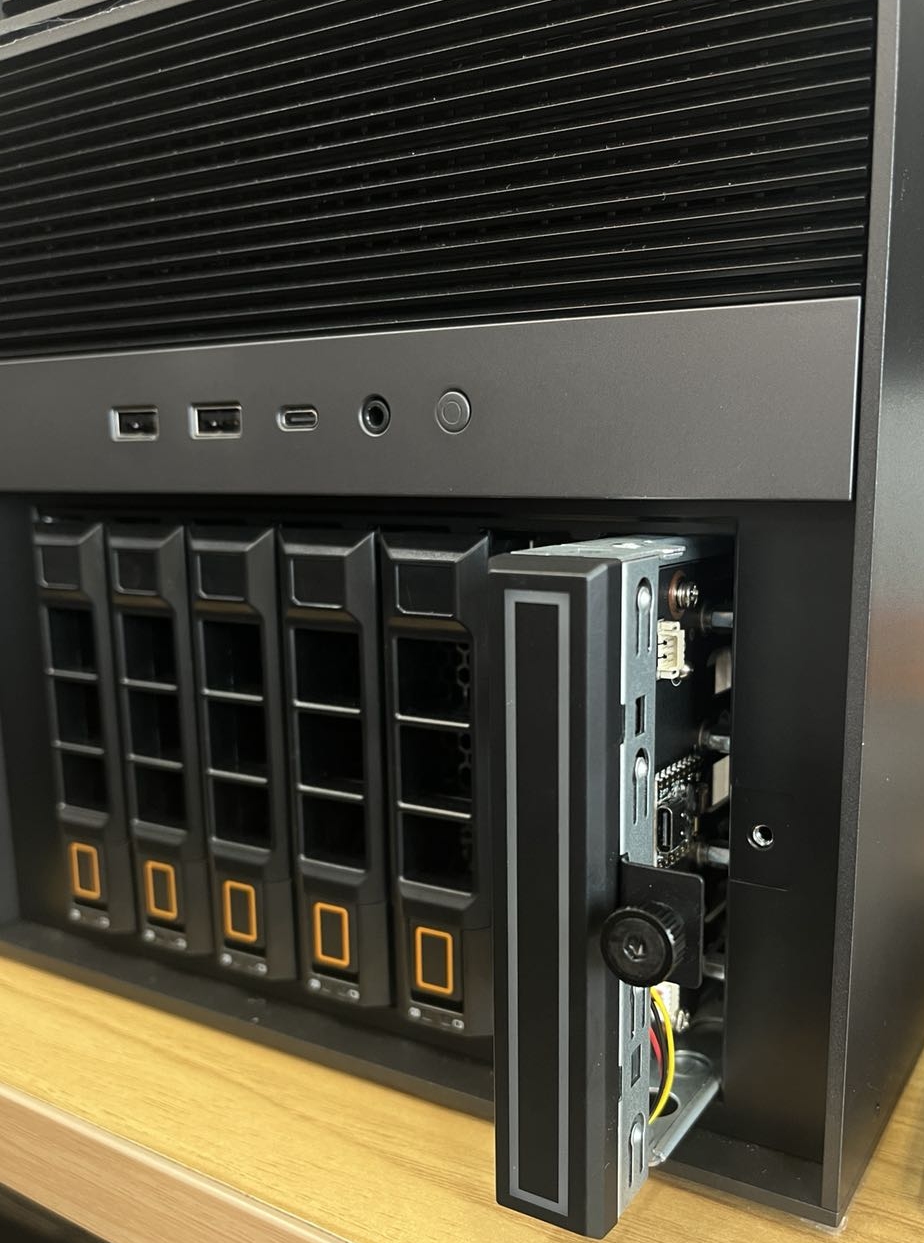
Step 3: Turn counterclockwise to unscrew the screws securing the seventh drive.
Step 4: Remove the 7th bay.
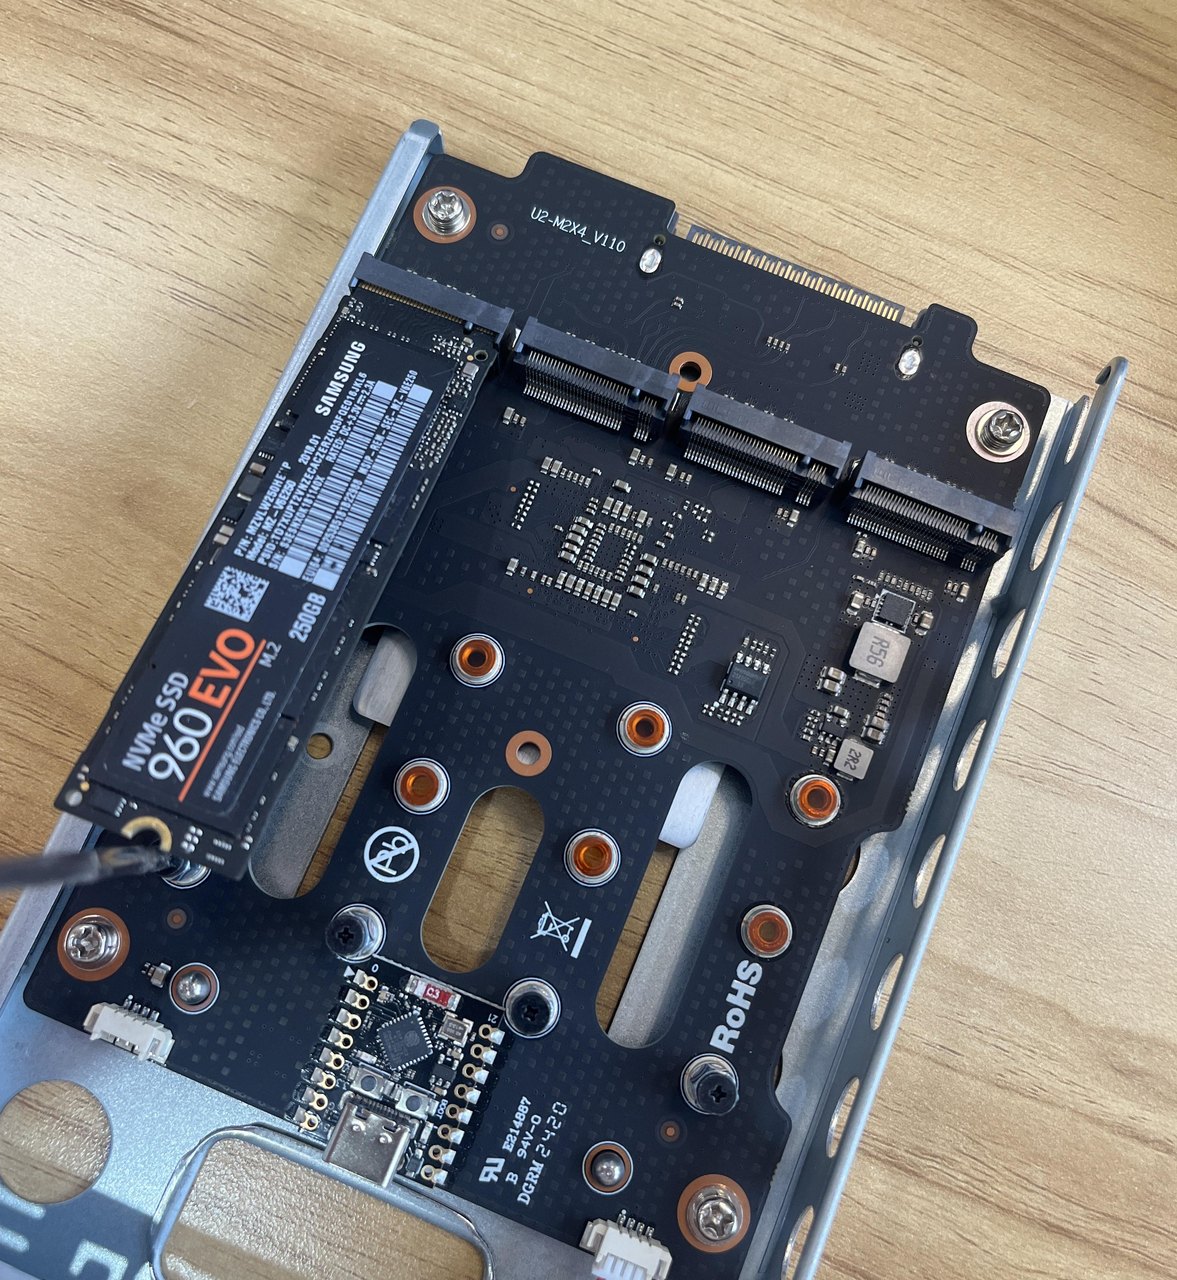
Step 5: Freely install the SSD onto the 7th bay.
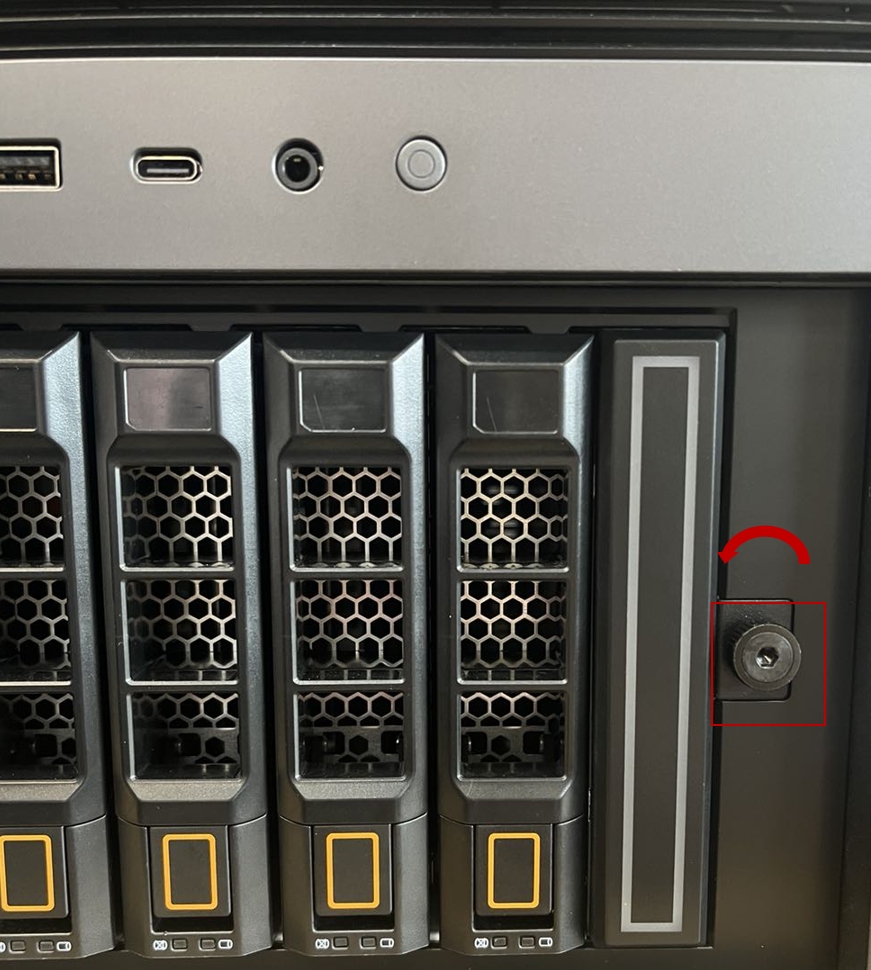
Step 6: Push the 7th bay into the correct position and tighten the screws clockwise.