We have experience using a ZimaCube/ZimaBoard to build a home 4K theater, but simply watching movies no longer meets our family’s entertainment needs. As a result, we started looking for engaging games that appeal to both adults and children. A truly captivating game not only brings family members closer but also nurtures children’s creativity.
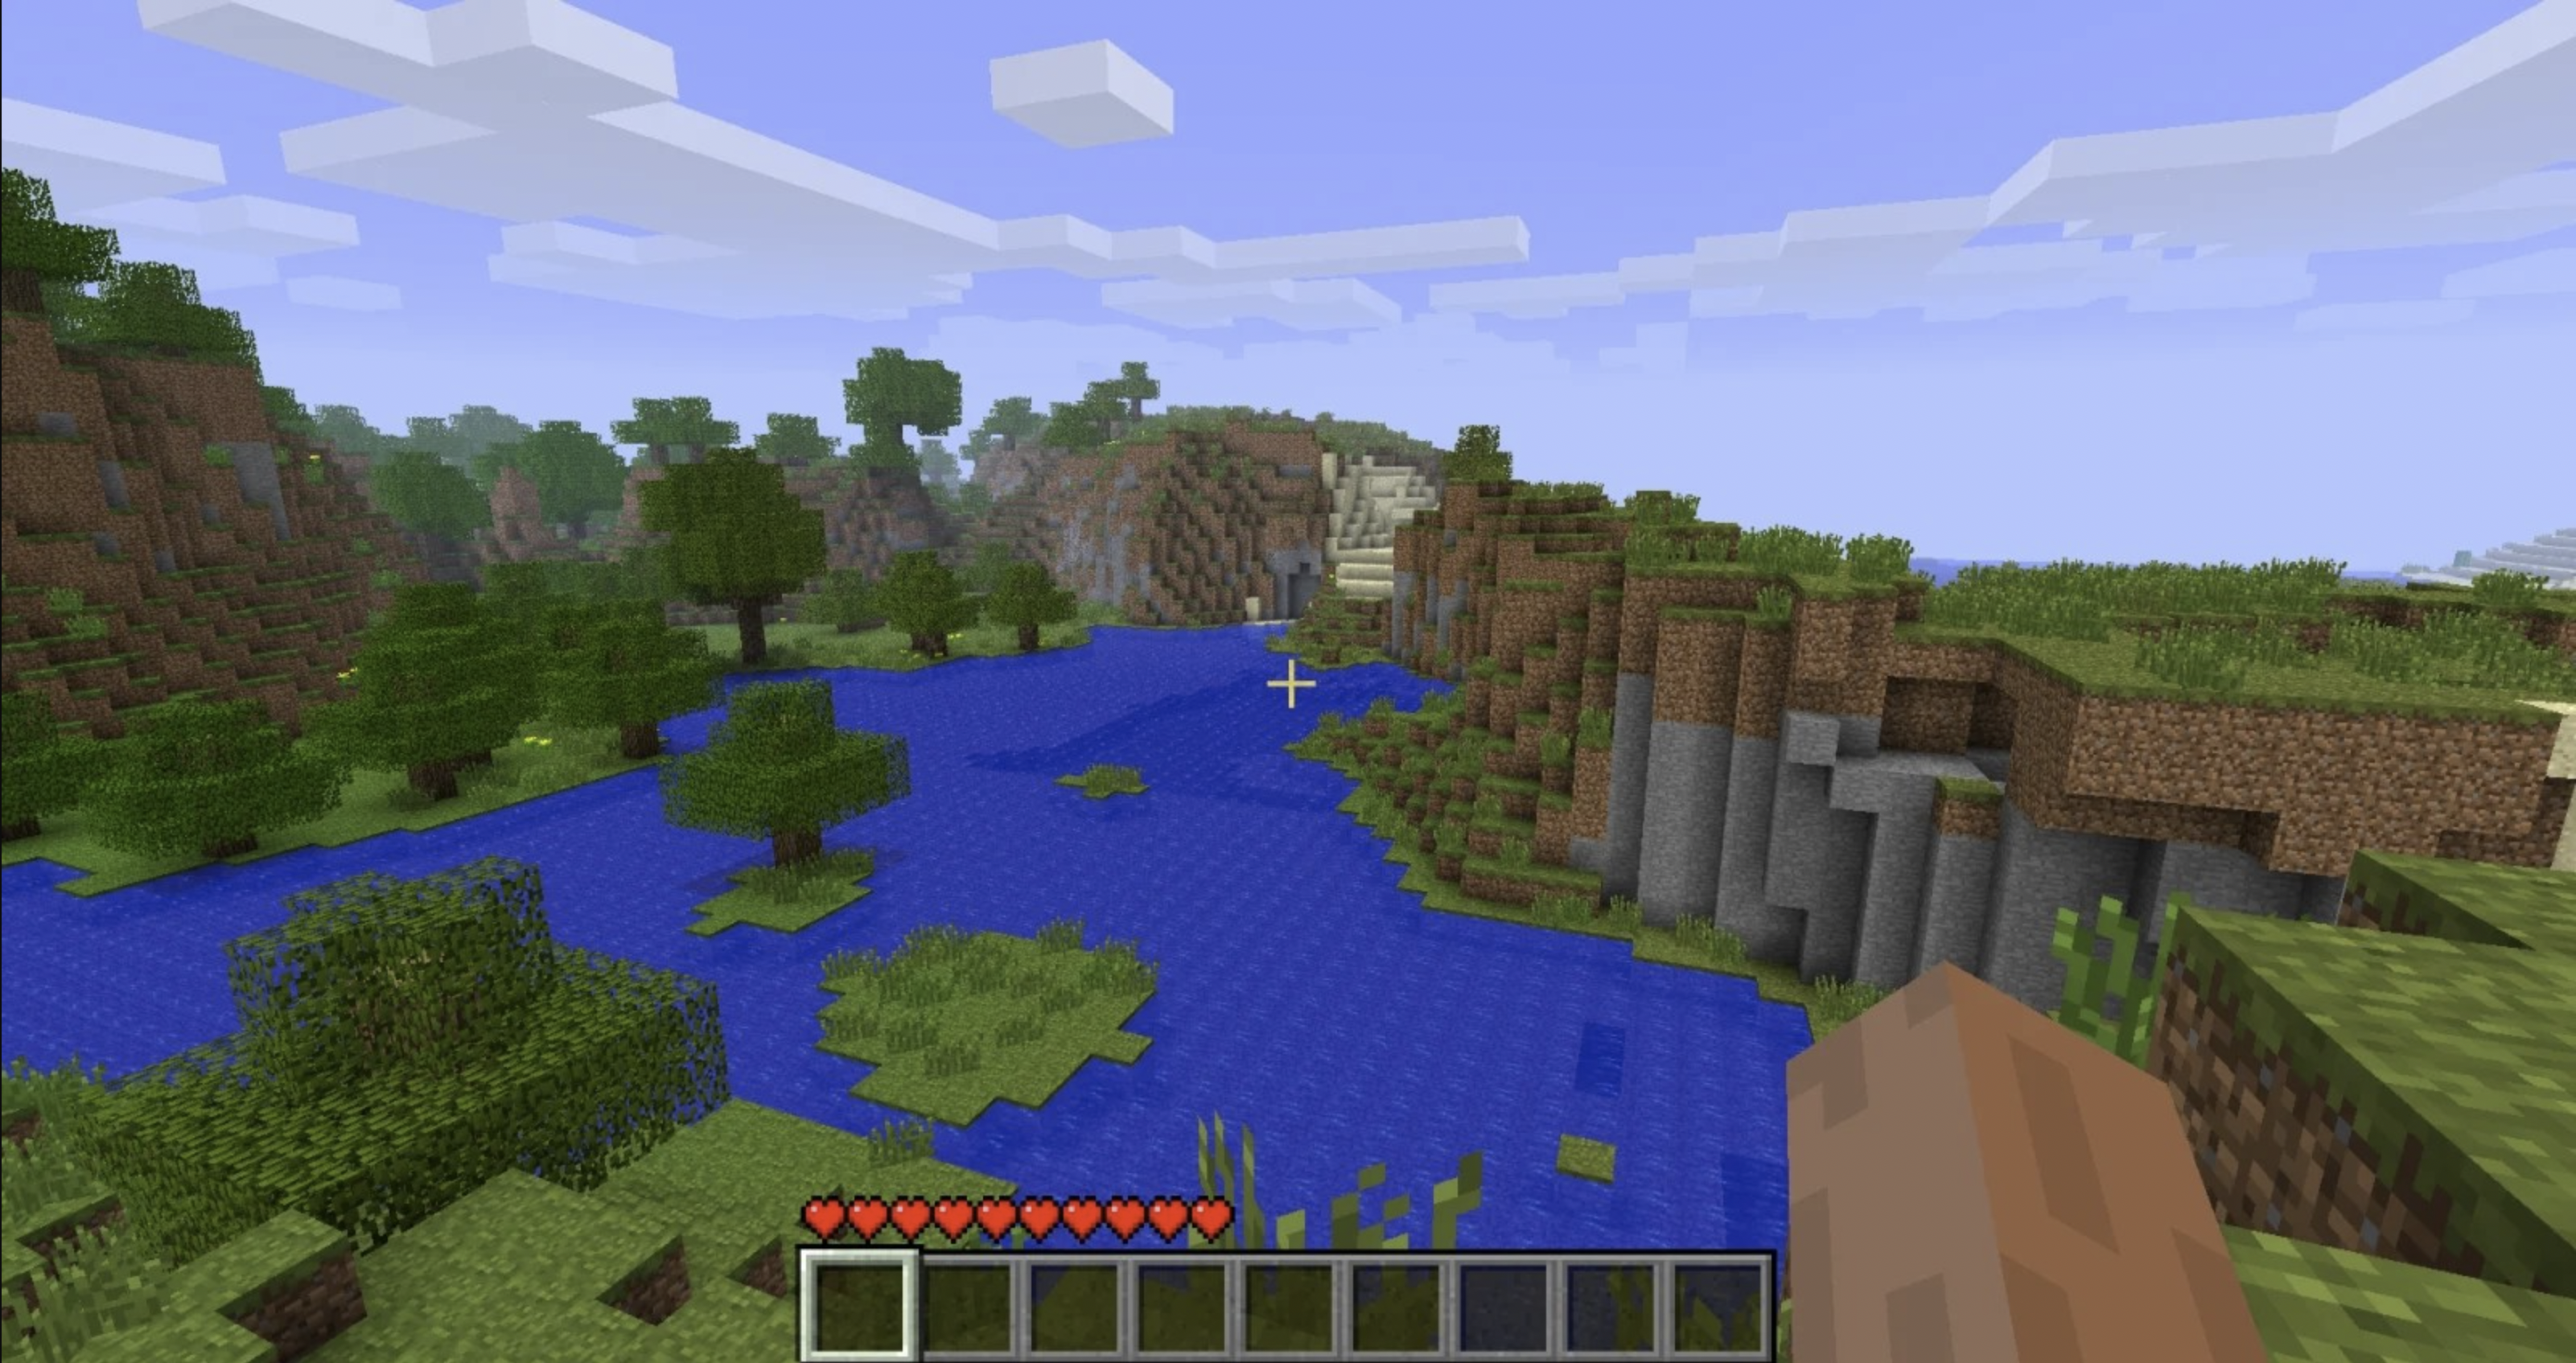
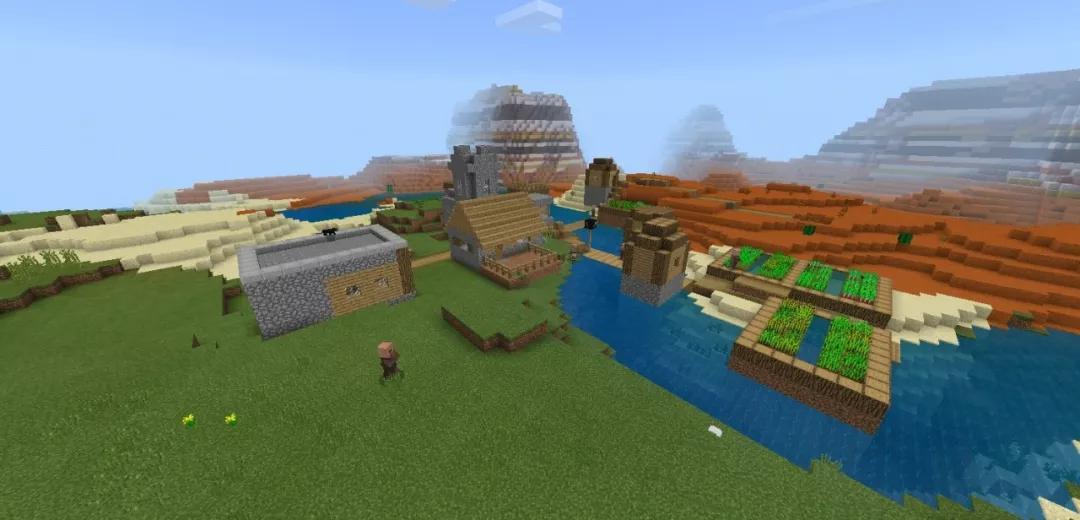
**Minecraft **is an ideal choice for this purpose. Often described as a digital take on LEGO, it presents players of all ages with a vast, blocky 3D world where they can build structures, craft tools, and embark on endless adventures. Whether it’s exploring dungeons, farming crops, raising animals, or designing elaborate roller coasters, Minecraft offers something enjoyable for everyone in the family.
Introduce Minecraft
Minecraft is a sandbox building game created by Markus Persson, founder of Mojang AB, and inspired by Endless Miner, Dwarf Fortress, and Dungeon Keeper. The current lead developer is Jens Bergensten. Players can create and destroy a myriad of cubes in the game’s three-dimensional space and can also experience different game modes on multiplayer servers or in single-player worlds to construct impressive buildings, creations, and artwork.
Prepare in Advance
By default, we assume you already know how to use ZimaBoard when following this tutorial:ZimaBoard Tutorial
Similarly, we assume you have already purchased a “My World” account (refer to the MineCraft purchase link)
| Item | Description |
|---|---|
| Software | MineCraft Installation Links |
| Paragraph | ZimaBoard 216 |
Start to Build a Minecraft Server
- Enter CasaOS
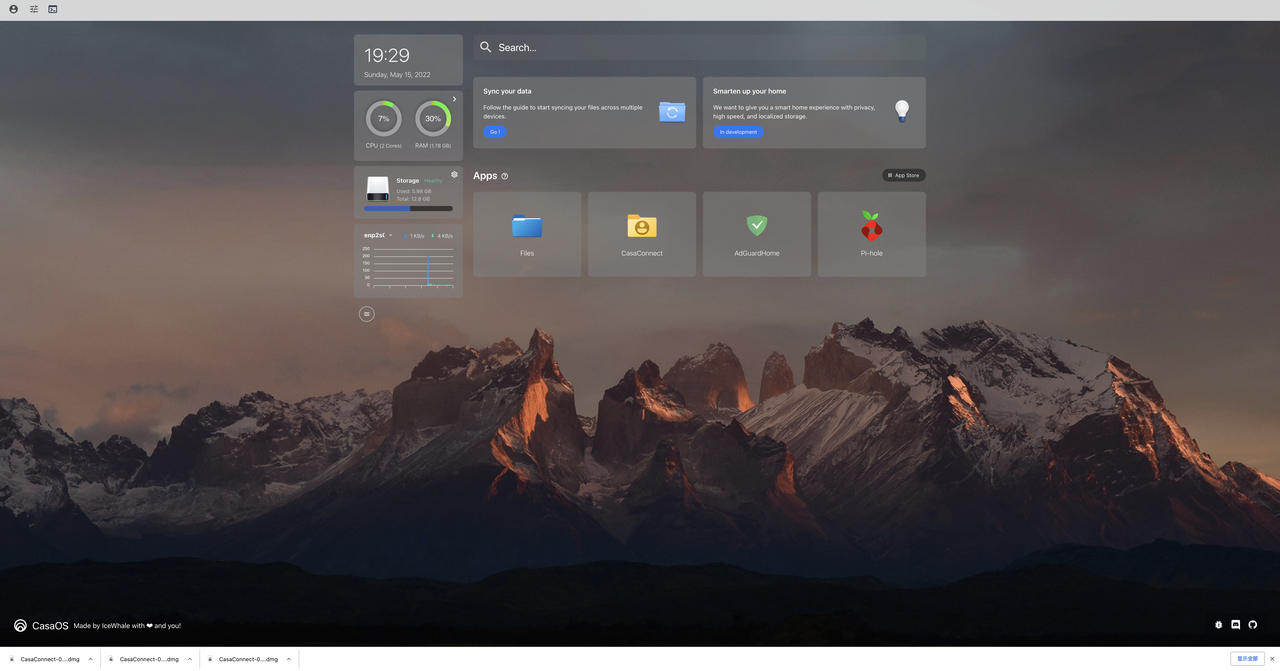
- Open the App Store and Select “Custom Install”
docker run -d \ |
- Copy [CLI]
(https://hub.docker.com/r/itzg/minecraft-server)
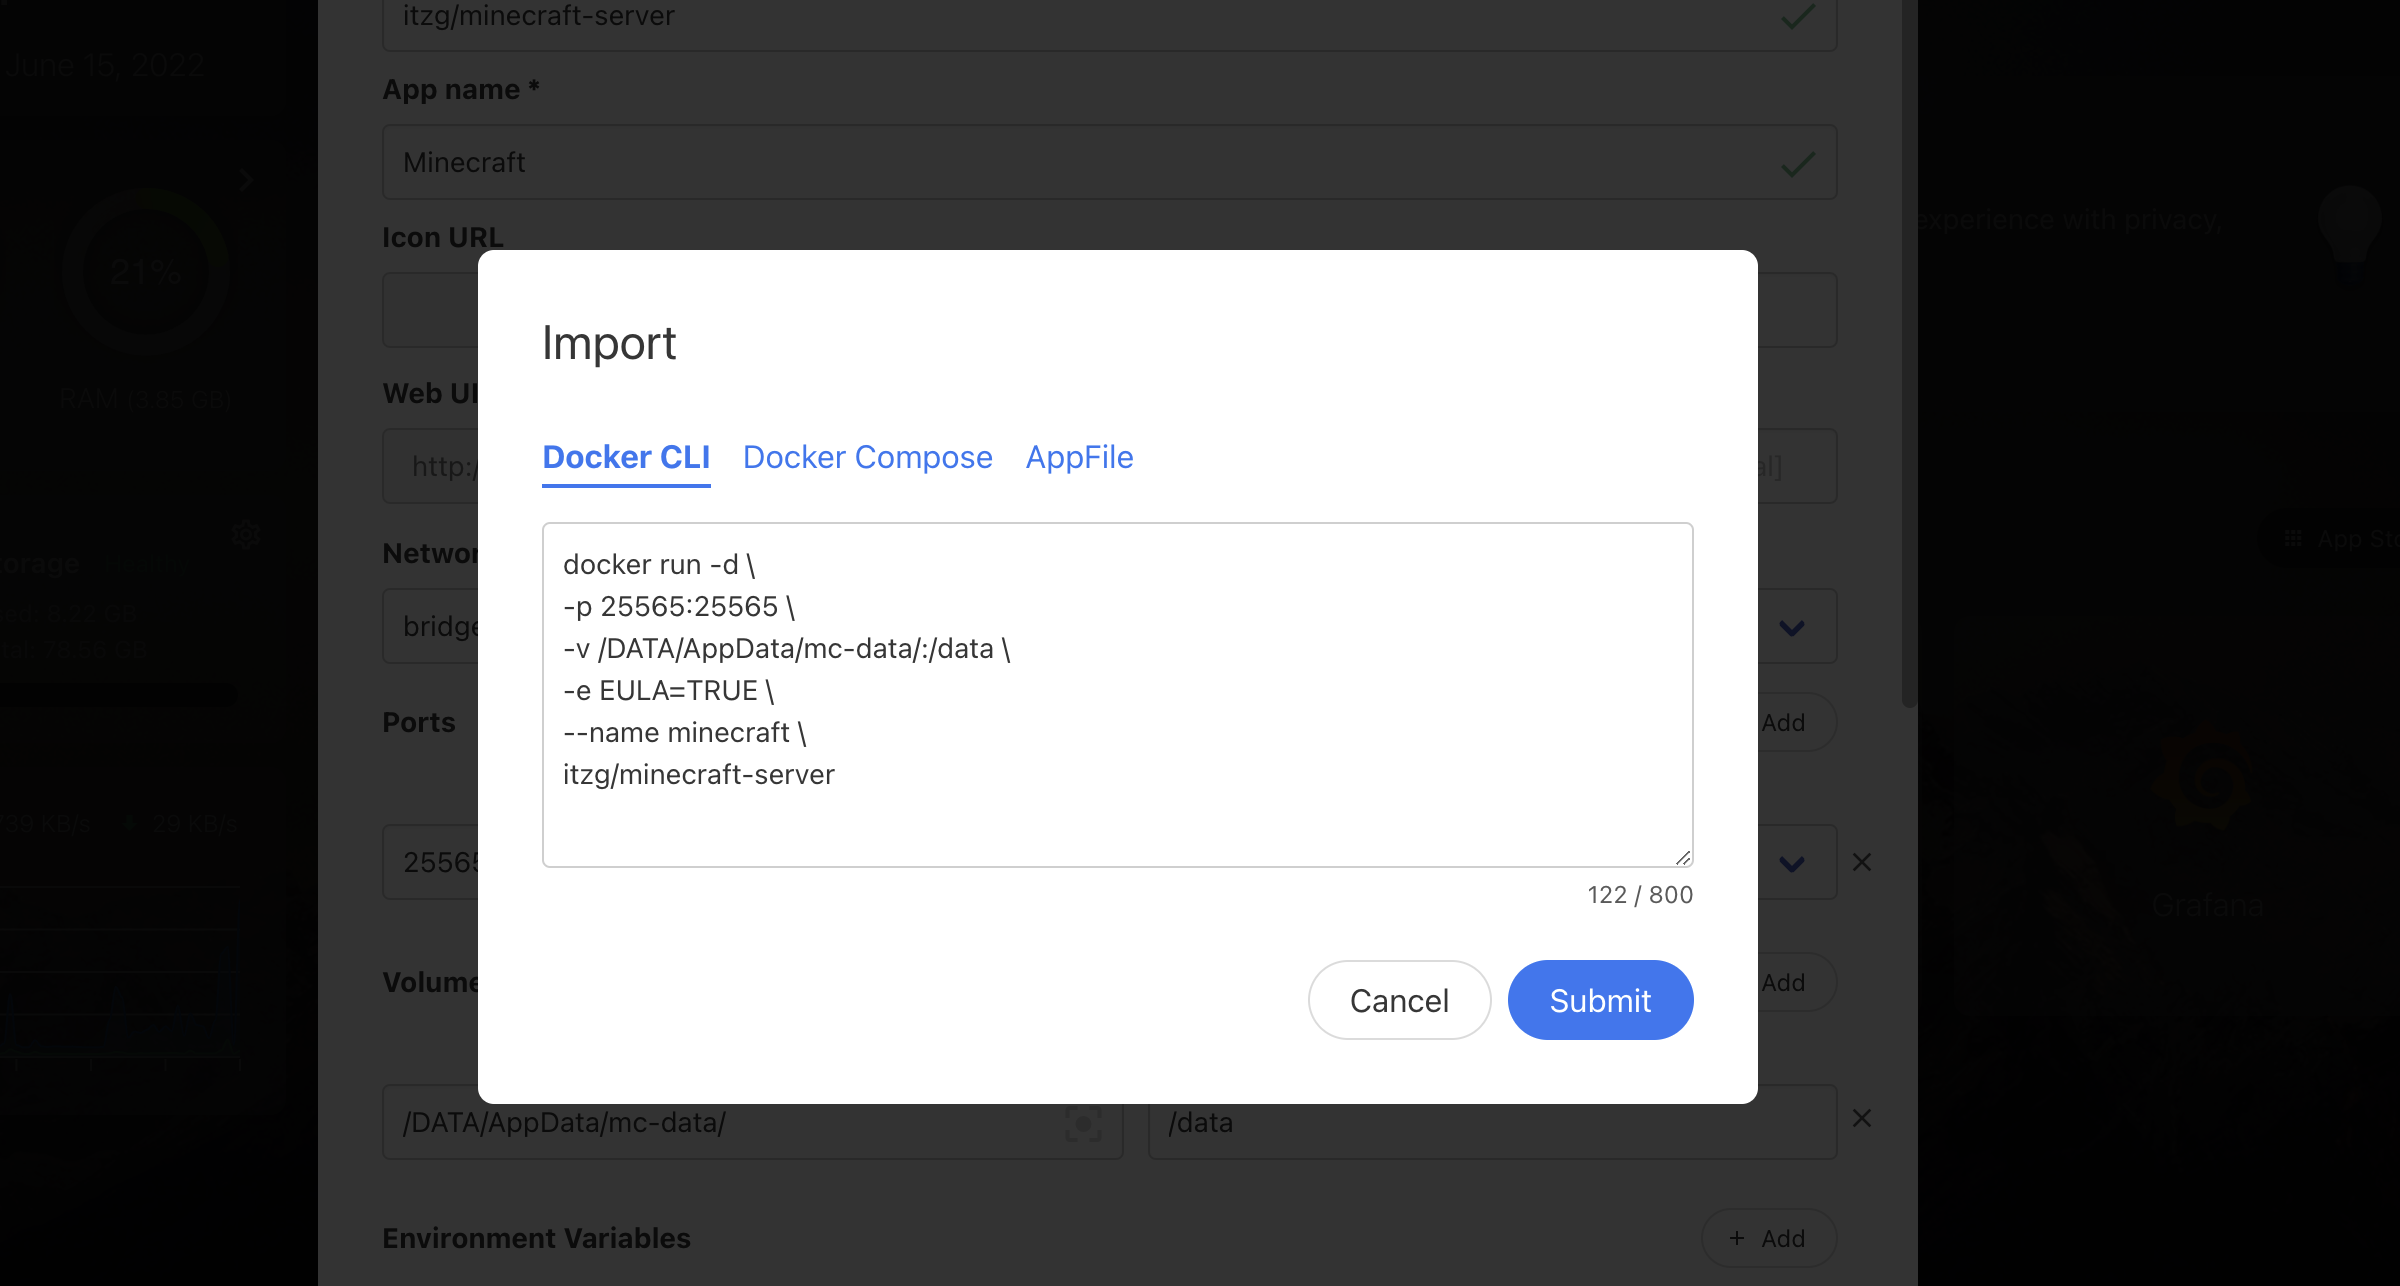 .
.
- Check Environment
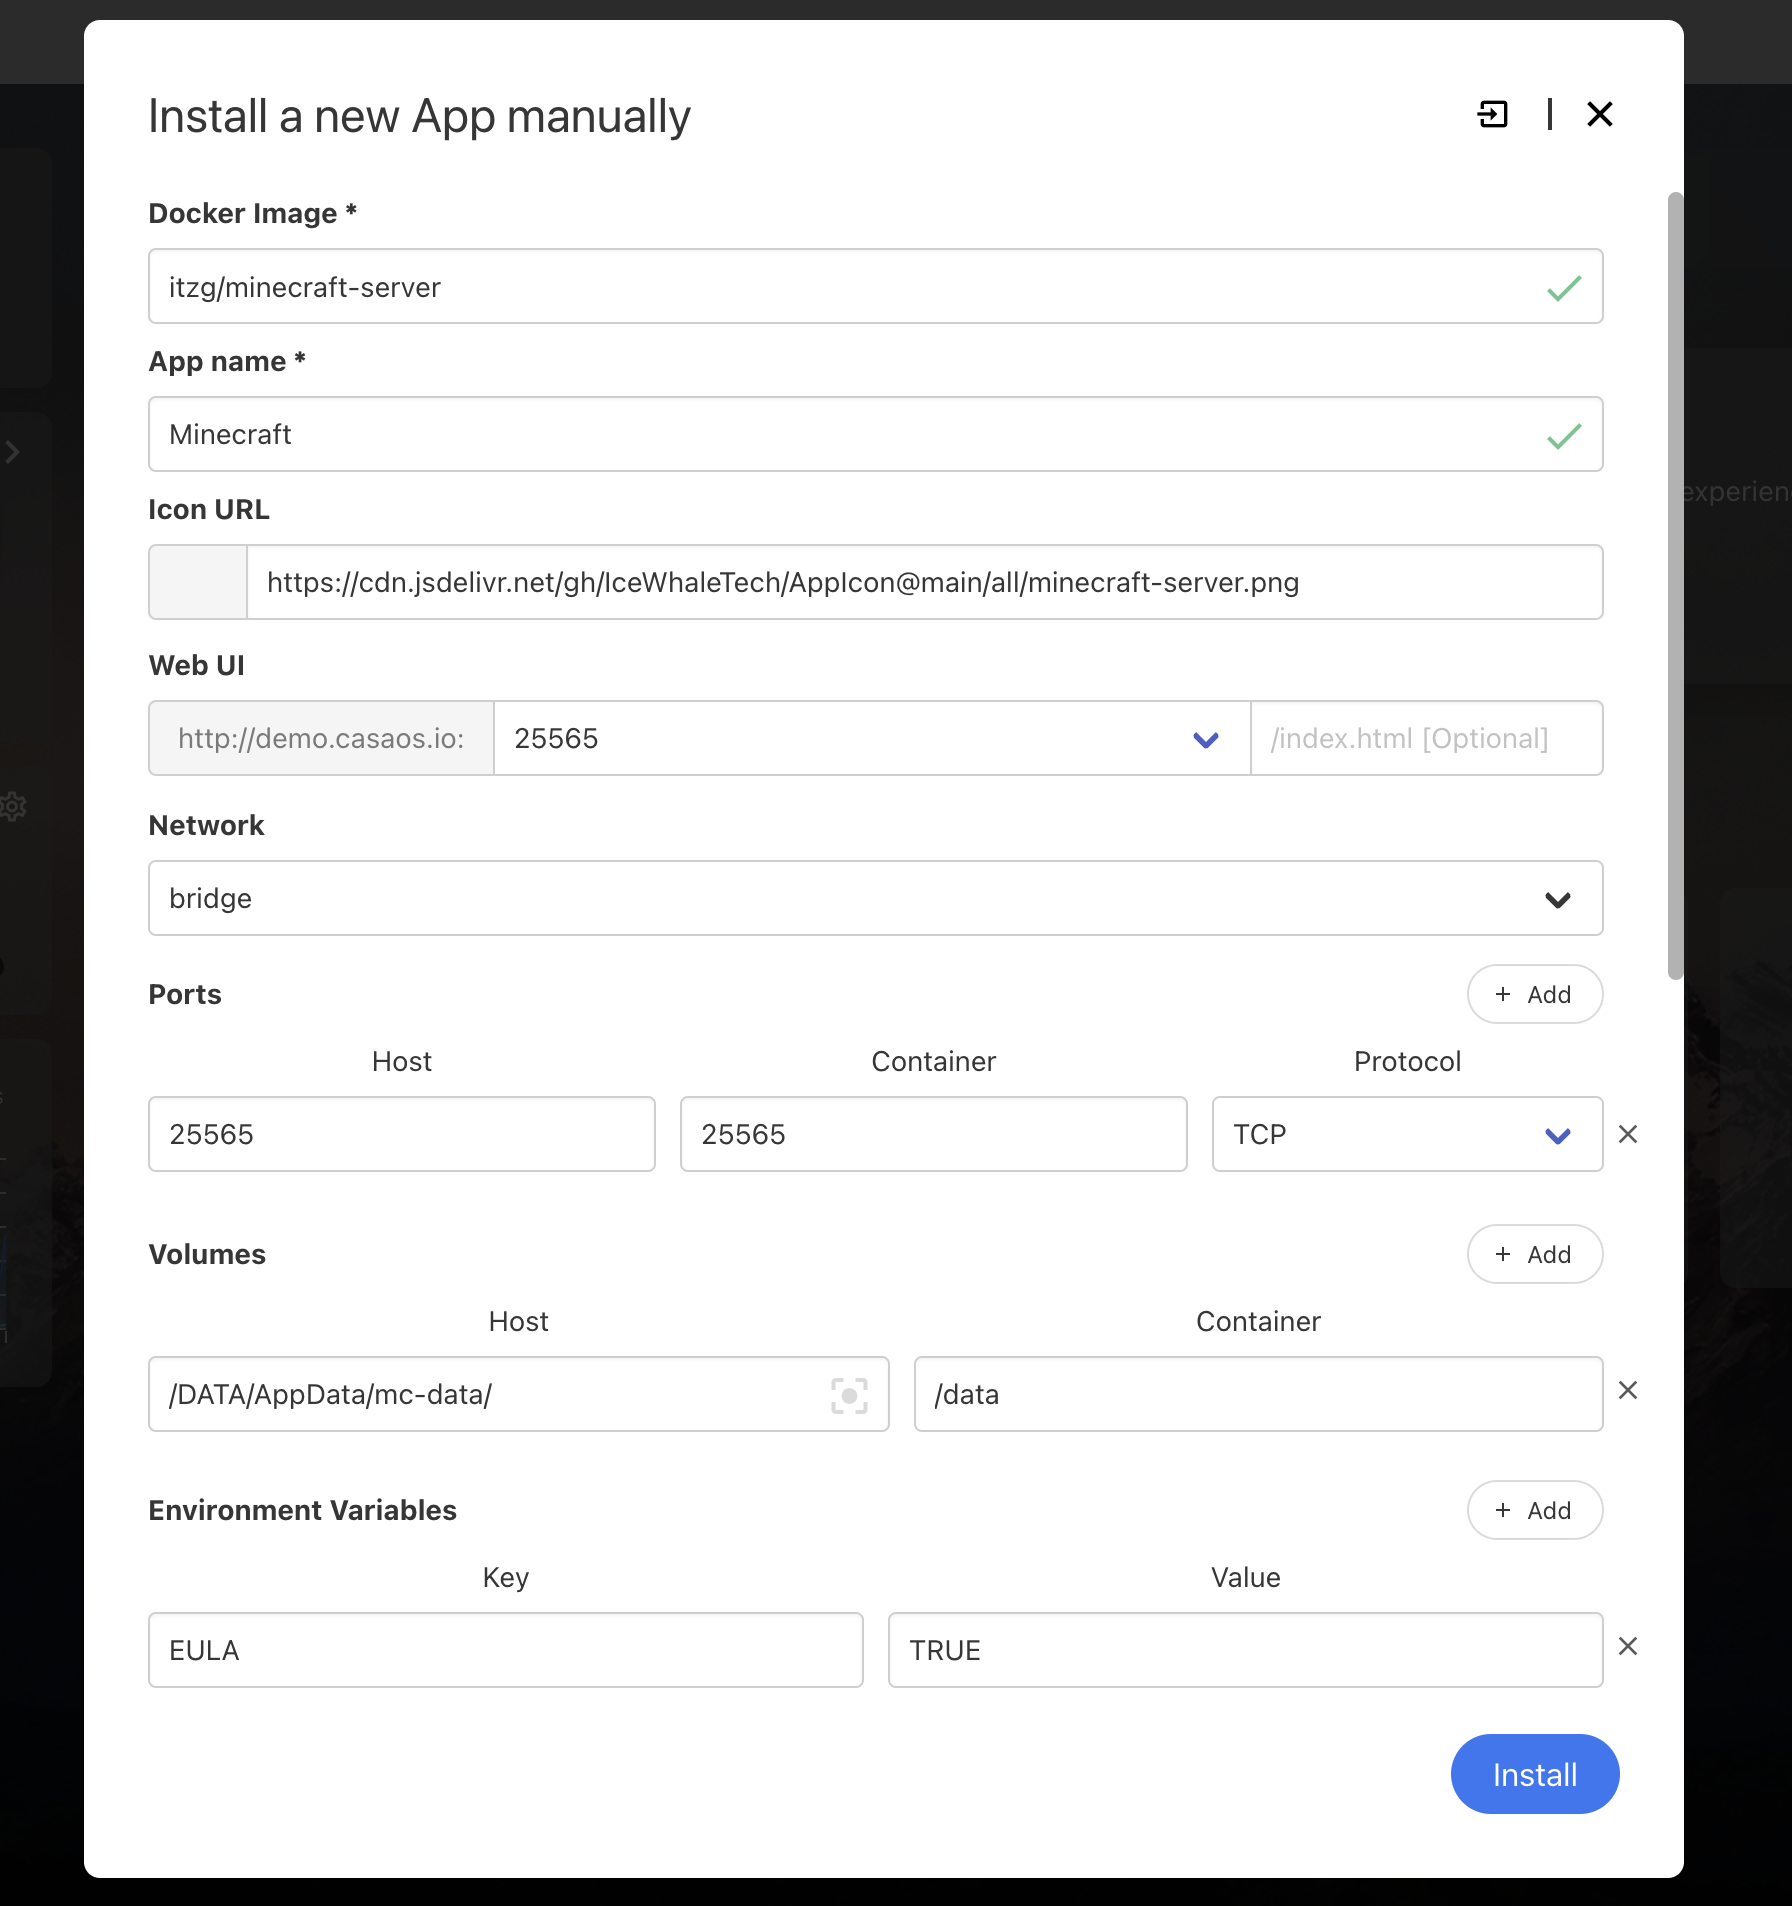
Attention
Environment Variable: EULA=TRUE
Make sure you always include-e EULA=TRUEin your commands and container definitions, because Mojang/Microsoft requires EULA acceptance.
Set up the My World Client
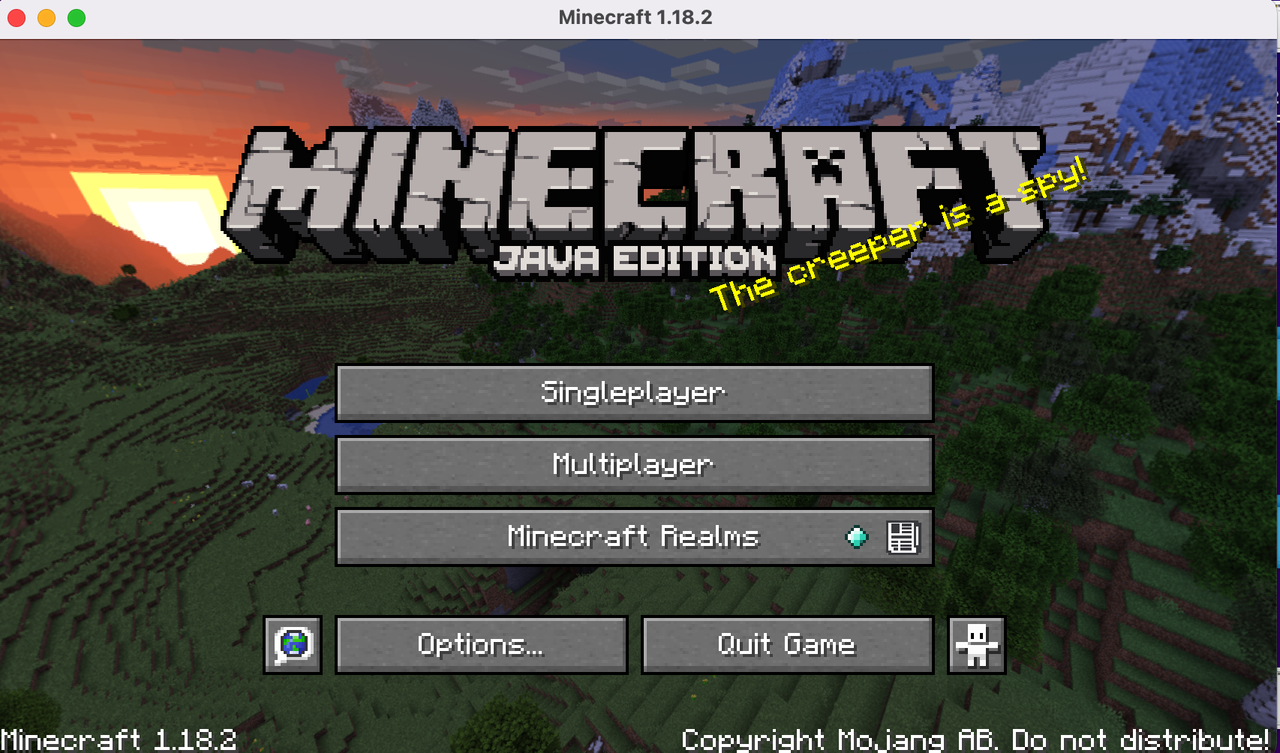
Now open the My World client you installed earlier. In this example, we are using a Mac.
- **Click “Multiplayer” **
- Click “Add Server”

- Enter Your IP Address and Append Port 25565
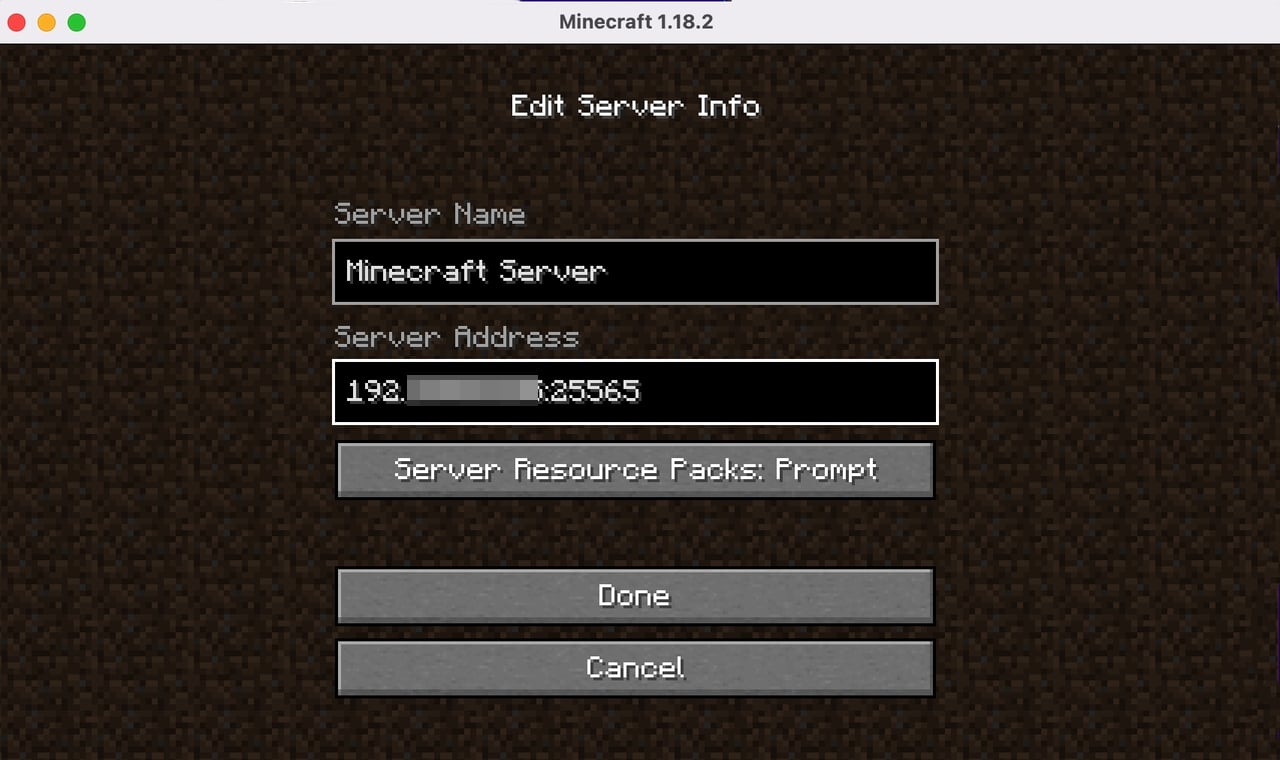
If you don’t know your IP address, refer to the tutorial—“Find Your CasaOS IP Address“
- Congratulations! Your Minecraft server is ready to host your adventures.
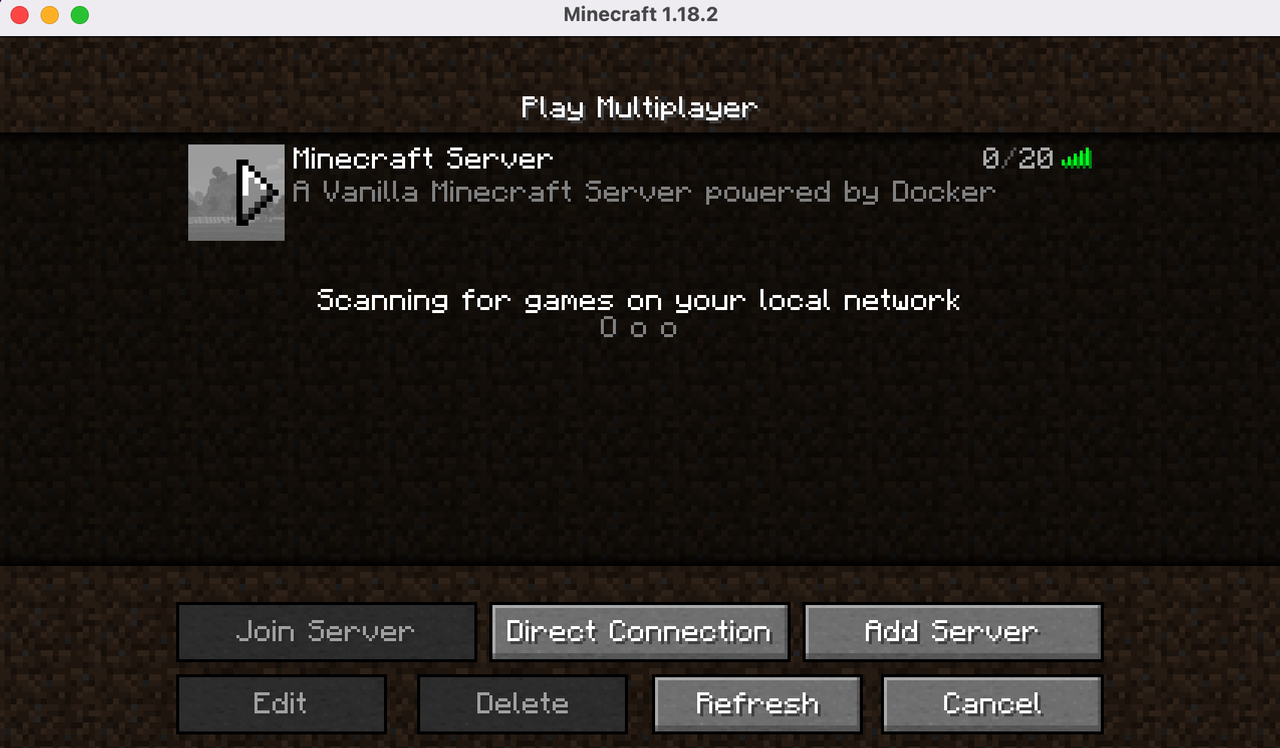
Now!Play!
Adjusting Server Parameters
For example
By default, Minecraft servers are configured to run in Survival mode. You can change the mode by specifying MODE, where you can either provide the standard numeric values or the following shortcut values:
- creative
- survival
- adventure
- spectator (available only in Minecraft 1.8 or later)
|
Announce Player Achievements
|
More Information - Docker Minecraftf Server
Extended Additions
1.In the future, an MC Server Docker application will be available in the CasaOS App Store, enabling one-click installation in under a minute.
2.Explore advanced gameplay with ZimaBoard and Minecraft to unlock enhanced performance and features.
Conclusion
The philosophy behind Minecraft is simple: it lets you create a world of your own. By guiding children responsibly, joining their adventures, and managing gaming time, you’ll discover far more than just fun—you’ll foster creativity, cooperation, and lasting memories.
