Introduction
Currently, ZimaOS supports RAID0/1/5, but we understand that many users require RAID6 for enhanced redundancy. To address this, we’ve prepared a step-by-step guide for creating RAID6 through the command line. Please follow the instructions below.
We look forward to accelerating our support for more RAID levels in the future!
TipsIf the system is rebooted, you’ll need to reassemble the RAID6 array.
Prerequisites
You will need at least four hard drives.
You need to learn how to get to the command line page by clicking on this.
You need to run the commands in the tutorial with superuser privileges (root privileges). You can use
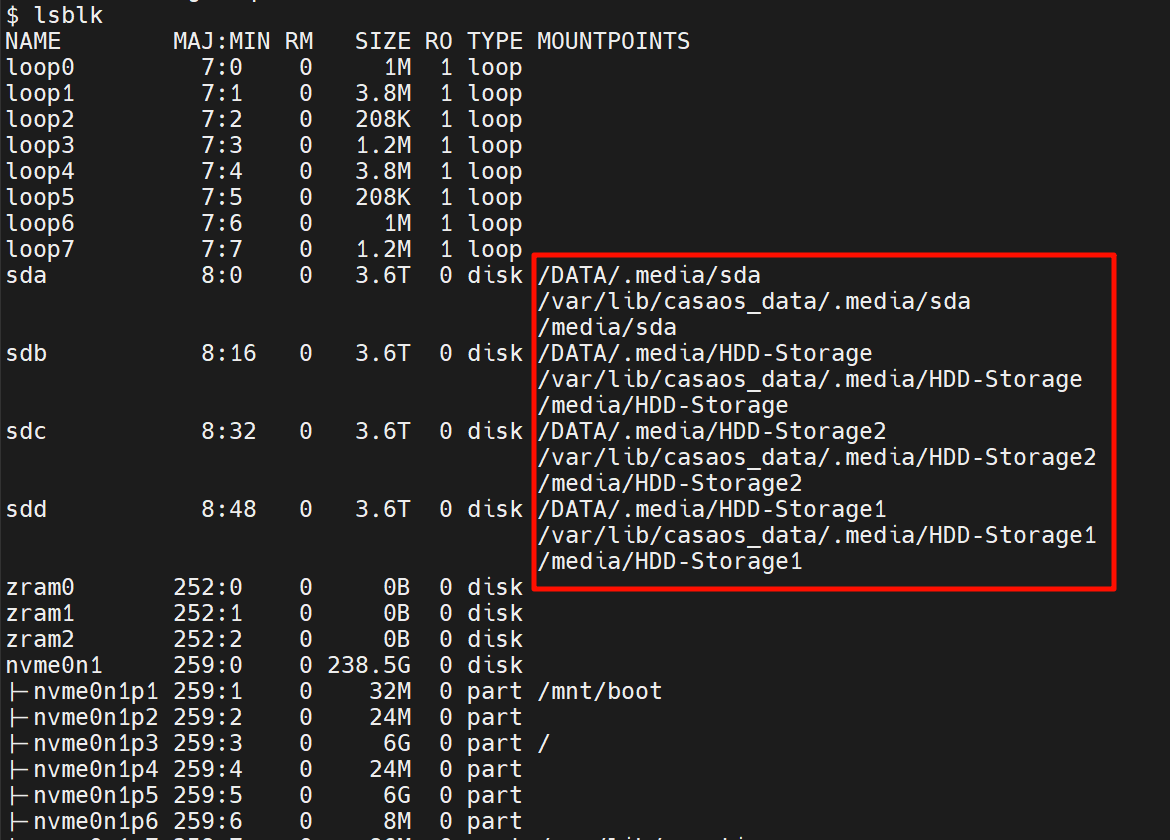
sudoto elevate privileges, such assudo mkfs.ext4 /dev/md0Use the command lsblk to check the available hard drives.
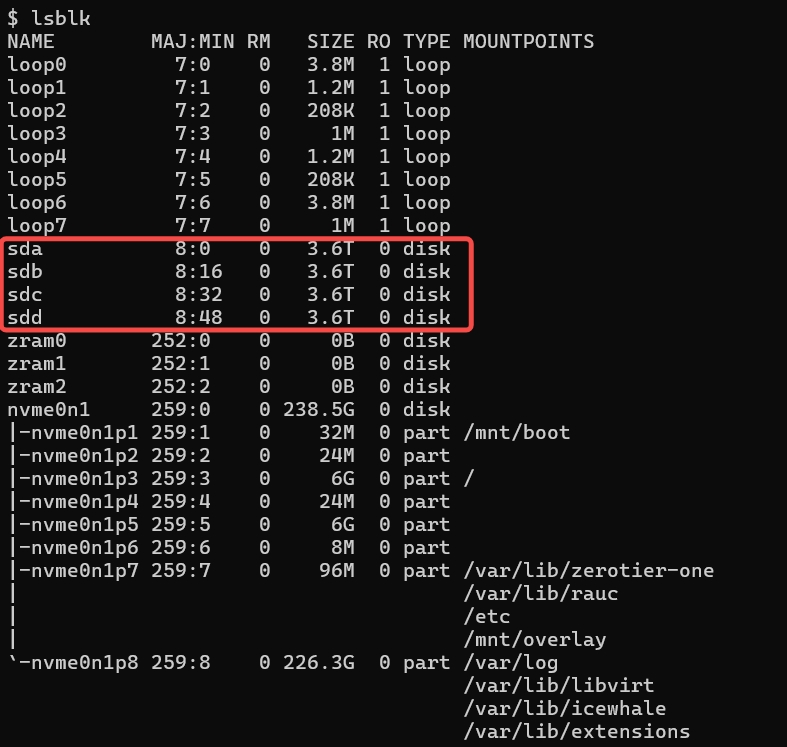
If MOUNTPOINTS has a mount point, you need to cancel it with the following command.
umount /dev/sda
Steps to Create RAID6
Create the RAID6 array with at least four drives using the following command:
mdadm -Cv /dev/md0 --level=6 --name=foldername --raid-devices=4 /dev/sda /dev/sdb /dev/sdc /dev/sdd --run --homehost=zimaos
/dev/md0is the name of the new RAID device.--level=6indicates you’re creating a RAID6 array.--name=foldernamespecifies the name of the RAID array.--raid-devices=4tells the system to use four hard drives./dev/sda /dev/sdb /dev/sdc /dev/sddare the drives participating in the array.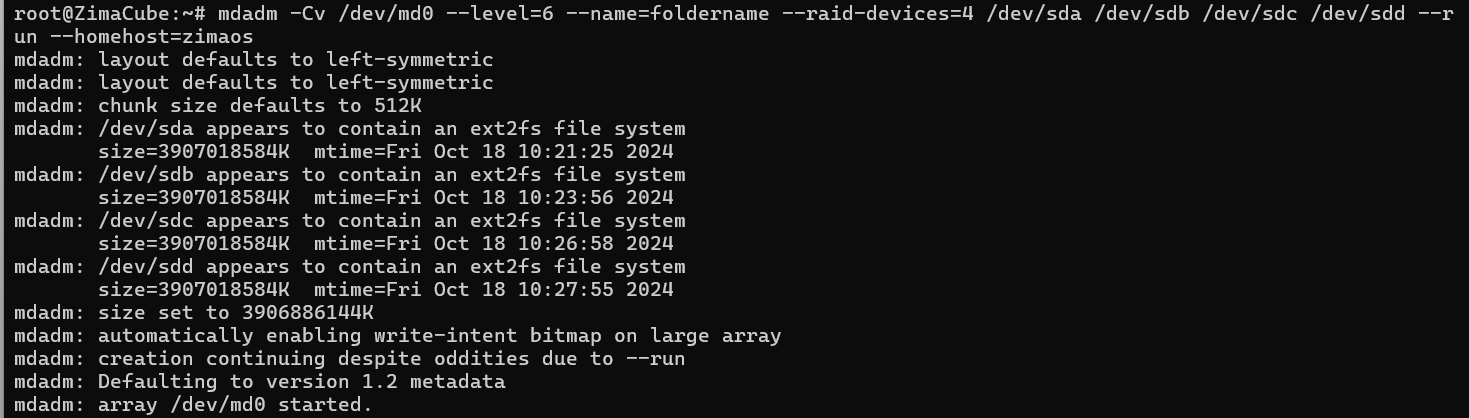
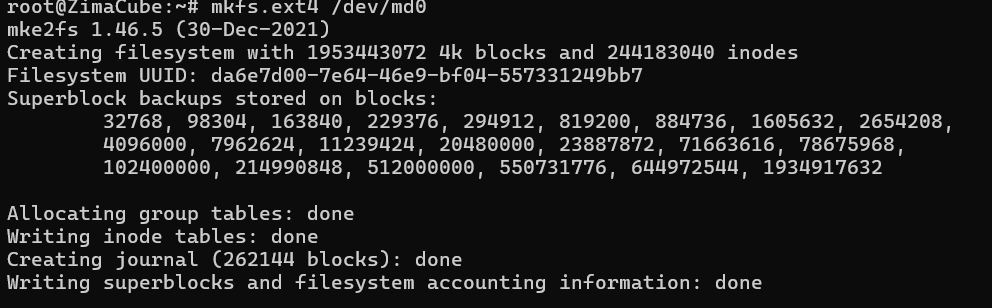
Format the RAID using the following command:
mkfs.ext4 /dev/md0
Create a directory for mounting the RAID:
cd /media
mkdir foldername
Mount the RAID using the following command:
mount -t ext4 /dev/md0 /media/foldername
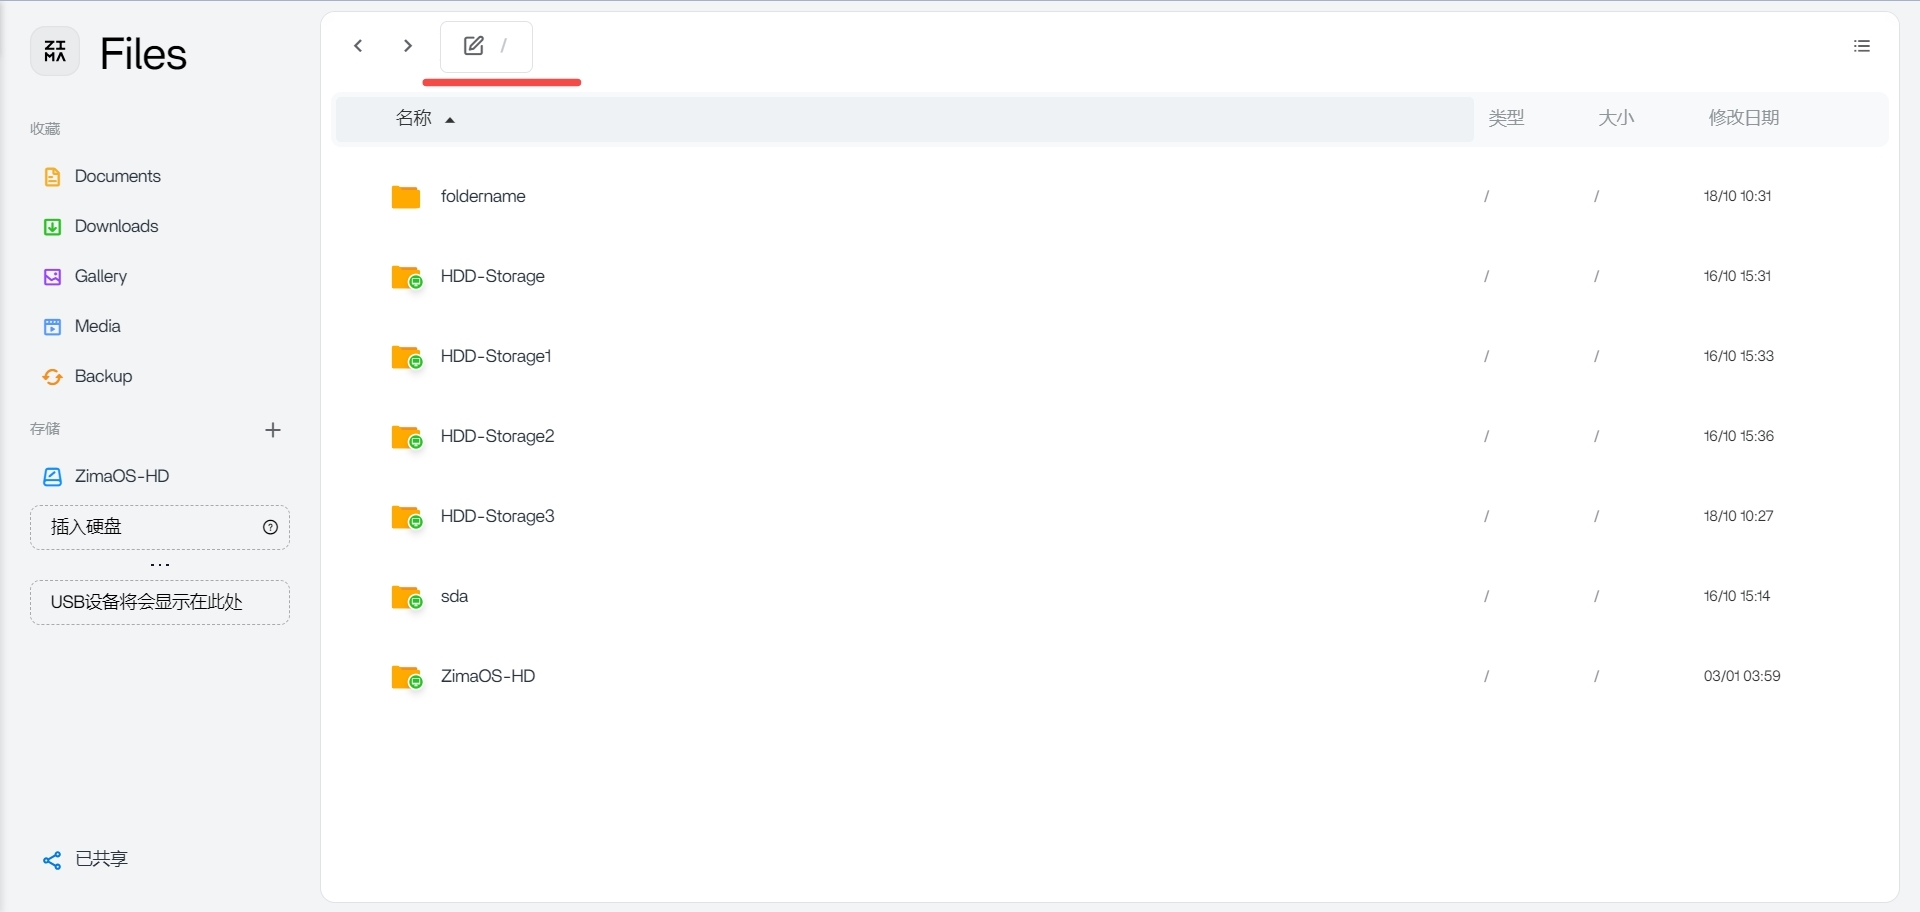
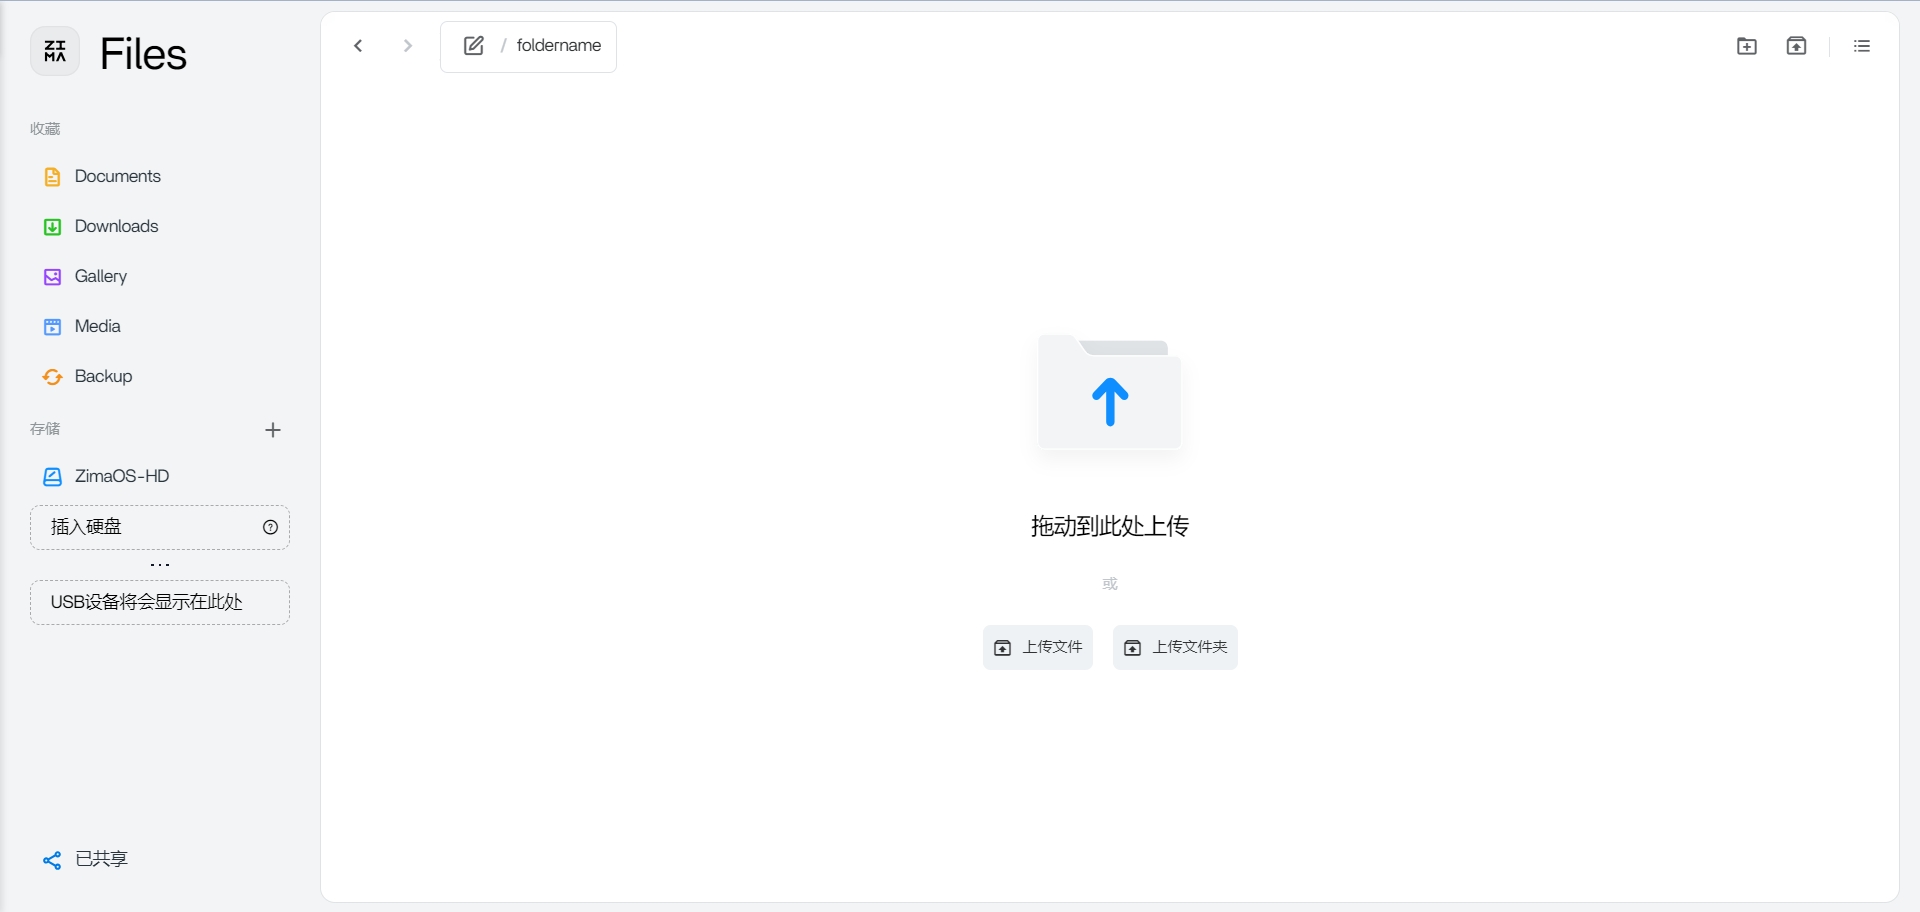
Once created, enter the path in the web-based File to display it
Notice:
If the system is rebooted, you’ll need to reassemble the RAID6 array:
mdadm -Av /dev/md0 /dev/sda /dev/sdb /dev/sdc /dev/sdd |