Introduction
In this digital age, home entertainment systems are becoming more and more intelligent and interconnected. As a high-performance personal cloud storage device, ZimaCube not only provides a large-capacity storage solution, but also supports the DLNA (Digital Living Network Alliance) protocol, allowing you to easily share and play any multimedia content in your home network.
This tutorial will guide you on how to set up ZimaCube as a DLNA server and use XX TV as a client to achieve a seamless media playback experience.
Before you start, make sure you have downloaded and installed the latest version of ZimaOS: https://github.com/IceWhaleTech/ZimaOS/releases
Step 1: Open Settings and enter “Developer mode”
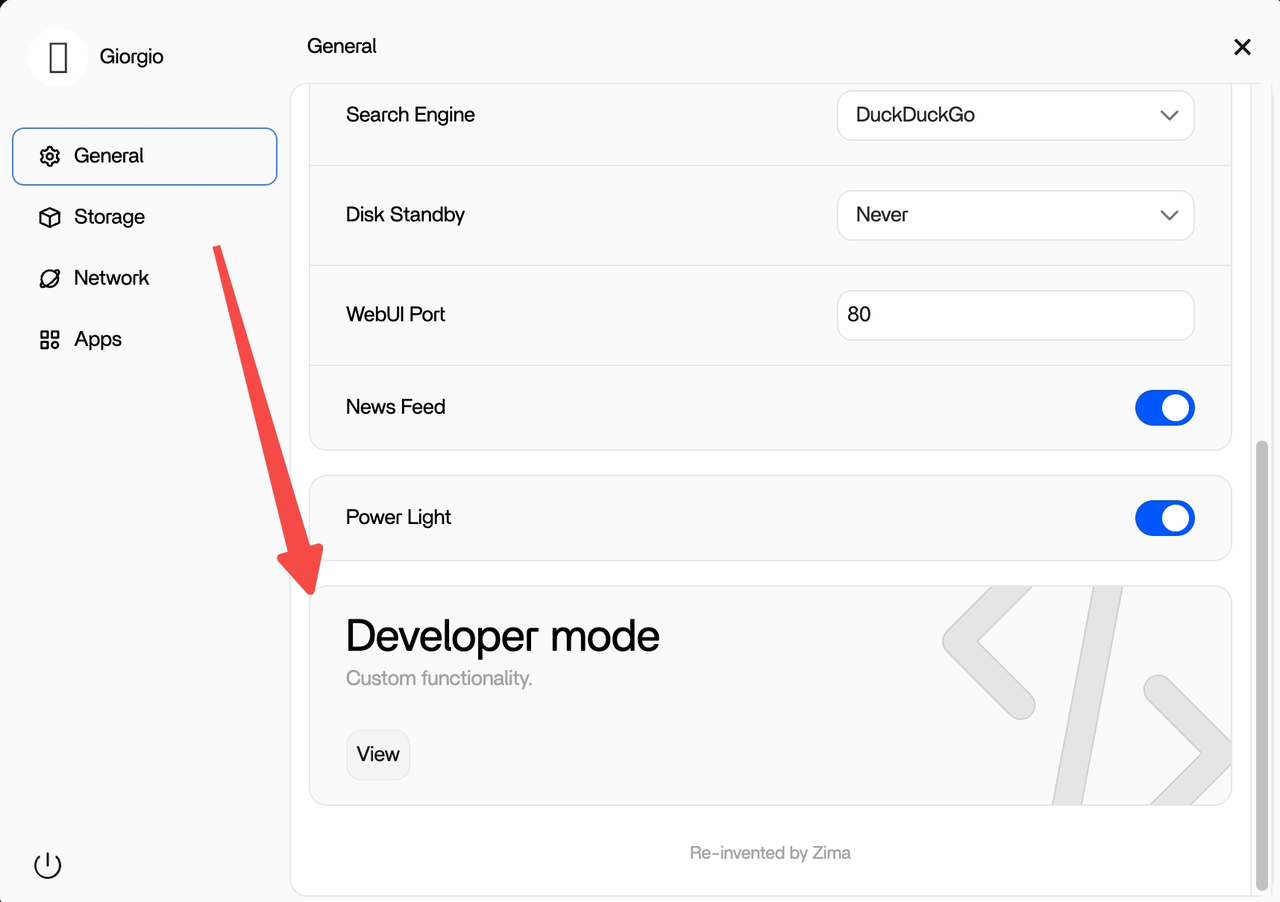
Step 2: Enable DLNA
In the “Developer mode“ interface, find the “DLNA“ switch and make sure it is enabled.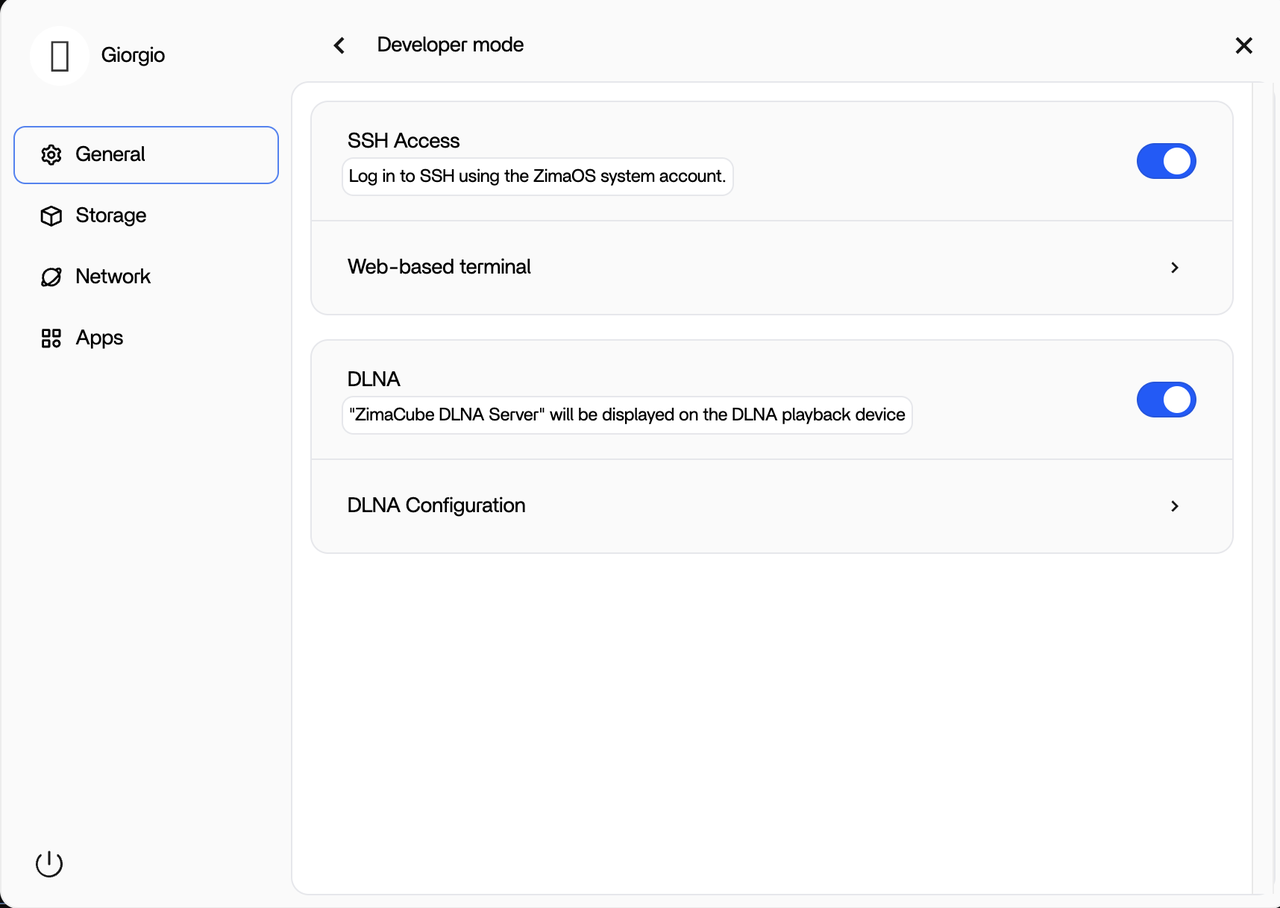
Step 3: Configure DLNA settings
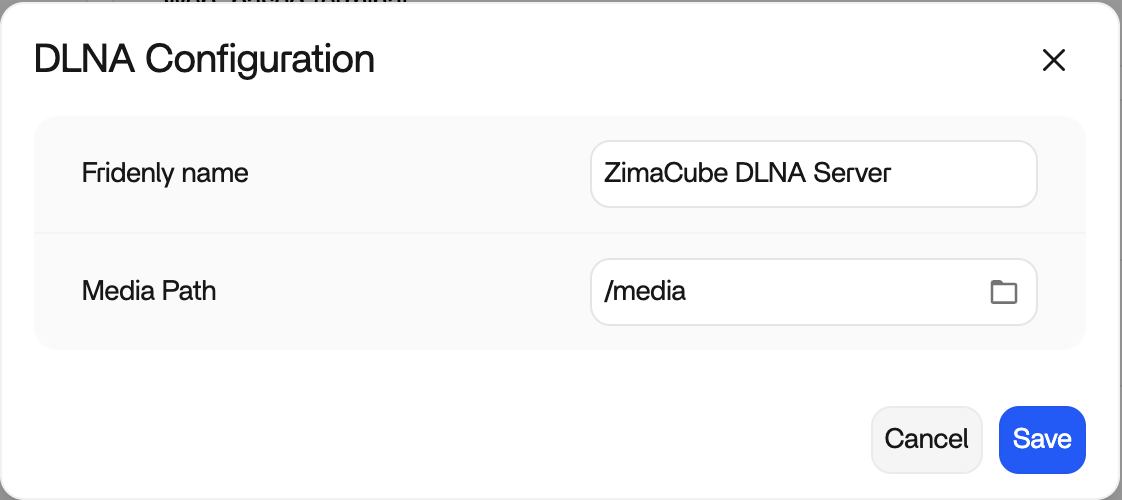
Click “DLNA Configuration“ to enter the settings interface. You can modify the following two options:
- Friendly name: The default is “ZimaCube DLNA Server”, you can customize a name that suits you better.
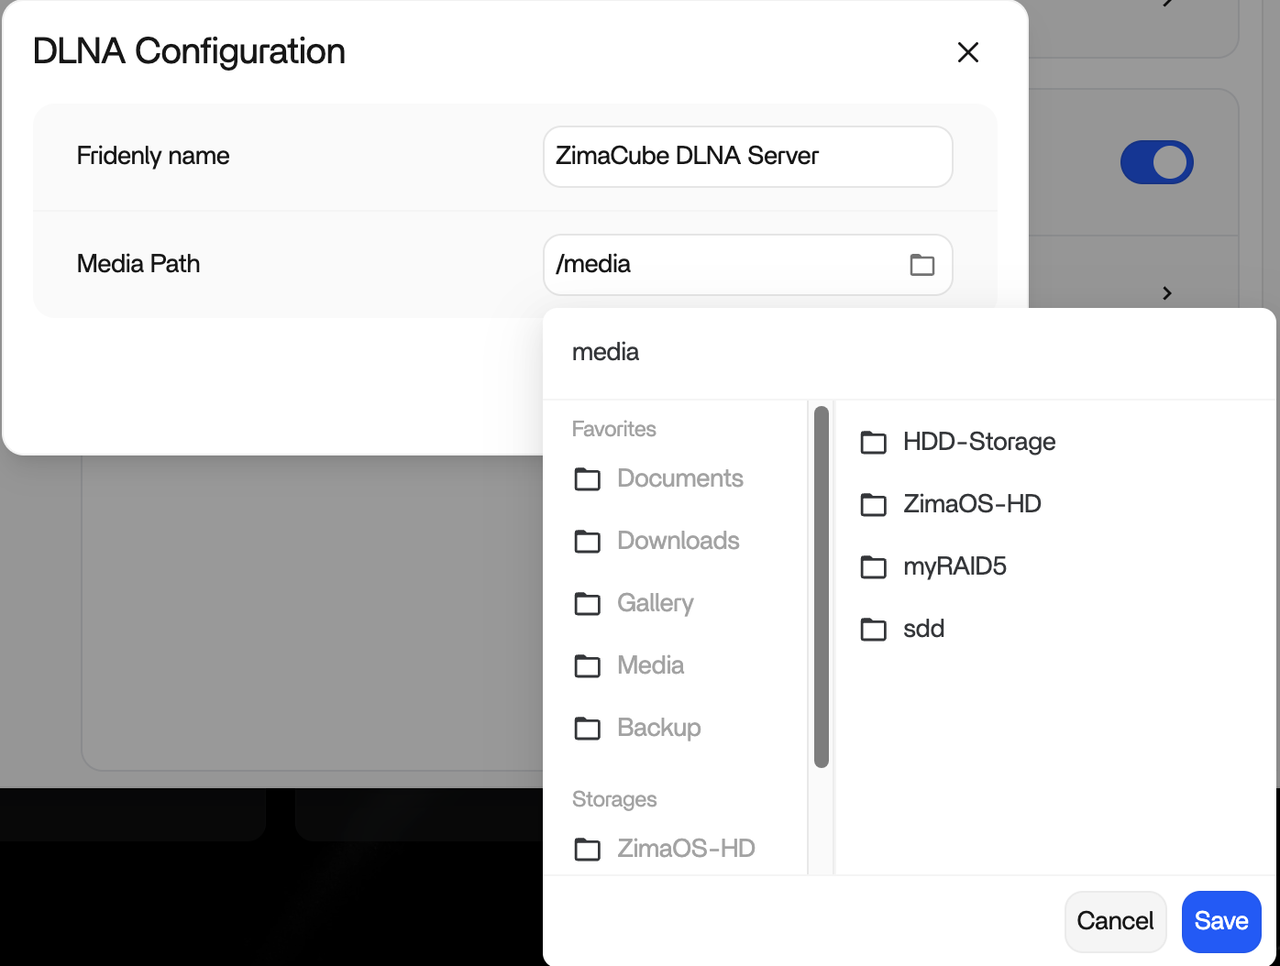
- Media Path: The default path is
/media, you can modify it to other storage paths as needed.
 |
 |
|---|
After completing the modification, click the “Save“ button.
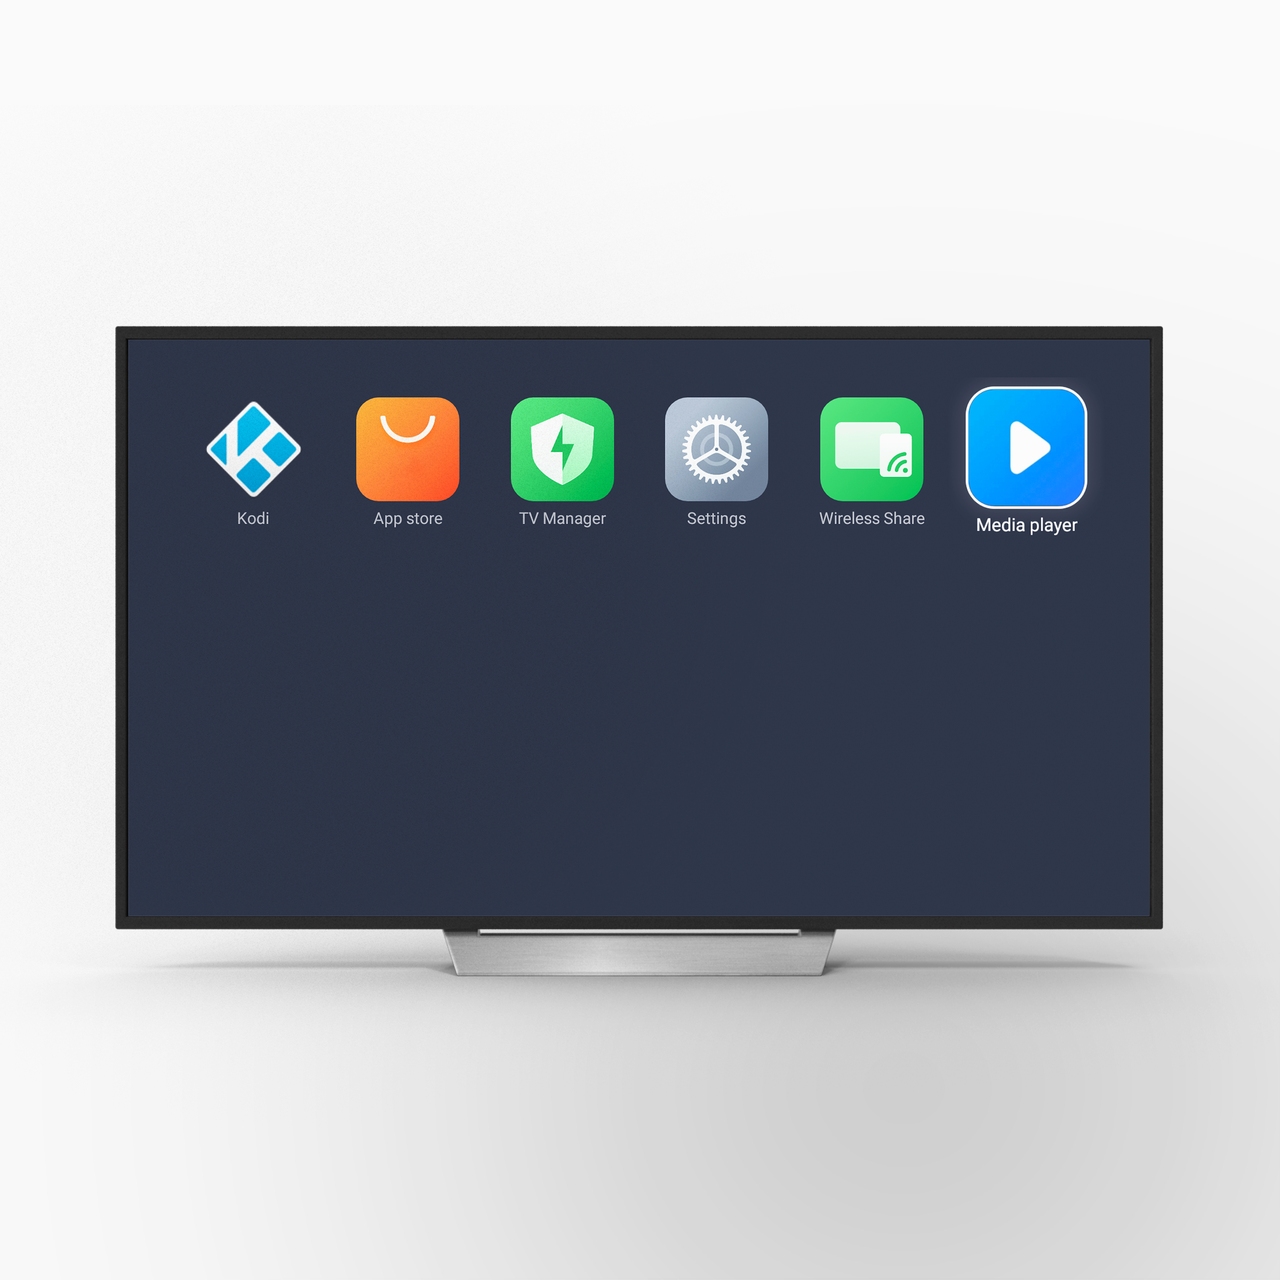
Step 4: Play content on TV
- Open a TV device or player app that supports DLNA
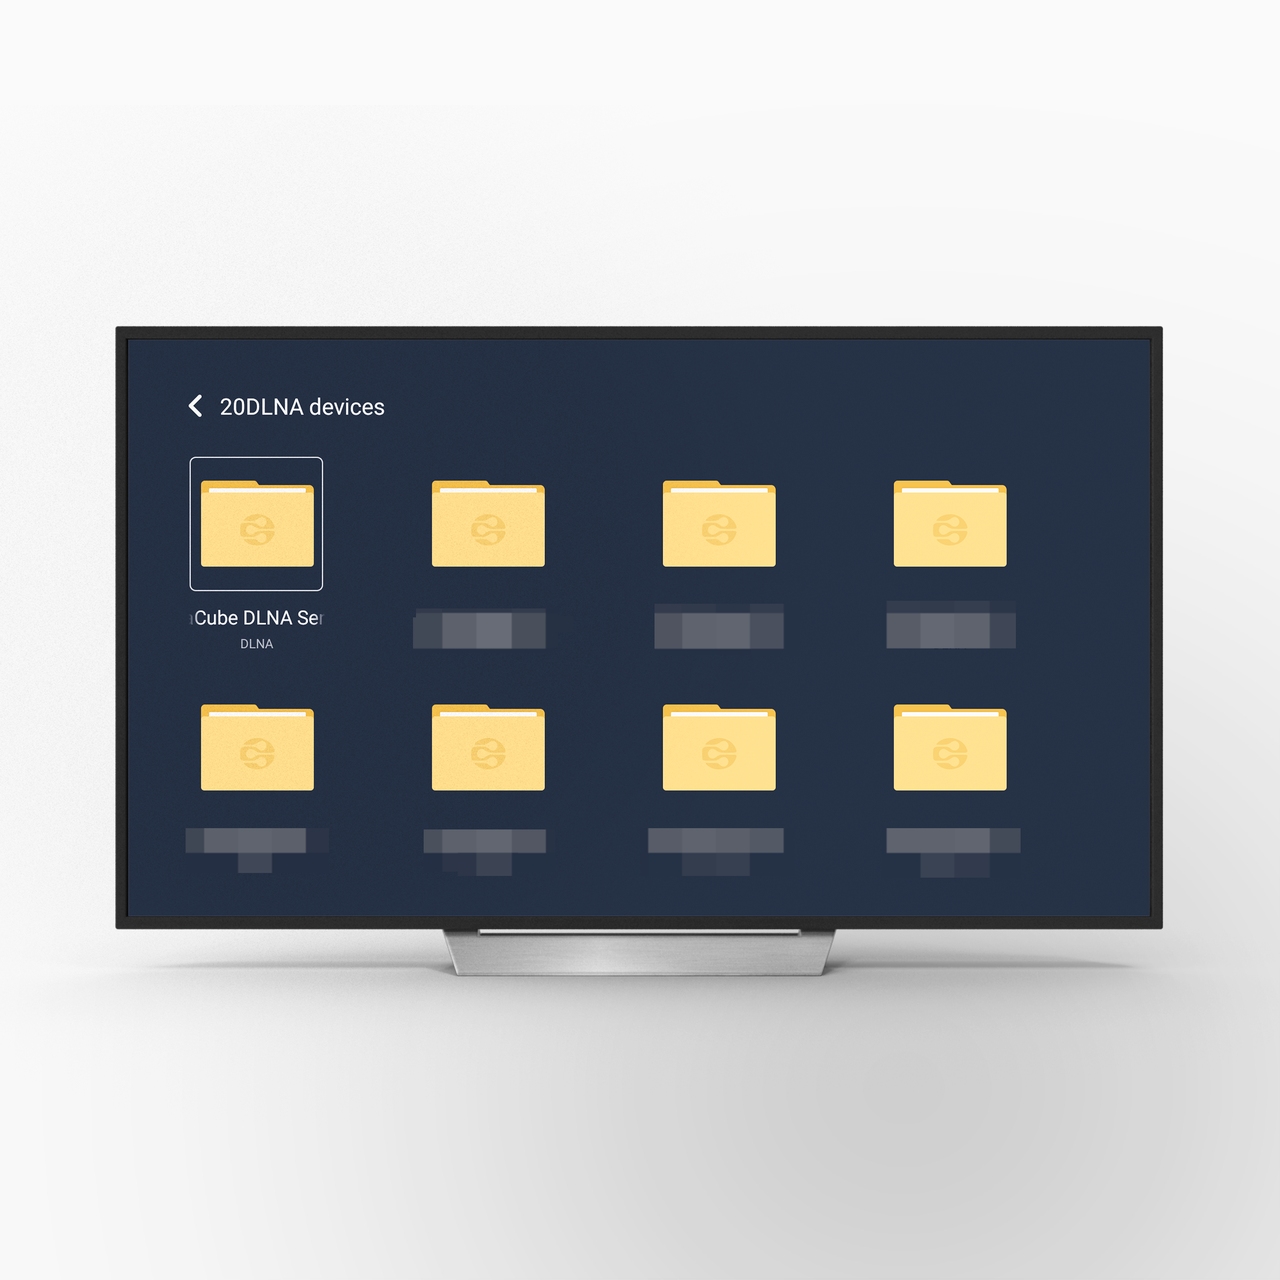
- Search the DLNA devices on the network and find “ZimaCube DLNA Server”.
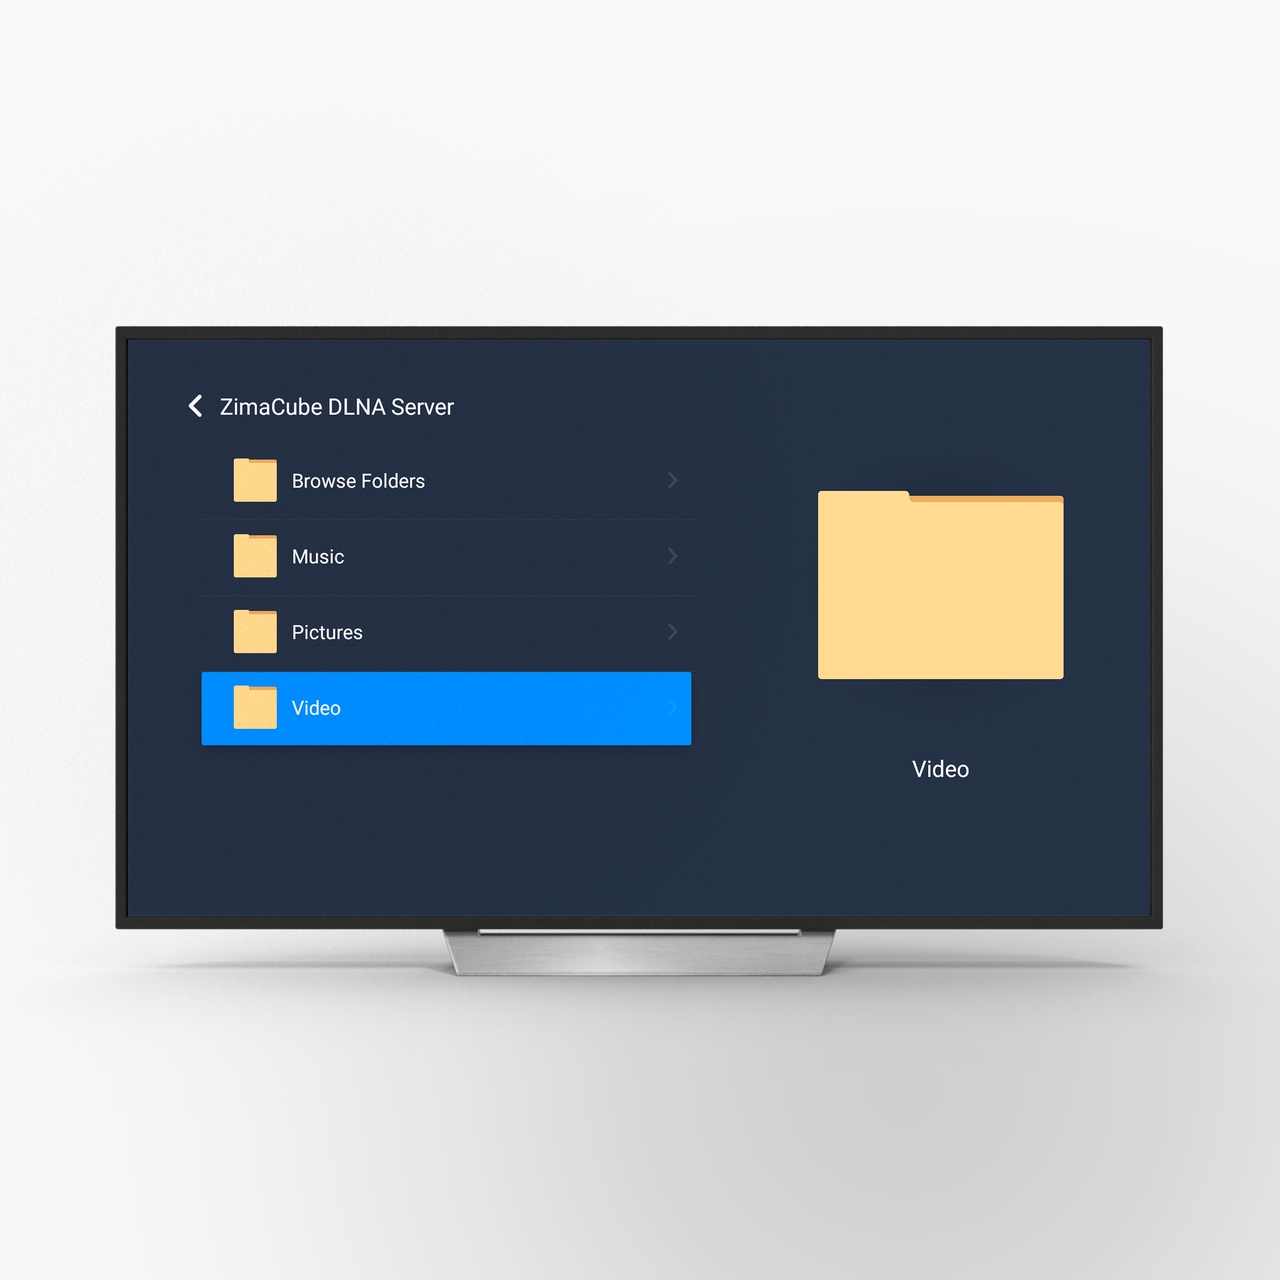
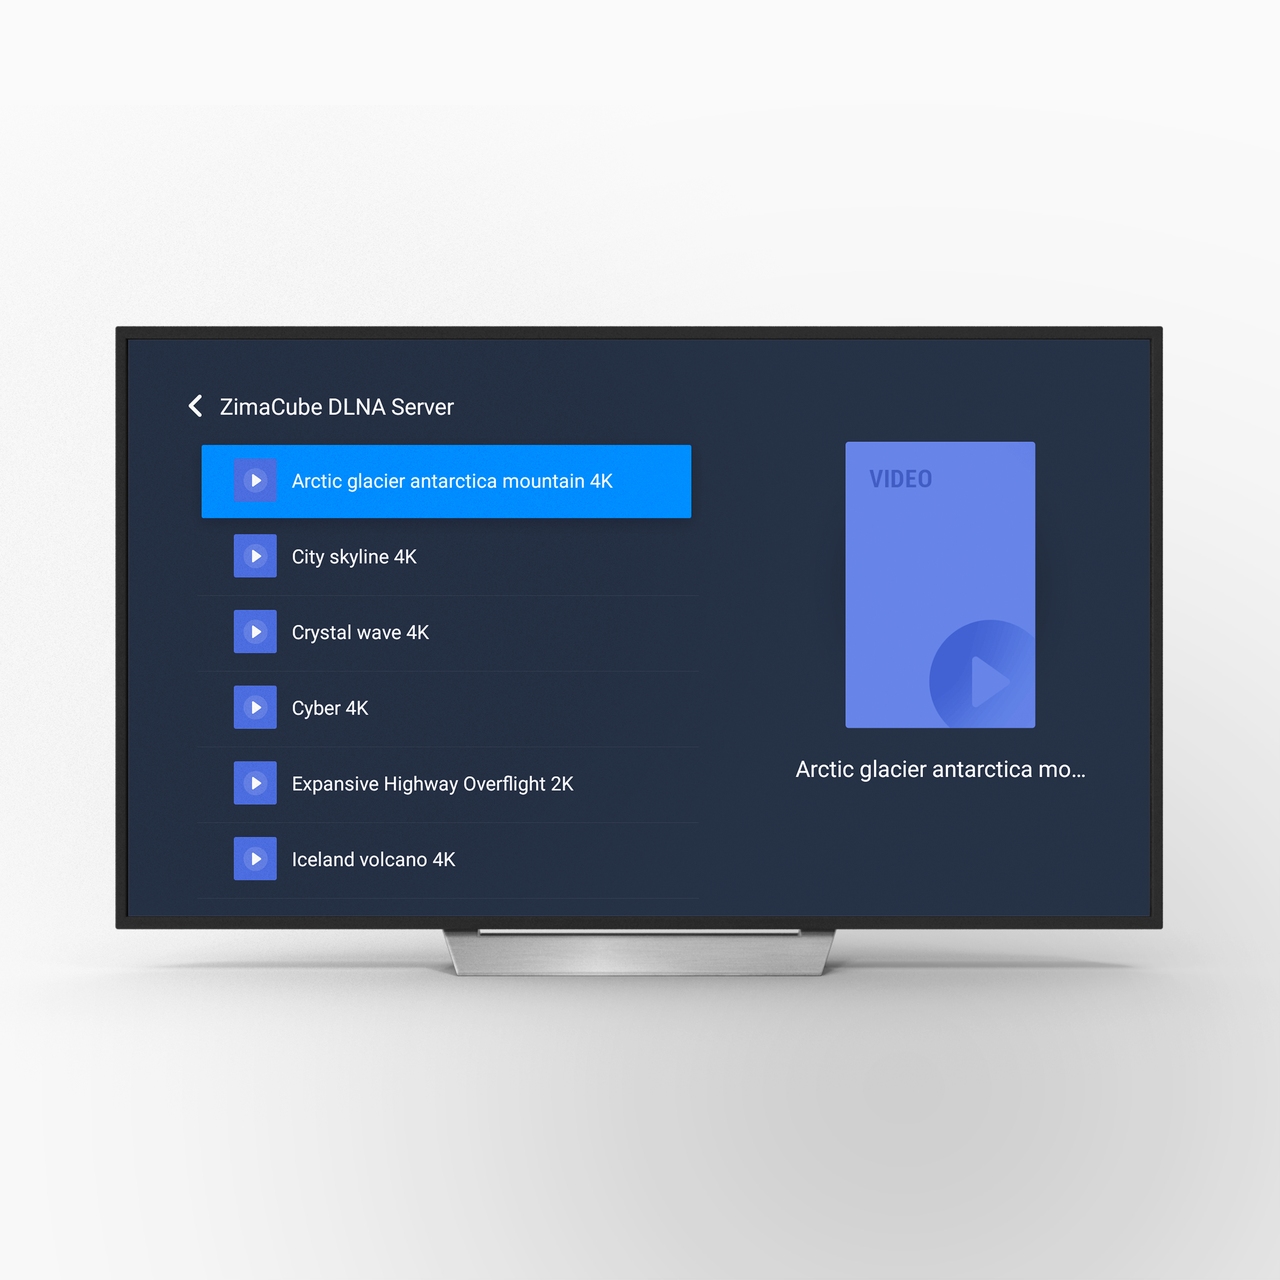
- Browse the shared media file and select Play.
Troubleshooting
If you have problems with connection or playback, please check the following points:
- Make sure ZimaCube and TV are in the same LAN.
- Check if the media file format is compatible with the TV device.
- Make sure there are playable media files in the shared folder.
Additional Notes
Since different brands of smart TVs may have different interfaces and functions, please refer to the DLNA usage guide for your TV brand.
Summarize
With simple steps, you can now easily share and enjoy HD videos and music in your home network. Hope this can help you build a smart home entertainment system!