Remote Access
Your Gateway to Remote Access
Enter ZimaCube’s Remote feature (click here to learn more) , a powerful solution that allows users to manage and access their data from anywhere in the world. Whether you’re handling urgent documents remotely or enjoying your home media library, ZimaCube ensures that your data is always within reach, efficiently and securely.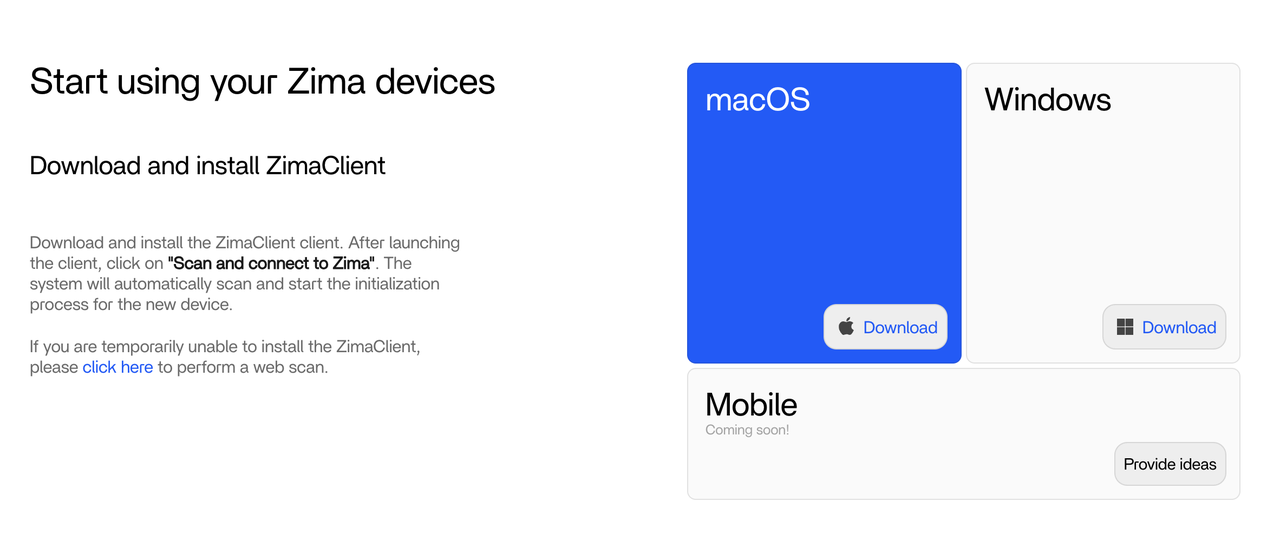
Second host device access:
If you have another computer in the office, but the zimacube is not with you, you can still use Connect ID.
Setting Up ZimaCube Remote Access
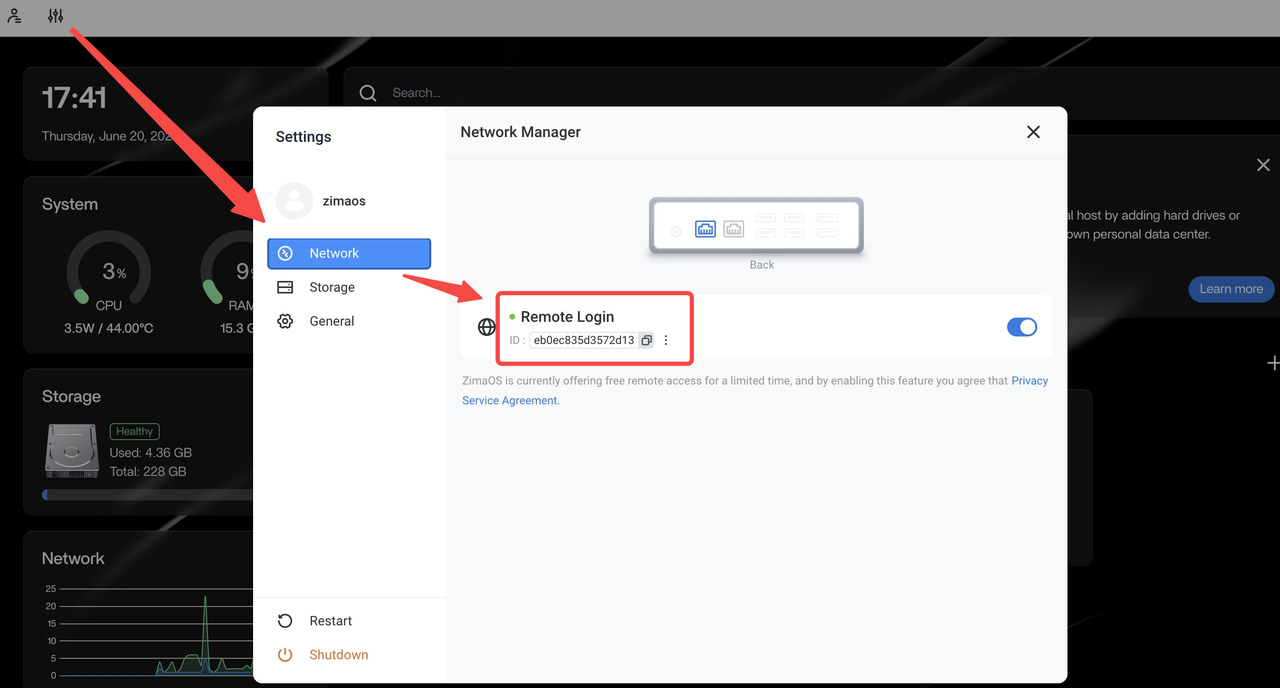
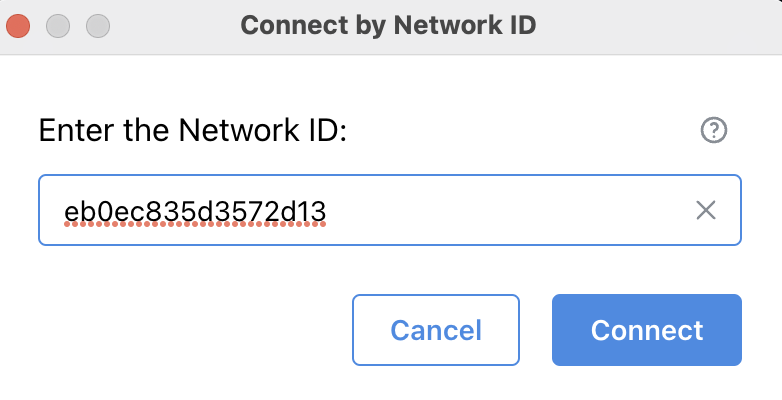
Open the network settings in ZimaOS and copy the Network ID.
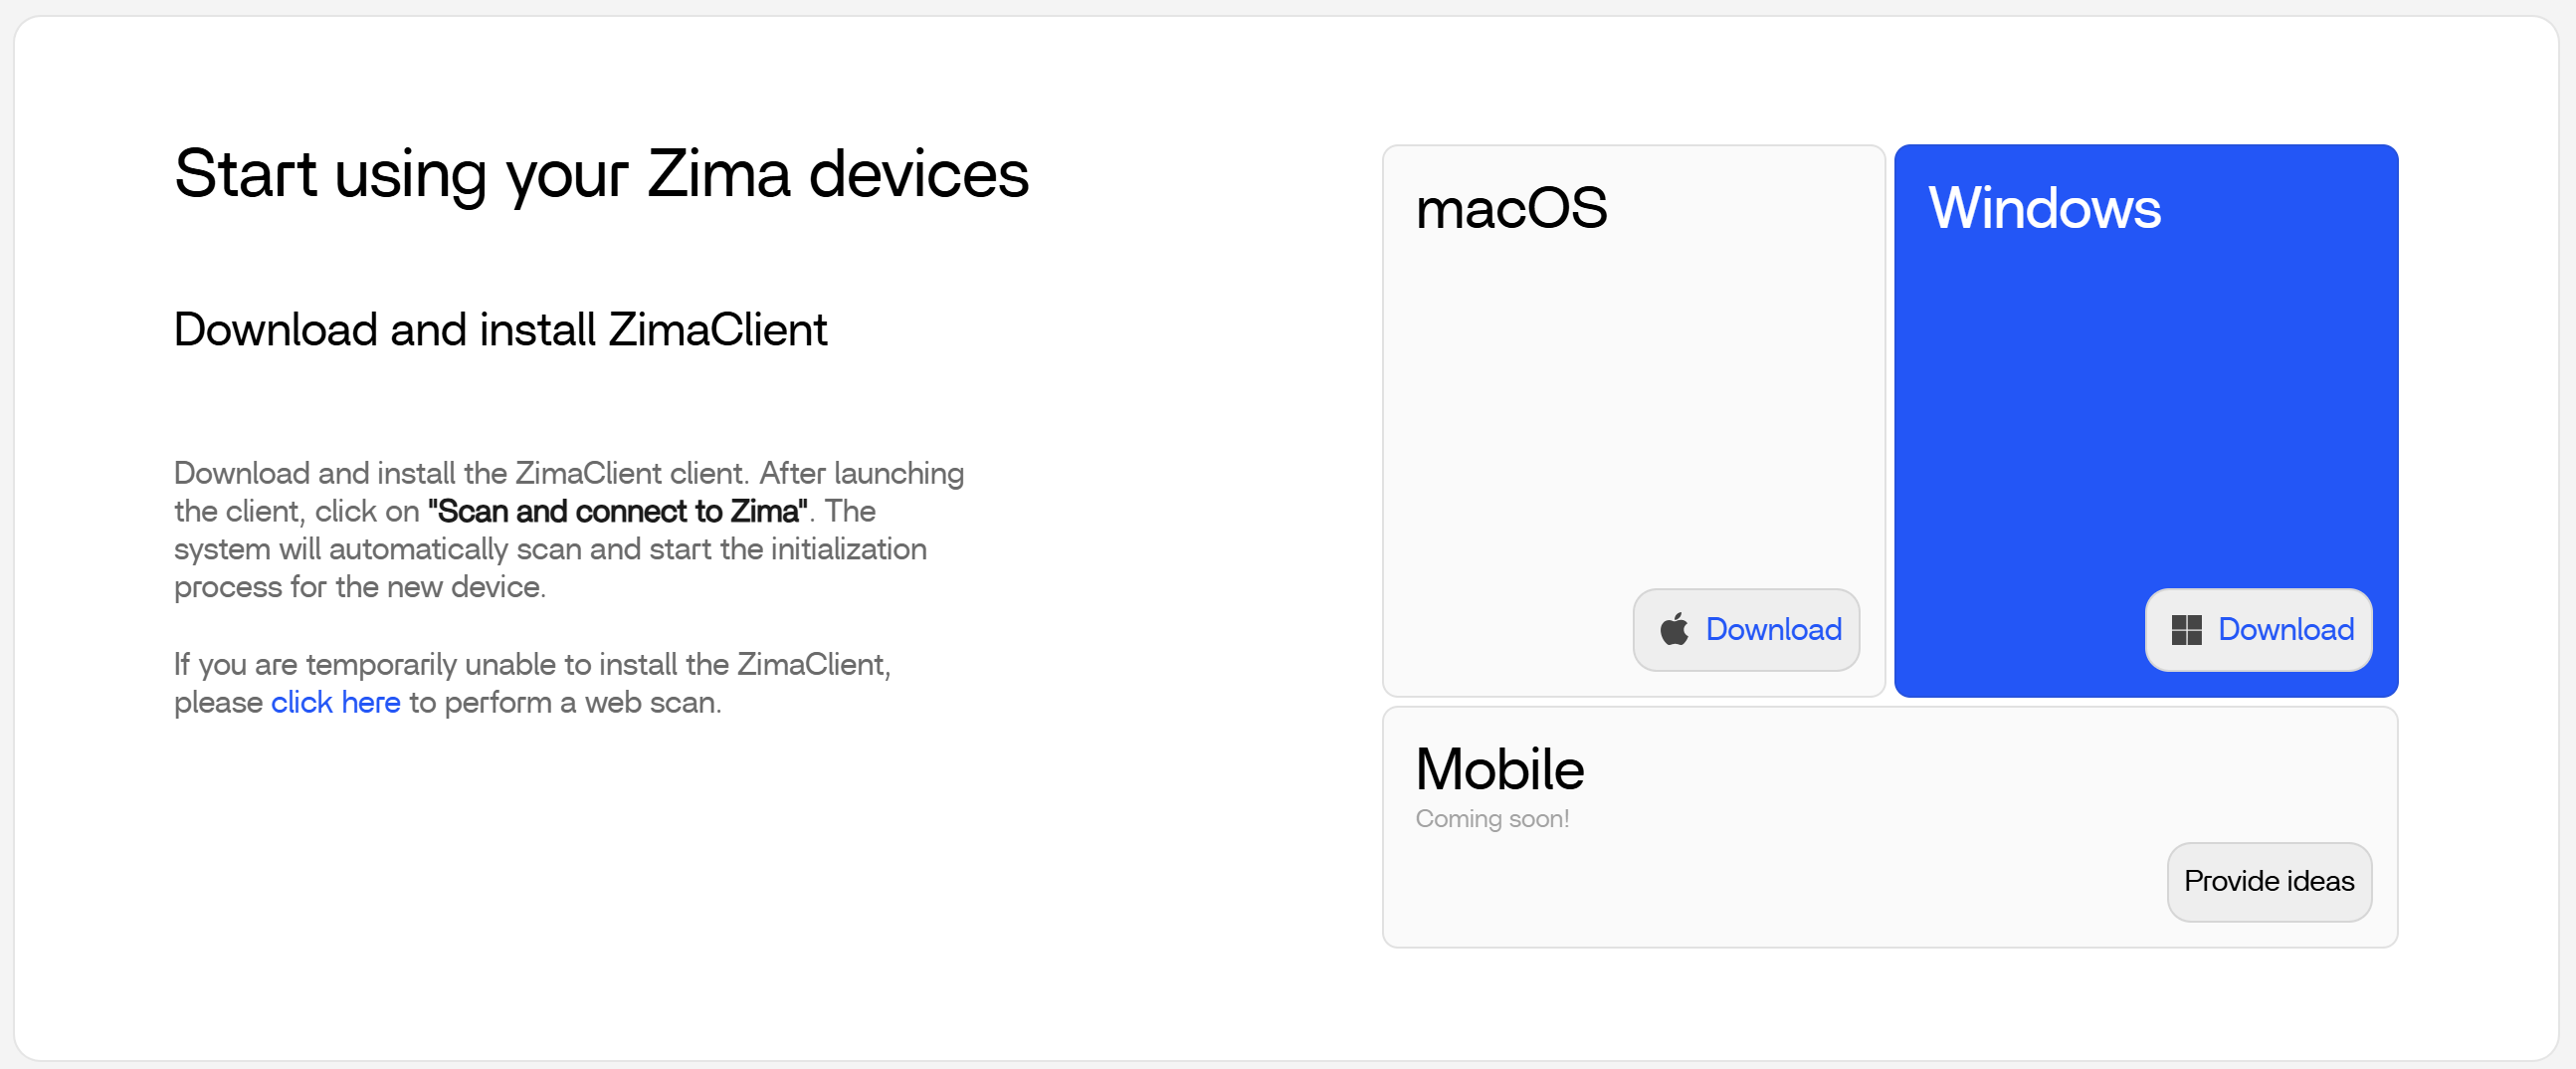
Download and install the Zima client from find.zimaspace.com.
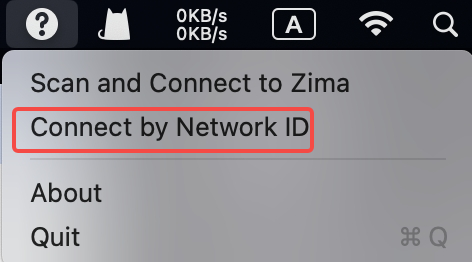
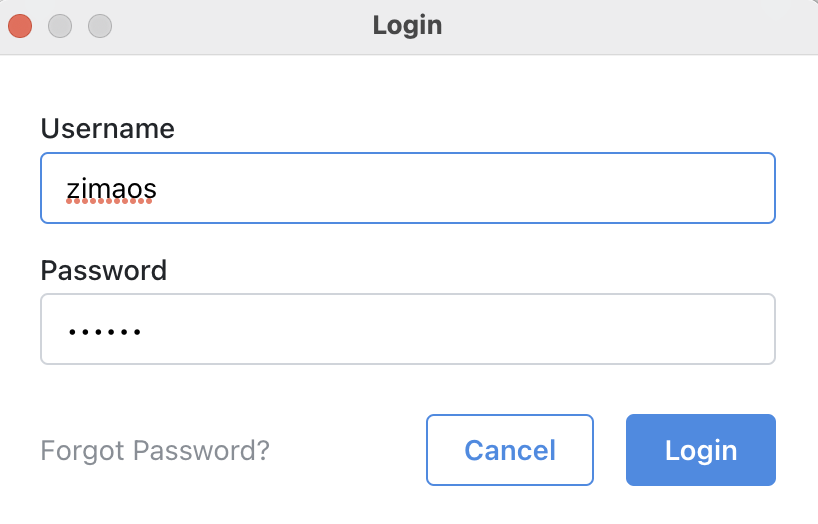
Launch the client, enter your Network ID and user details to log in.
Maximizing Your Remote Experience
Here are some tips to ensure a seamless remote access experience:
- Stable Connection: Always connect both your ZimaCube and remote device to reliable networks.
- Security First: Regularly update your Network ID to prevent unauthorized access.
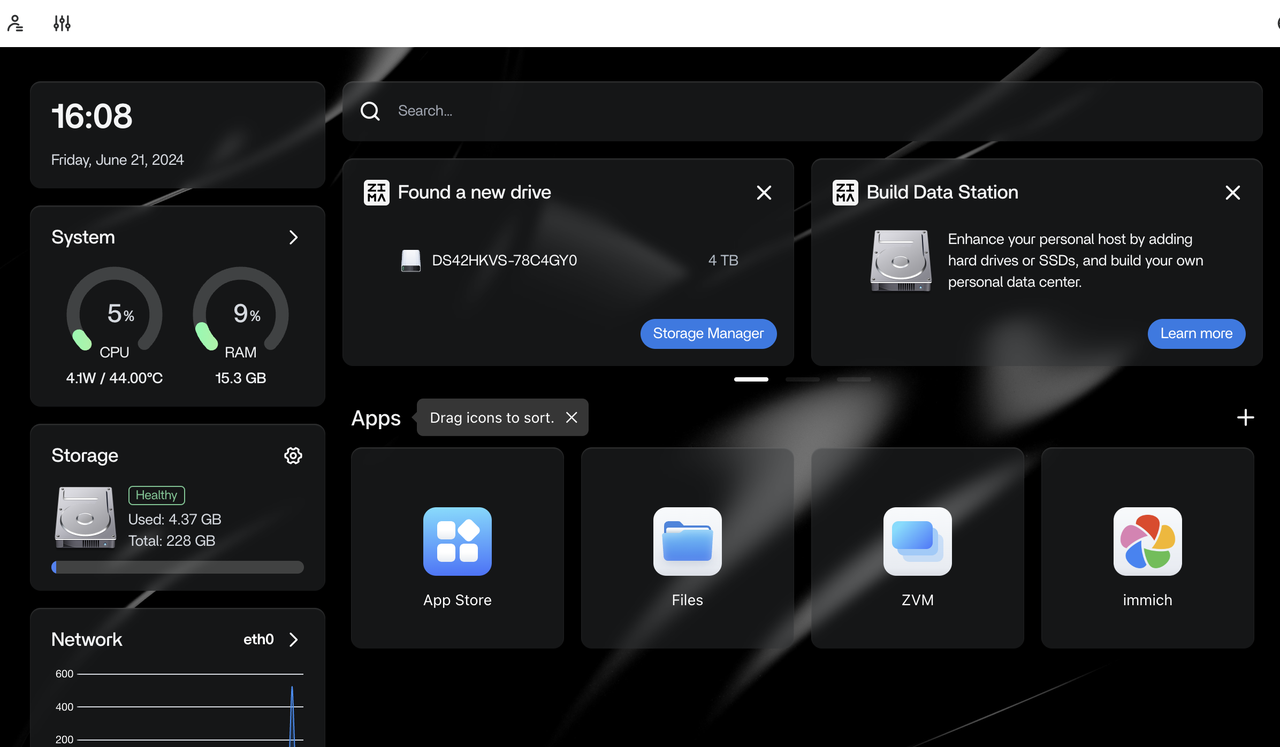
With these steps, ZimaCube’s Remote functionality is easy to set up and optimize for secure, efficient remote data management.
Empower Your Digital Life
ZimaCube’s Remote feature is not just about accessing data; it’s about simplifying your digital life. No matter where you are—be it at home, the office, or on the move—ZimaCube offers a dependable and secure way to access your data. Activate ZimaCube Remote today and transform how you manage your digital content.
For further details on the ZimaCube Remote feature and our other offerings, please visit our website or reach out to our customer service team. We’re excited to help you take control of your data!
Shared Storage
In this section, we will explore the various storage categories, sharing options, and permission settings available in ZimaOS.
Storage Classification
ZimaOS divides storage into three main types:
USB
You can enable a single disk in ZimaOS for normal use, making it easy to access your data.
Single Disk
Disks can be enabled individually in ZimaOS for normal use.
Raid
Enabling RAID in ZimaOS allows for safer use of disks, providing redundancy and enhanced data protection.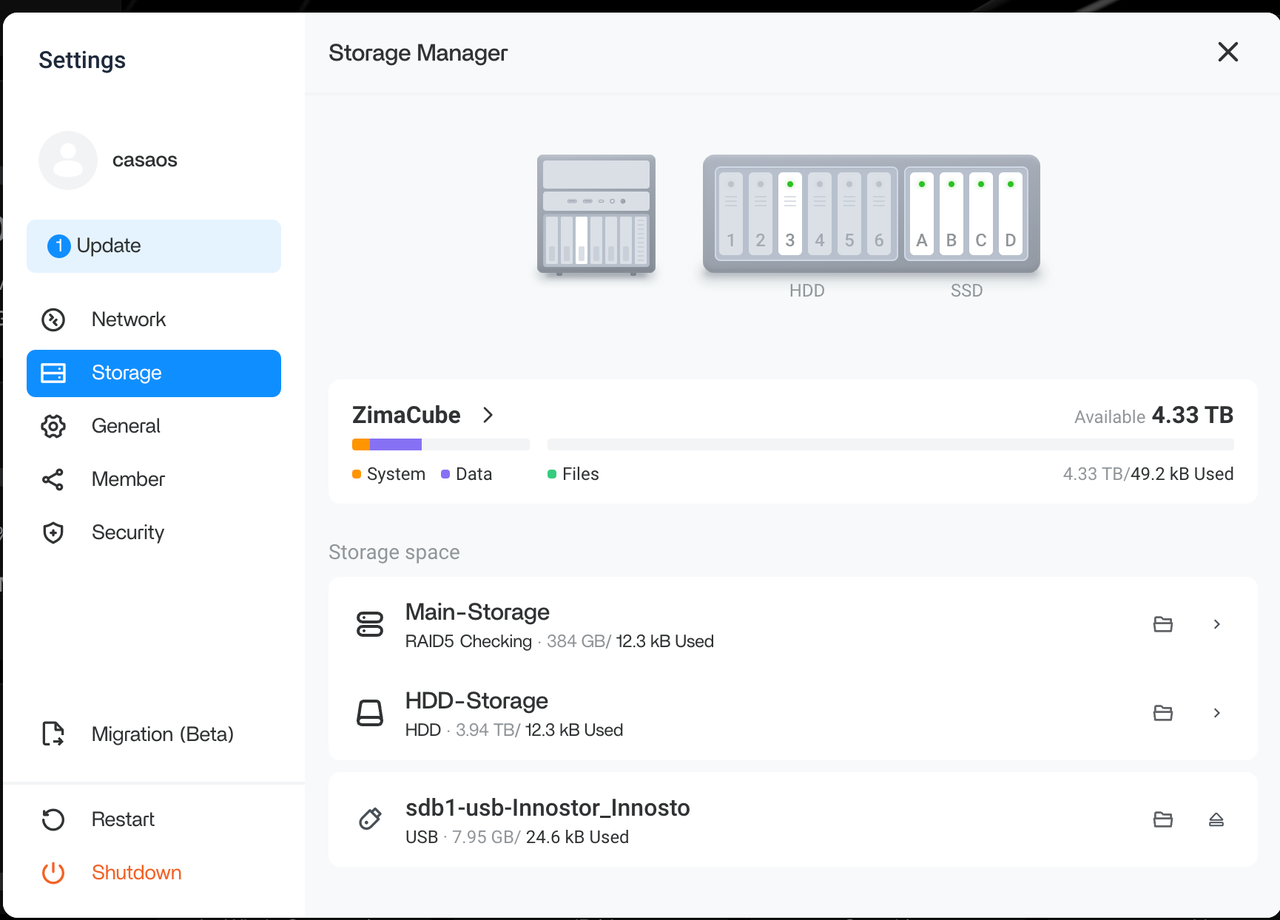
Sharing Storage
ZimaOS shares single disk and RAID storage by default. Although it is not possible to unshare these storages, you can modify the sharing settings as needed. USB devices are not automatically shared. To share a USB drive, navigate to the root directory, select the appropriate USB device and share it.
Permission Settings
ZimaOS supports SMB multi-user configuration, allowing you to set the read and write permissions of users. You can easily manage permissions, add or delete users through the admin panel.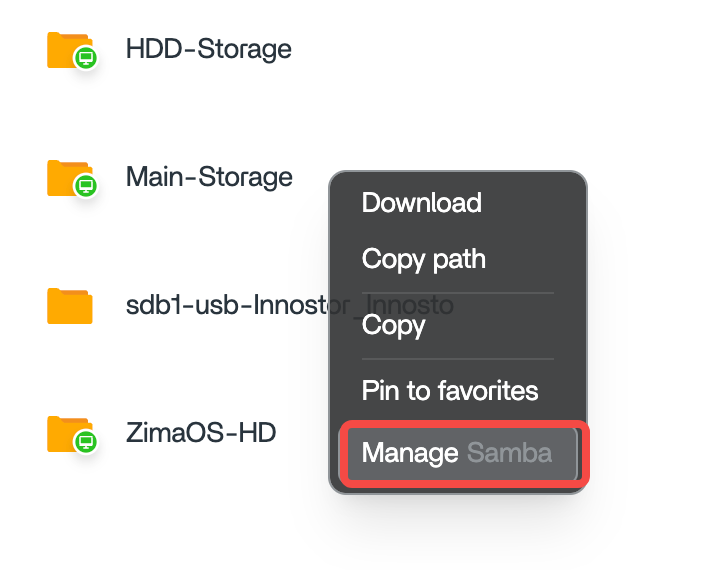
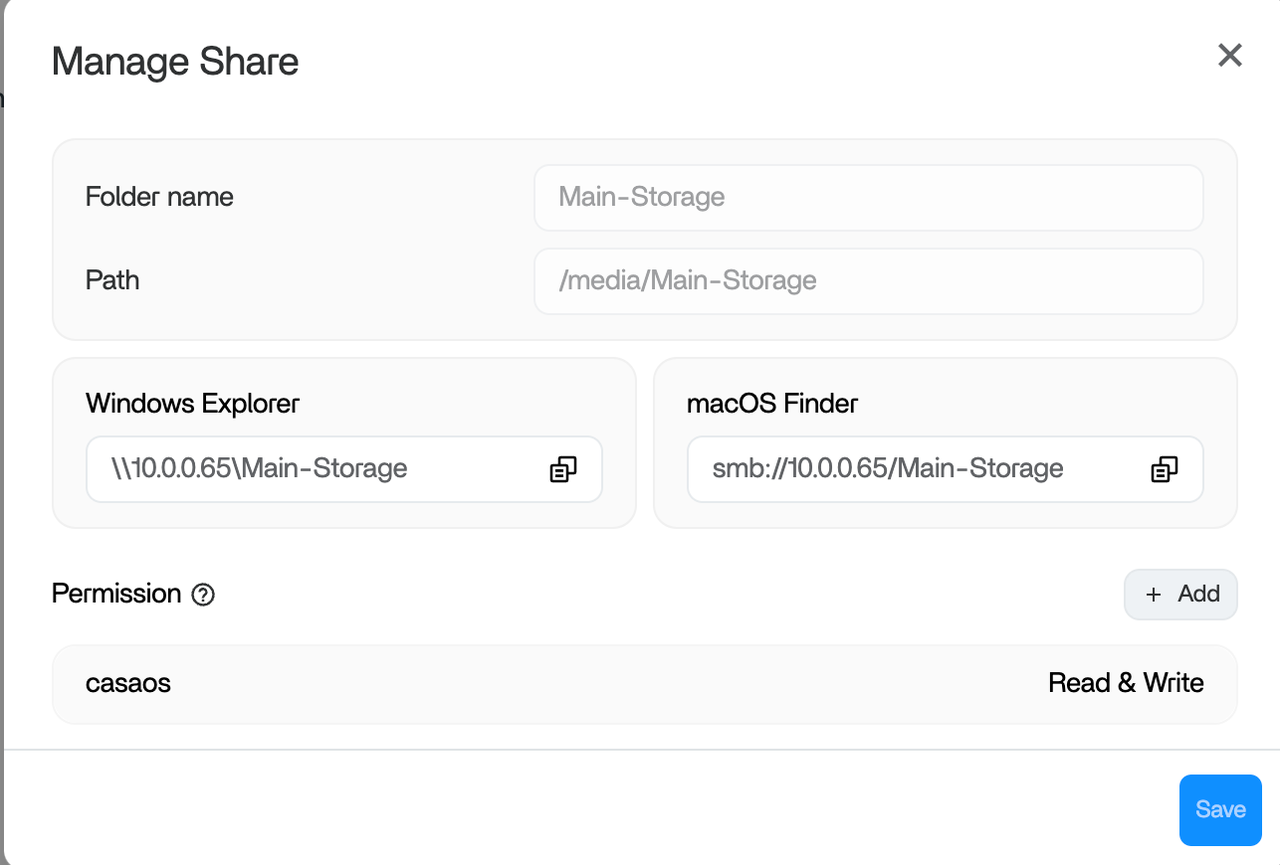
Connection Sharing
After successfully sharing the storage, you will receive a prompt with the connection details.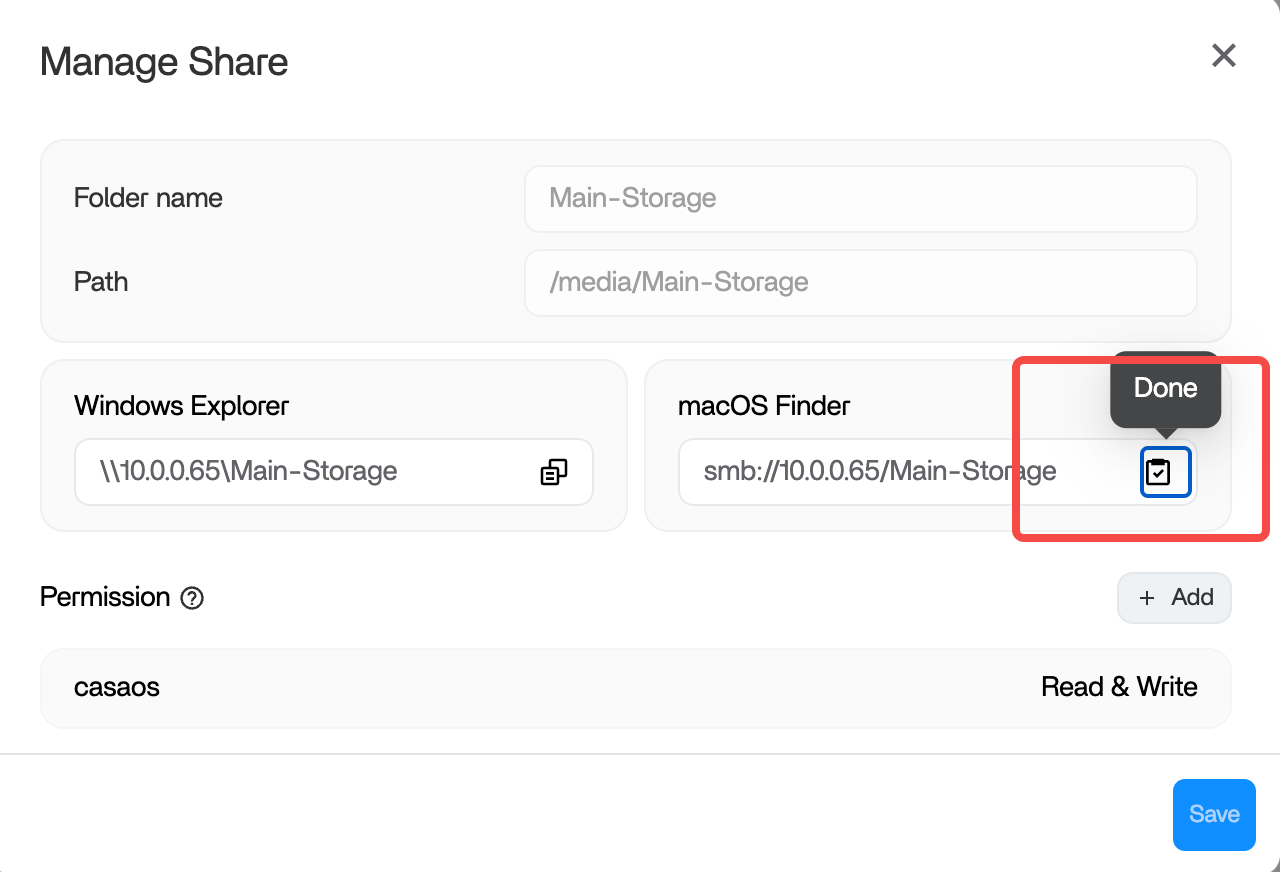
Steps to connect:
- On Mac or Windows: Connect using the address provided in the prompt.
- Enter the address: Enter the copied address in the file browser and press Enter.
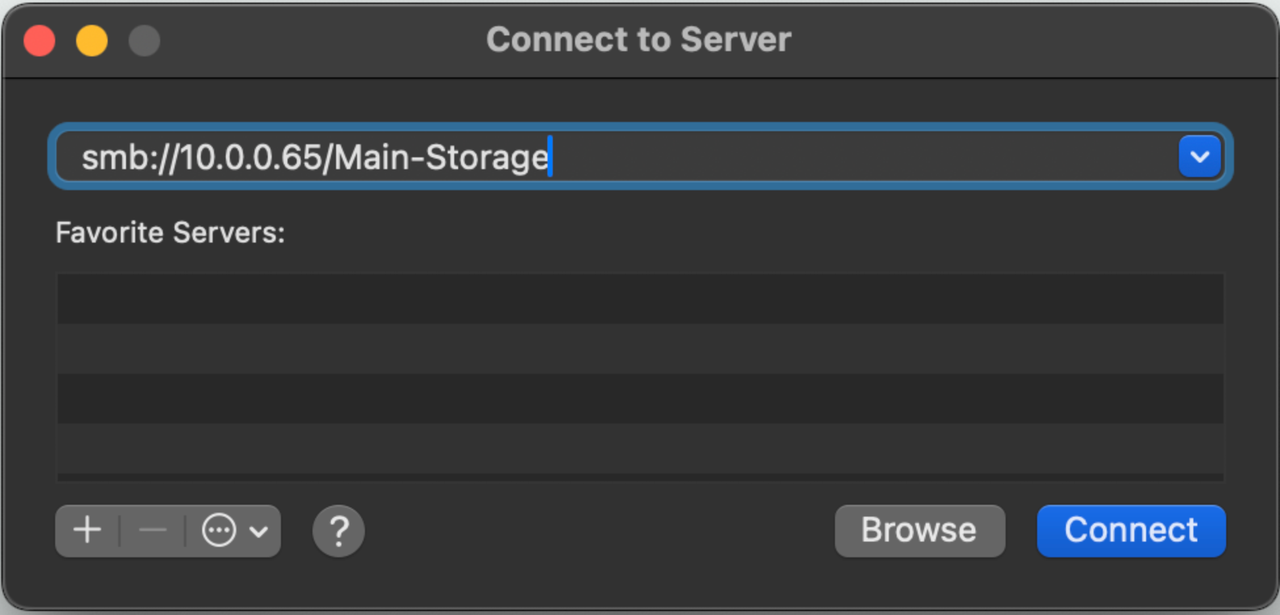
Once connected, you will see the connected server in the network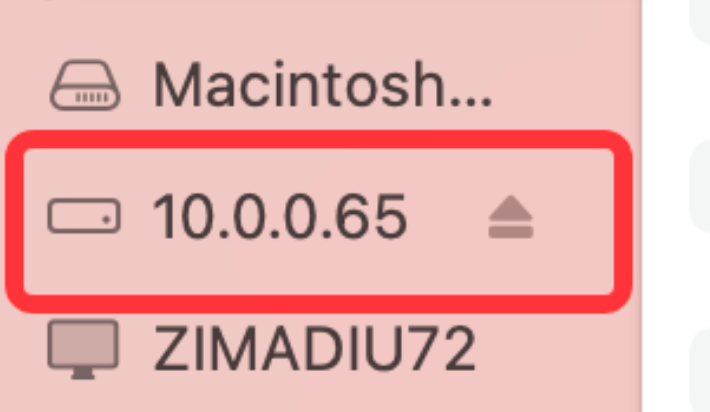
This smooth storage management approach enables ZimaOS to ensure convenient, secure and flexible data access.
Virtual Machine
App Store
First-time user of ZimaCube shares Luke’s experience:
Luke is a designer who needs to remotely access a large number of design files and editing project files in his work. He is also a film and television enthusiast with a large number of movies and lossless music files. Although he knows nothing about code, he likes to explore new features and tinker with various devices. As an old user of Synology for seven years, when he first experienced ZimaCube, he was impressed by its simple configuration process and innovative App Store. ZimaOS ‘App Store is not only as powerful as Docker, but also realizes one-click installation of applications, which greatly simplifies the operation process. Luke often uses Jellyfin and Emby. On Synology, he needs to manually modify ports and set router port forwarding, but on ZimaOS, these are all automatically completed by the system, which greatly facilitates his use. For “novices” and “lazy people” like him, this is undoubtedly a blessing. Just open the App Store and click install, and the application can be used directly without any complicated operations. ZimaCube’s ease of use and efficiency have given him great surprise and satisfaction.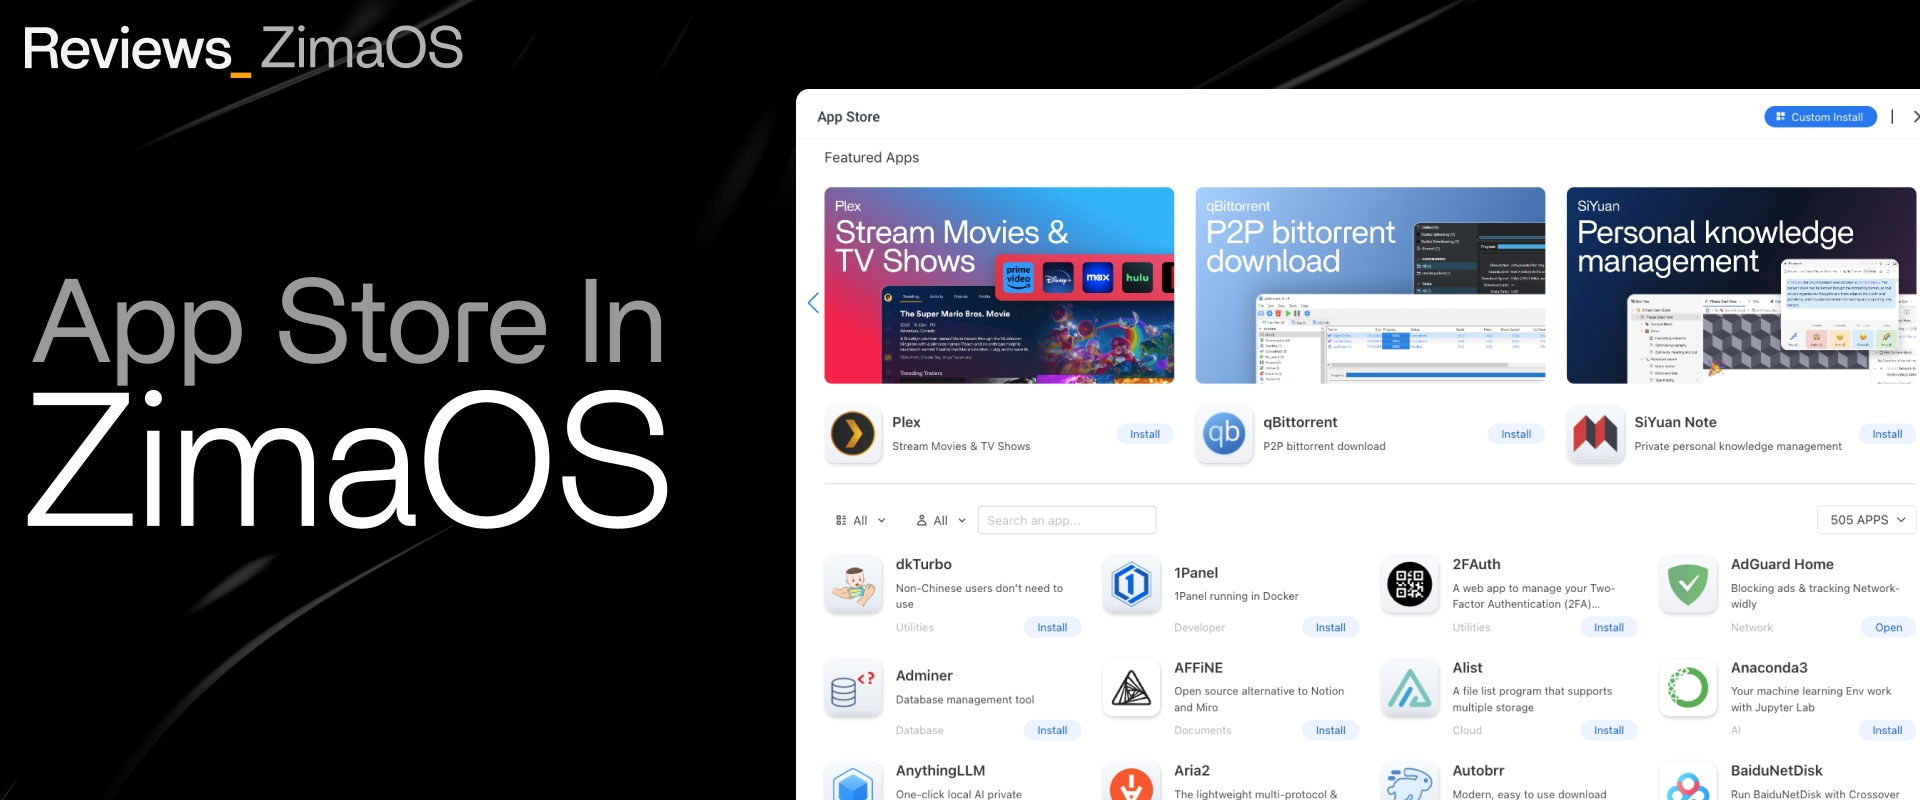
Introduction
ZimaOS aims to provide a user-friendly interface, powerful features, and easy-to-use experience, making it your first Data Management System! This philosophy sets ZimaOS apart from many other NAS systems on the market, truly achieving an Out Of The Box experience.
The design of ZimaOS App Store further enhances its usability. In other NAS systems, installing and managing applications may require users to have certain Docker knowledge and perform manual Port Mapping and path settings. However, in ZimaOS, the App Store provides a one-click installation function. Users only need to click the installation button, and the system will automatically complete all necessary configurations, including port settings and path mapping, truly realizing the instant installation and use of applications.
This guide provides you with a detailed introduction to how to use the ZimaOS app store, including the essence of the app store, introductions to third-party stores, and custom installation steps for the app.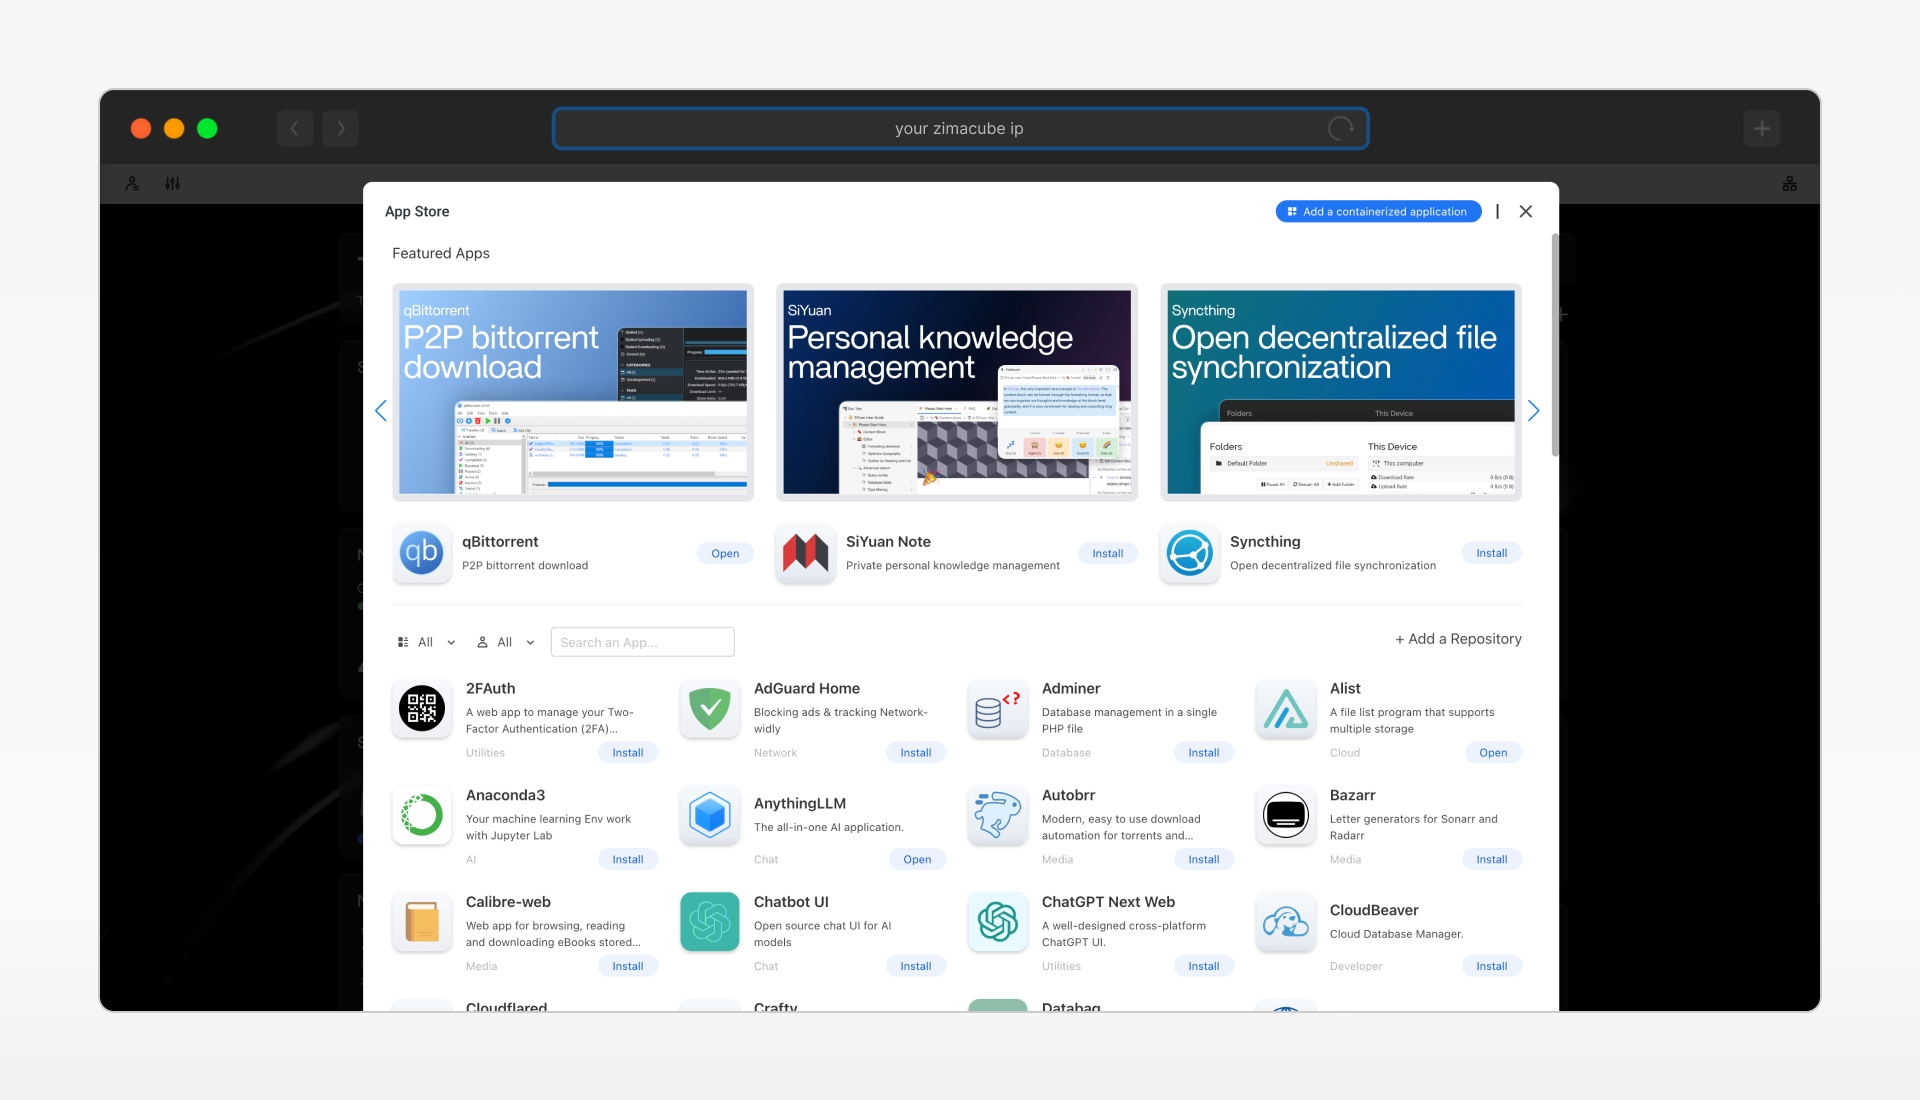
The essence of app stores
The essence of an app store:
The app store is an integrated platform that provides centralized management functions. Users can use the app store to:
- Find apps quickly and easily:No need to search everywhere, all apps in one place.
- Download and install safely:Apps are audited to reduce the risk of malicious software.
- Update reminder:The app store will automatically prompt the version status of existing applications, ensuring that you can always manage the application to stay up to date.
Most of these applications belong to Docker containers with pre-configured templates, and users only need to pull mirroring to install them.
Currently, ZimaOS ‘app store includes nearly a hundred applications, covering various types of applications such as video apps, album management, backup, file systems, team collaboration, and ad blocking.
Third-party store introduction:
But then IceWhale realized the power of the community was huge, they had amazing creativity and insight. Therefore, IceWhale decided to open this interface and leverage the extraordinary insights and innovative abilities of community members. Currently, eight third-party app stores have been established, with a total of nearly 500 apps and a huge download volume.
The community’s contributions have significantly enhanced the ecosystem, driving the continued growth and improvement of ZimaOS.
We also welcome more warriors to build their own store system!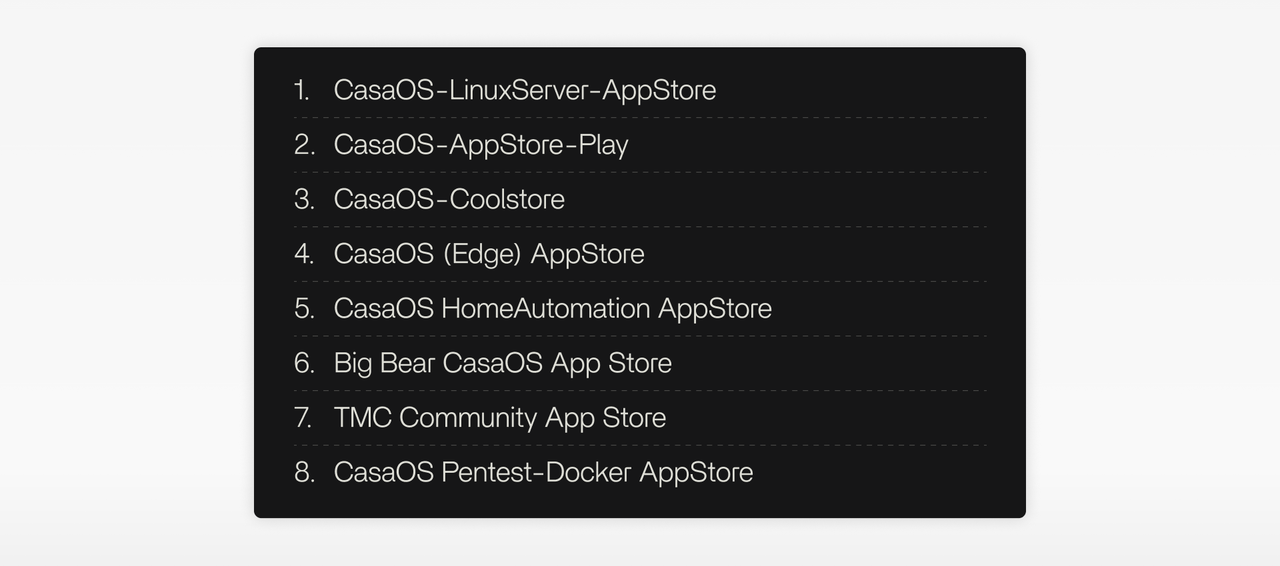
The steps to add a third-party store are also very simple. Just open the application center, click the ADD button at the top right of the list, and enter the address of the third-party store.AppStore-PlayFor example,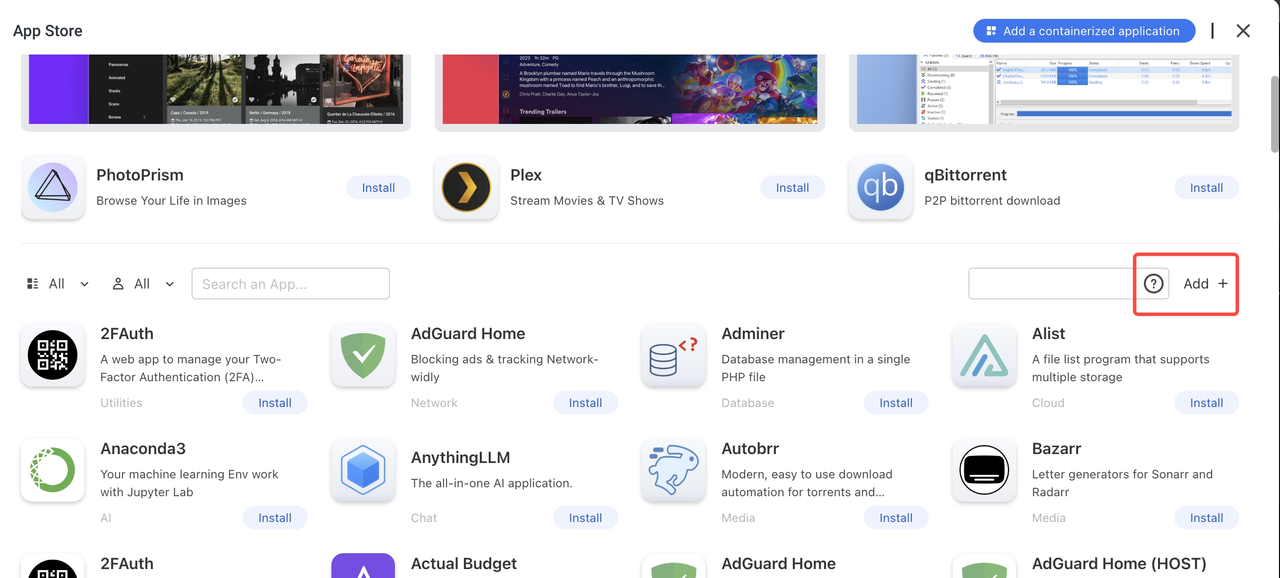
After confirming the addition and waiting for a moment, 99 apps became 235 apps ( these two numbers will change with the maintenance of developers), indicating that the third-party store [AppStore-Play] was successfully added.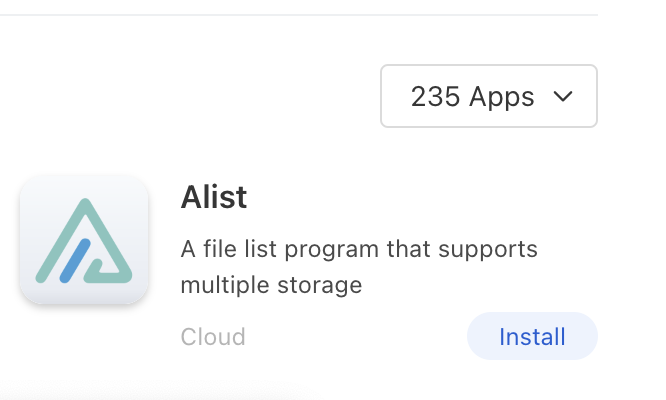
Video tutorials: https://www.youtube.com/watch?v=N9LUoOQTrqs&t=52s
Custom installation of the app
If these stores still cannot meet your needs, you can also customize the installation of applications. As everyone’s device is different, the templates pre-written by developers cannot cover everything, so fine-tuning these templates has become a required course for Docker users. In this way, you can flexibly adjust and optimize the application installation process according to your specific needs and device situation to achieve the best results. This not only improves the compatibility and performance of the application, but also better meets the unique needs of individuals and fully unleashes the potential of the device.
Don’t worry, custom installation is also very simple. You just need to find the application you want to add on Docker Hub, copy the YAML file with one click, select Import, and then configure the resources.
Video link: https://www.youtube.com/watch?v=ToV6vRIl3Nk&t=91s
In the custom installation interface, the resources that the container will use are recorded in detail. You can learn the relevant information and operation steps in detail through this link: https://icewhale.community/t/tutorial-how-to-understand-docker-apps-paths-on-zimaos-take-plex-as-an-example/3395
Summary:
With the above guide, you can easily master the usage skills of the ZimaOS app store, whether it’s downloading official apps, adding third-party stores, or customizing installations. With these features, you can fully utilize the power of the community and the advantages of Docker containers to create a NAS system that meets all your needs.
It is the contribution and continuous innovation of the community that have enabled ZimaOS to continue to grow and become the preferred platform in the minds of users. Start exploring now and make your NAS system more powerful and diverse!
Thank you for reading this guide. I hope it can help you better use ZimaOS. If you have any questions or suggestions, please join the community and share and discuss with us.
Wish you a pleasant use!