ZimaOS offers a variety of network sharing protocols to meet different storage and file-sharing needs, including NFS, SAMBA, and iSCSI:
NFS (Network File System): Ideal for file sharing in Unix/Linux systems, it supports high-concurrency access and cross-platform file sharing.
SAMBA: It offers excellent compatibility. Supporting advanced permission management and encrypted transmission, it is an ideal choice for cross-platform environments.
iSCSI (Internet Small Computer System Interface): Maps remote storage devices to local disks via IP networks, making it suitable for high-performance block storage scenarios, such as virtualization environments and database storage.
These network sharing protocols ensure users can choose the most suitable solution based on their needs.
This tutorial provides a guide on how to configure and use iSCSI on ZimaOS, helping you quickly achieve efficient block storage sharing. Before start, let’s explain a few concepts.
Target, targetcli and iSCSI Initiator.
A target is what you will set up on the server side. Here the server is ZimaOS. And targetcli is the tool that you use to do the set up.
On the client machine, you need to use the iSCSI Initiator to connect to your target on the server. In this tutorial, we will take Windows as an example.
ZimaOS Side
Set up iSCSI Target
- First, you need to enter the ZimaOS web terminal and obtain the root privilege.
- ZimaOS dashboard -> Settings -> General -> Developer mode -> Web-based terminal
- Log in and switch to rootlauch targetcli
sudo -i
Now, you are in targetclitargetcli
Create a target:/>
Navigate to iscsi directorycreate an iSCSI target/> cd iscsi
↓This is the output:/iscsi> create
You might need to remoeve the target oneday,this operation will remove the entire target,including all ACLs, LUNs, and portalsCreated target iqn.2003-01.org.linux-iscsi.zimacube.x8664:sn.66390bd598df.
Created TPG 1.
Global pref auto_add_default_portal=true
Created default portal listening on all IPs (0.0.0.0), port 3260.Also, you can specify a name creating a target:/iscsi> delete iqn.2003-01.org.linux-iscsi.zimacube.x8664:sn.66390bd598df
↓This is the output/iscsi> create iqn.2025-03.com.icewhale:888
Created target iqn.2025-03.com.icewhale:888.
Created TPG 1.
Global pref auto_add_default_portal=true
Created default portal listening on all IPs (0.0.0.0), port 3260.
Backstore and Creation
iSCSI Backstores are created for storage use by the target. First, let’s enter the backstores directory.
Navigate to backstores
/> cd /backstores |
There are four types of backstore.
Creating backstore with a file:
/backstores> cd fileio |
↑This is the system output
Creating backstore with a block storage object:
/backstores> cd block |
↑This is the output
You can use lsblk to identify block devices.
Creating backstore with other types:
Creating backstore with pscsi storage object
/backstores> cd pscsi |
or creating backstore with RAM
/backstores> cd ramdisk |
LUN links the target and backstores
Enter luns of one iqn
/> cd /iscsi/iqn.2025-03.com.icewhale:888/tpg1/luns |
link the backtore to this target
/iscsi/iqn.20...888/tpg1/luns> create /backstores/fileio/file1 |
↑This is the output
Access Control Lists
We need to create an ACL to grant access for the initiator.
Navigate to iqn’s acls directory
/> cd /iscsi/iqn.2025-03.com.icewhale:888/tpg1/acls |
Make this initiator_iqn_name accessable,you need to find or define the initiator_iqn_name on the client machine
/iscsi/iqn.20...888/tpg1/acls> create iqn.1991-05.com.microsoft:desktop-44sqg6u |
↓This is the output
Created Node ACL for iqn.1991-05.com.microsoft:desktop-44sqg6u |
Windows Side
On Windows, connecting to an iSCSI target is easy.
Type iSCSI Initiator in the search bar and click the prompting icon.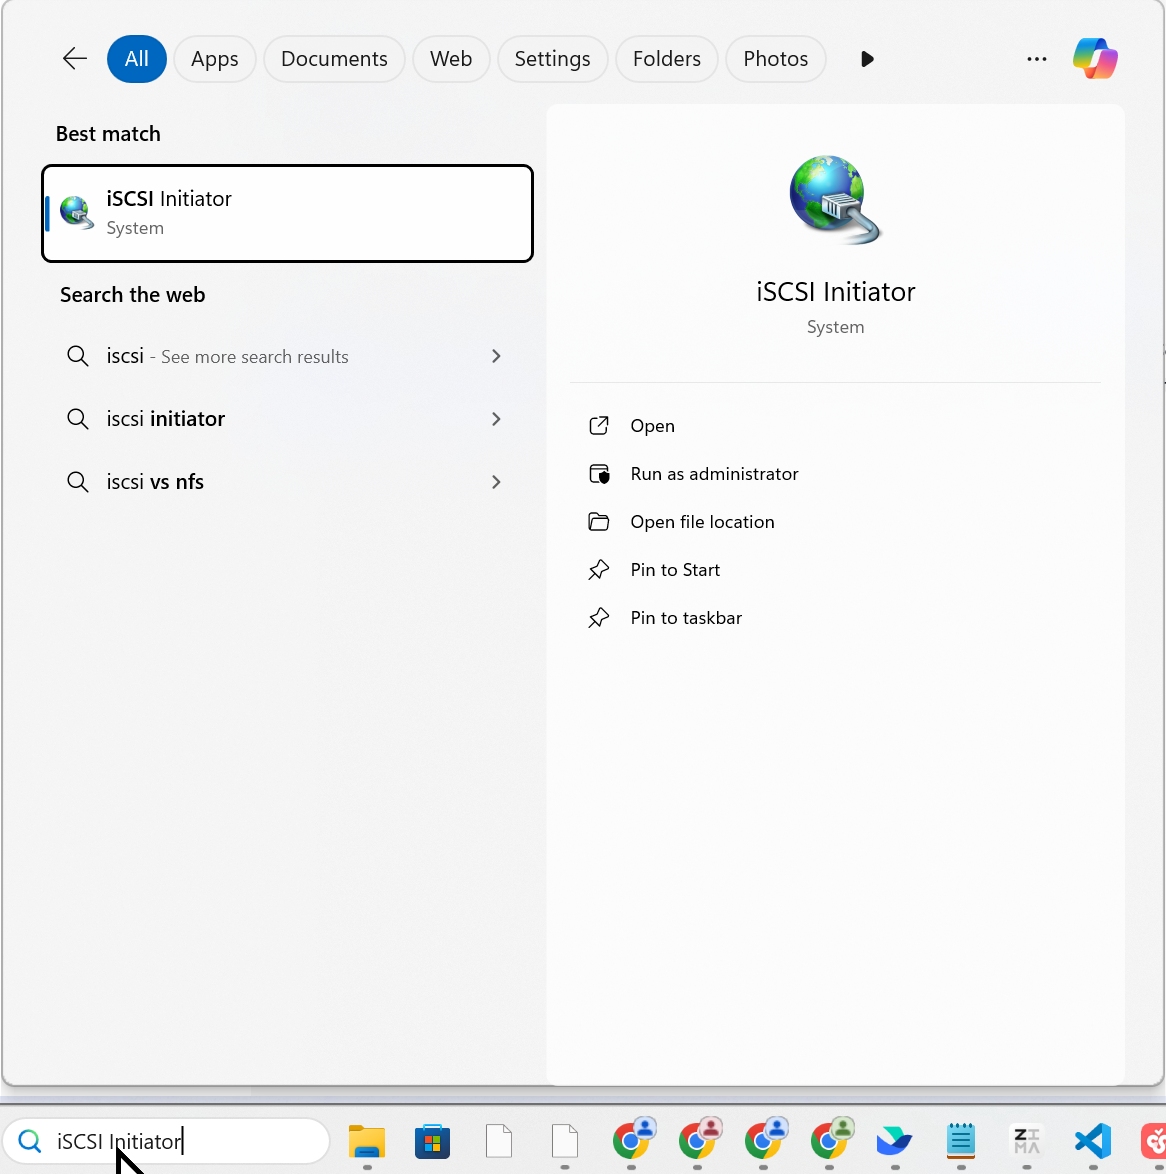
You might need to enable this function first according to the prompt window.
On the iSCSI Initiator Properties panel, you can find the initiator_iqn_name in the Configuration tab.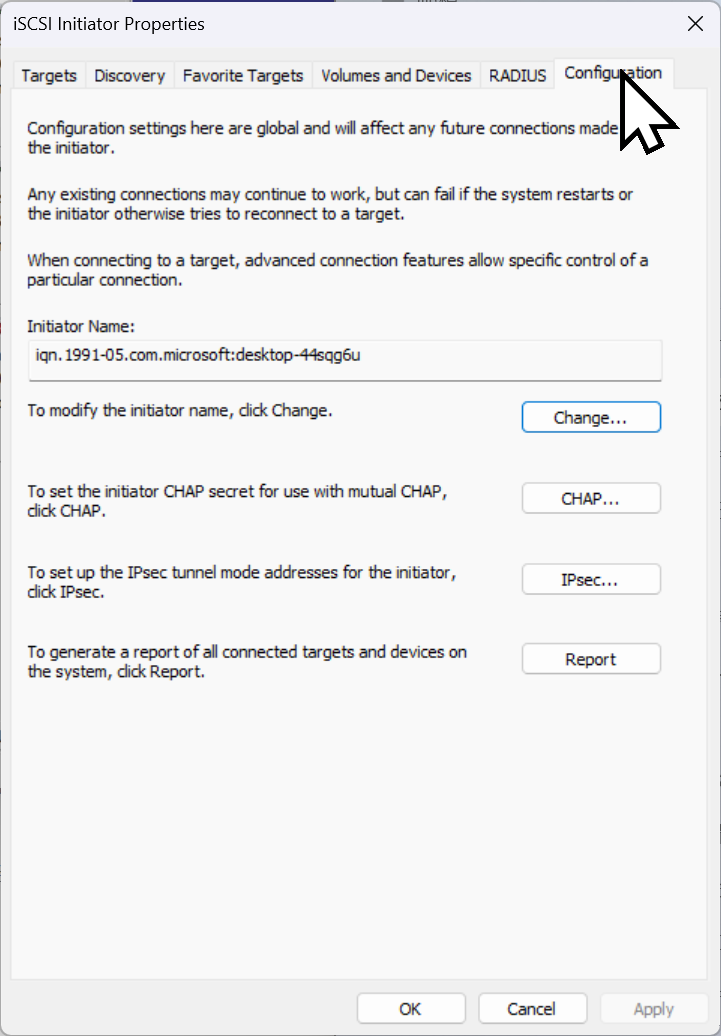
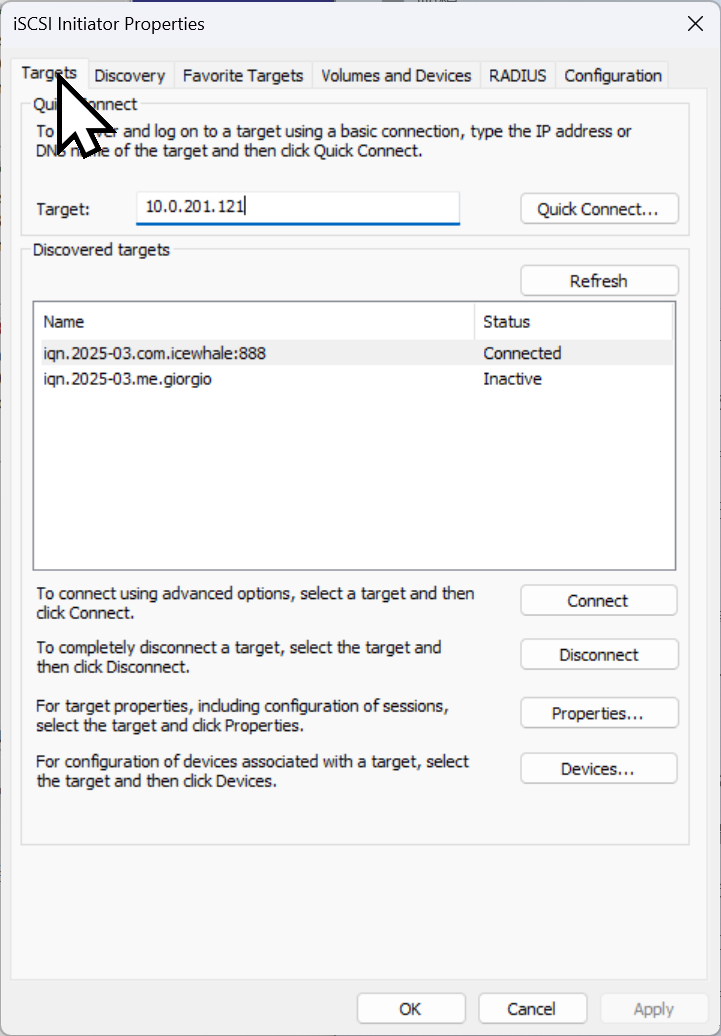
In the Targets tab, input the server’s IP and click Quick Connect....
Choose the right name and click Connect.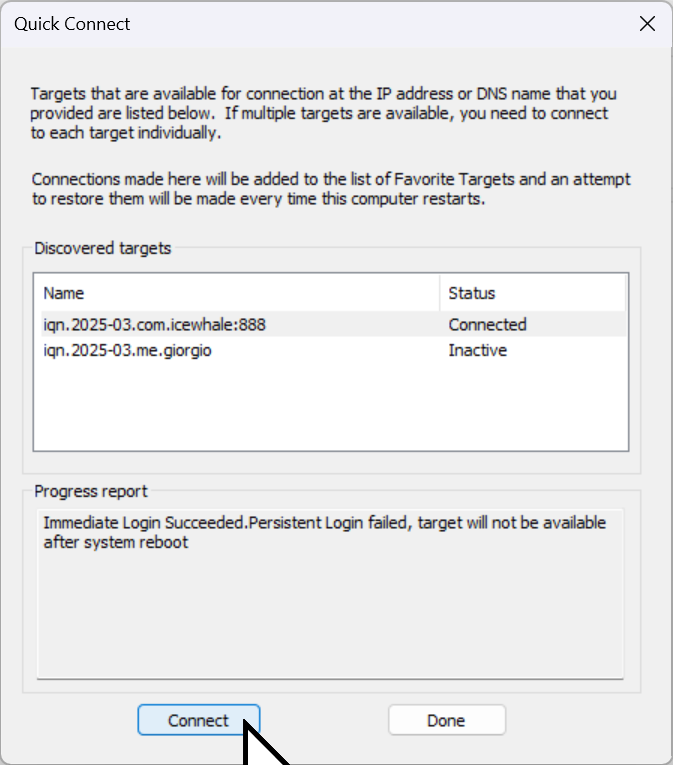
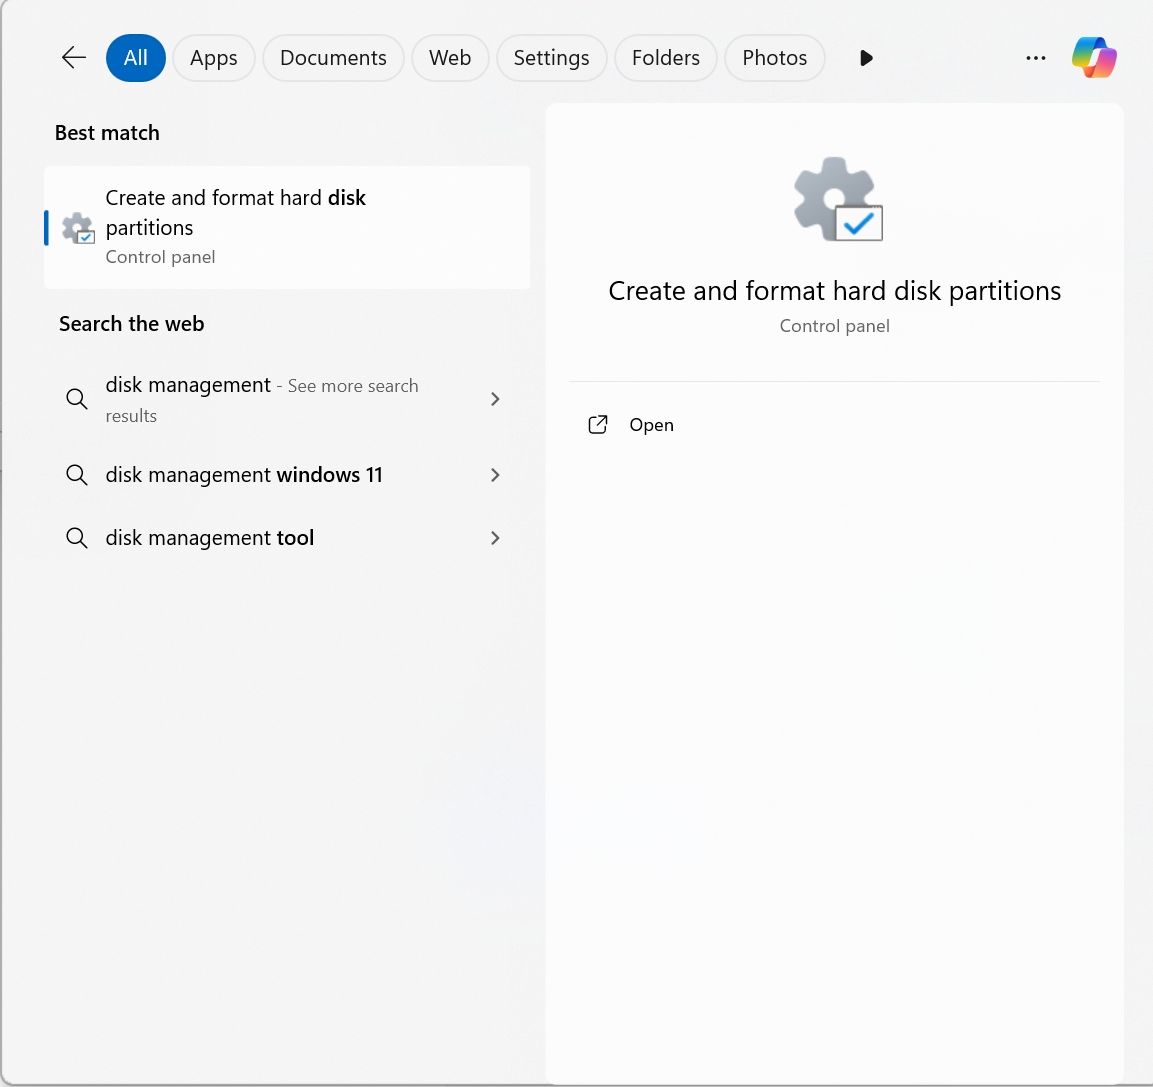
In the search bar, type Disk Management and the Create and format... icon will prompt you. Click and enter, you will find the storage device just connected.
Initialize Disk and use it like a local disk!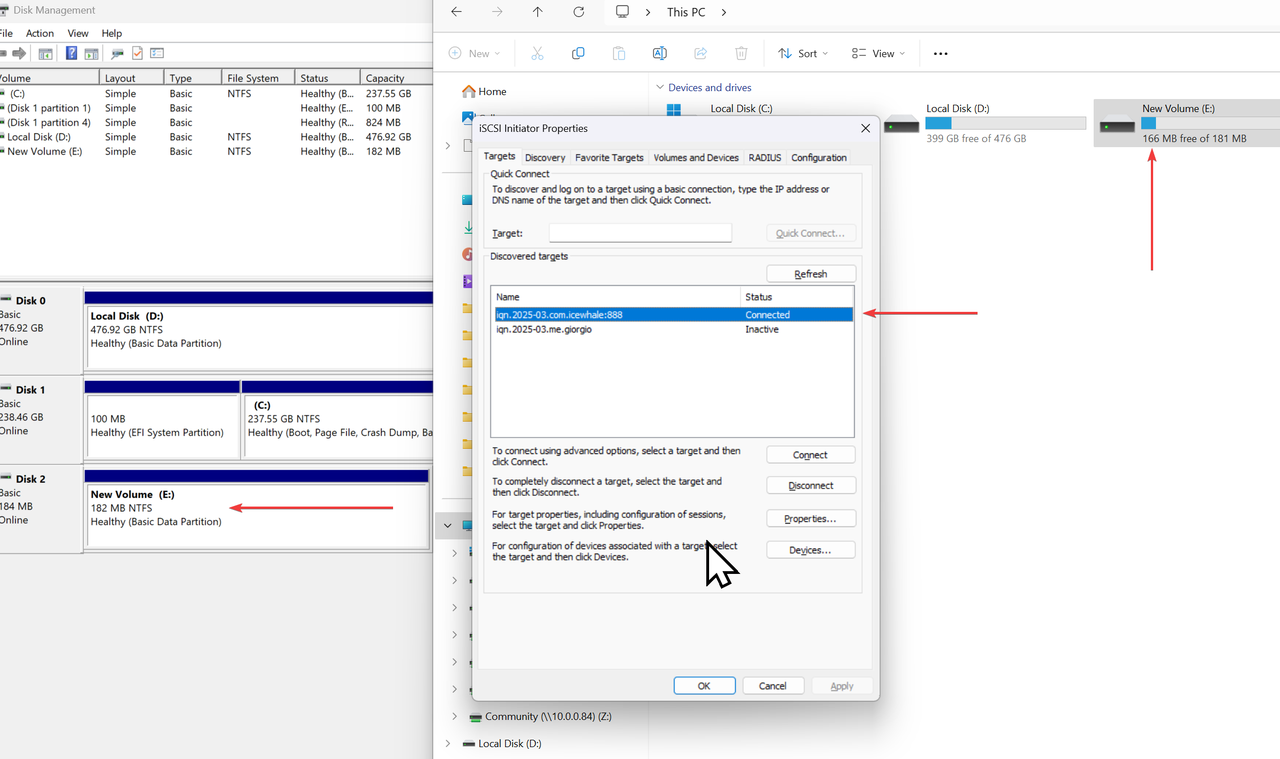
For how to initialize disk on Windows, refer to this artical.
This is the basic use of targetcli. For detailed tutorial, refer to redhat docs. If you encounter any issues during use, feel free to let us know at any time. You can also join our community and Discord to discuss more about NAS and ZimaOS. We look forward to your feedback!